 Pin
Pin
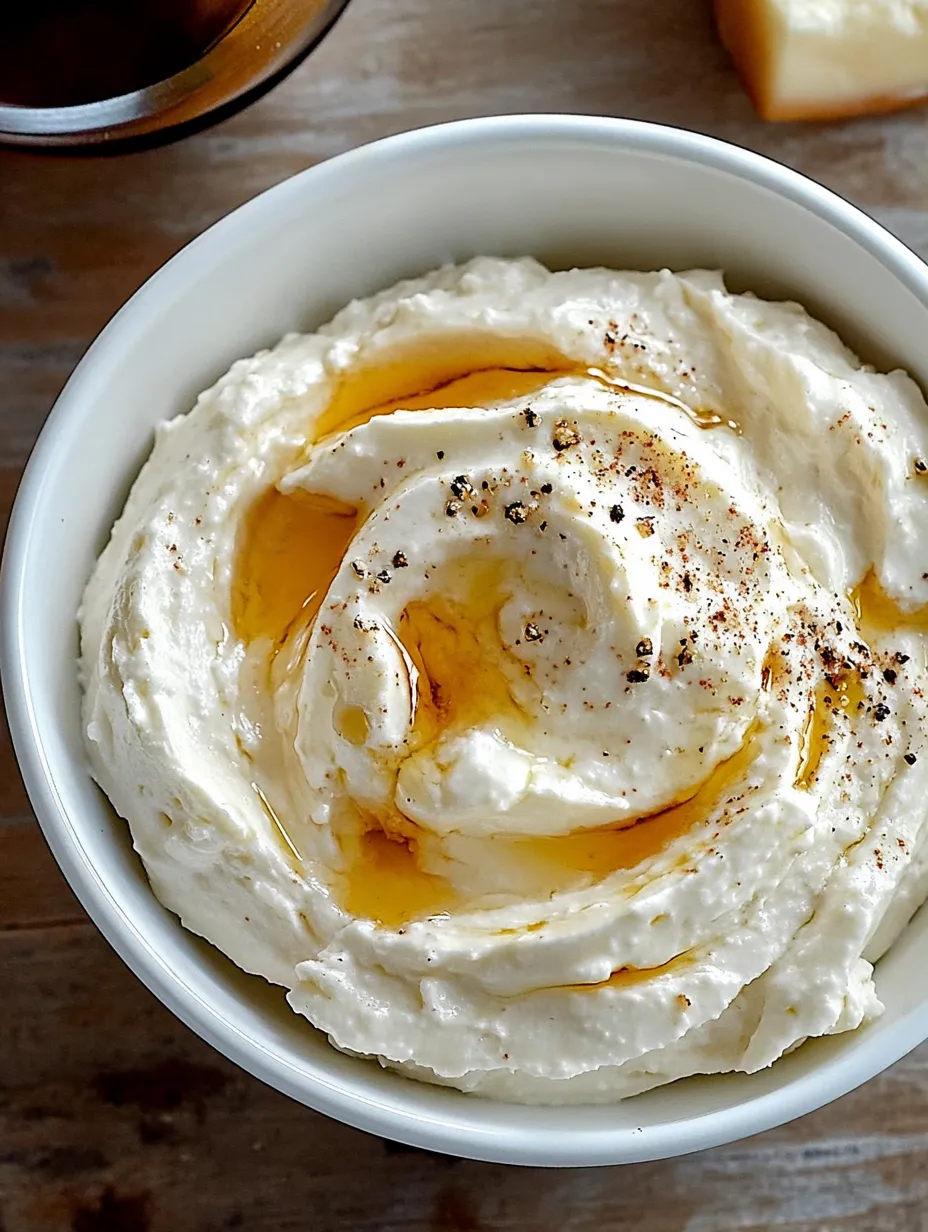
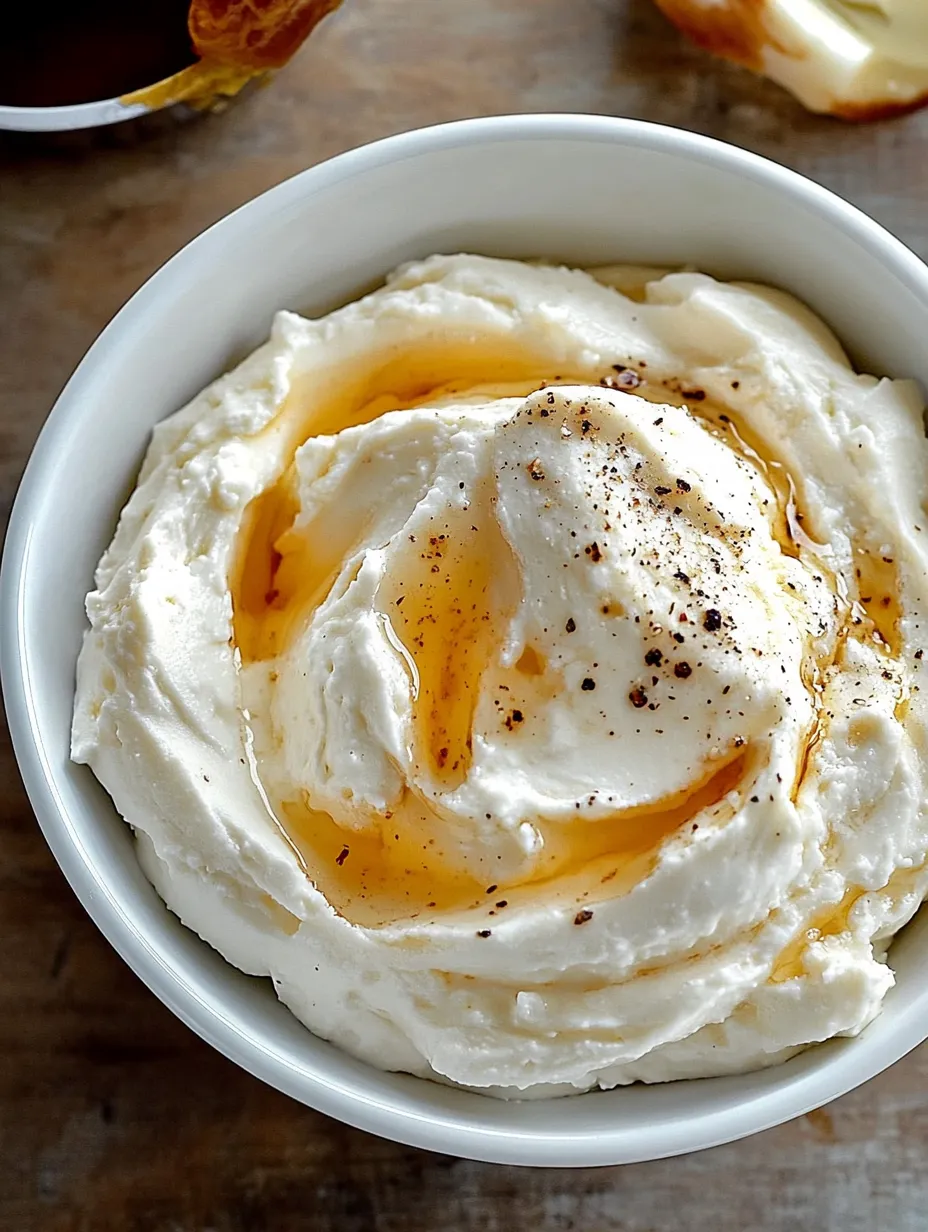
This fluffy Whipped Brie turns ordinary cheese into a dreamy, cloud-soft dip that'll wow your guests. The airy texture makes it super easy to spread on crackers or toast, taking your appetizer game to new heights with little work but tons of impact.
I found this method during a panic moment when friends showed up without warning. What began as a kitchen emergency hack has now become the snack everyone begs me to make, and my buddies now call me the "cheese magician" at get-togethers.
Ingredients
- 3 8oz wheels of Brie cheese: straight from the fridge. Using cold cheese helps you take off the rind while keeping the cheese firm enough for whipping later.
- Honey or jam: as a topping. The sweet stuff really cuts through the rich, creamy cheese flavors.
- Toasts or crackers: for dipping. Go for tougher ones that won't snap when you scoop up this thick, fluffy dip.
Step-by-Step Instructions
- Prepare the Brie:
- Cut away all the rind from each Brie wheel with a jagged knife. Start around the sides then move to the top and bottom surfaces. Let the cheese warm up to room temp after cutting to make sure it'll whip properly.
- Whip to Perfection:
- Put your room-temp Brie in a stand mixer bowl with the paddle tool attached. Mix on medium for about 10 minutes until it completely changes texture. The cheese will fight back at first, but hang in there—it'll slowly turn into something amazingly light and creamy.
- Serve and Garnish:
- Scoop the whipped cheese into a nice serving dish. Make a little dent in the middle and pour honey over it or add a spoonful of jam on top. Put crackers or toast around the edges so they're easy to grab.
 Pin
Pin
This dish always makes me think about my grandma who used to say we should always handle cheese with care. Watching it change from solid to whipped feels like a bit of kitchen magic every time, and I love seeing the look on people's faces when they try their first bite.
Make Ahead Magic
You can whip up this Brie a full day before you need it and keep it covered in the fridge. Just take it out about half an hour before serving so it can soften up a bit. If it seems too stiff after being in the cold, just give it a quick stir before adding your honey or jam topping to bring back that fluffy, cloud-like feel.
 Pin
Pin
Creative Variations
Honey and jam work great, but don't stop there with your toppings. Try some caramelized onions mixed with thyme for a savory twist that goes great with wine. Crushed roasted pistachios drizzled with good olive oil adds a nice Mediterranean touch. For Christmas or Thanksgiving, try topping with cranberry sauce and orange zest. The plain creamy base goes well with pretty much any flavor combo you can dream up.
Perfect Pairings
Make this whipped Brie the star of a bigger snack board with seasonal fruits, fresh veggies, and different crackers and breads. It tastes amazing with crisp white wines like Sauvignon Blanc or bubbly prosecco that balance out the richness. For fancy occasions, serve it with a small glass of sweet dessert wine or port for a classy end to your meal.
Troubleshooting Tips
If your Brie won't whip up right, check that you got all the rind off since even tiny bits can mess up the smooth texture. Make sure the cheese is completely at room temp, which usually takes about half an hour after taking it out of the fridge. Don't give up if it seems slow going at first. The magic change typically happens around 8 minutes of mixing, when it suddenly transforms.
FAQs About the Recipe
- → Can I use one wheel of Brie?
You'll need at least three wheels to get the right fluffy texture when you're whipping it up.
- → How do I remove the rind from Brie cheese?
Grab a serrated knife and gently cut away all the rind from each Brie wheel before you start whipping.
- → Can I prepare whipped Brie in advance?
You can make it a few hours before your event. Just pop it in the fridge and let it come back to room temp before serving so it stays nice and soft.
- → What are good toppings for whipped Brie?
A drizzle of honey works wonders, or try your favorite jam or fruit preserves. Chopped nuts or fresh fruit chunks can add a nice crunch too.
- → What should I serve with whipped Brie?
It's amazing with crispy toast points, your favorite crackers, or thin slices of fresh baguette. For something lighter, try it with crunchy veggie sticks like carrots or celery.
