
 Pin
Pin
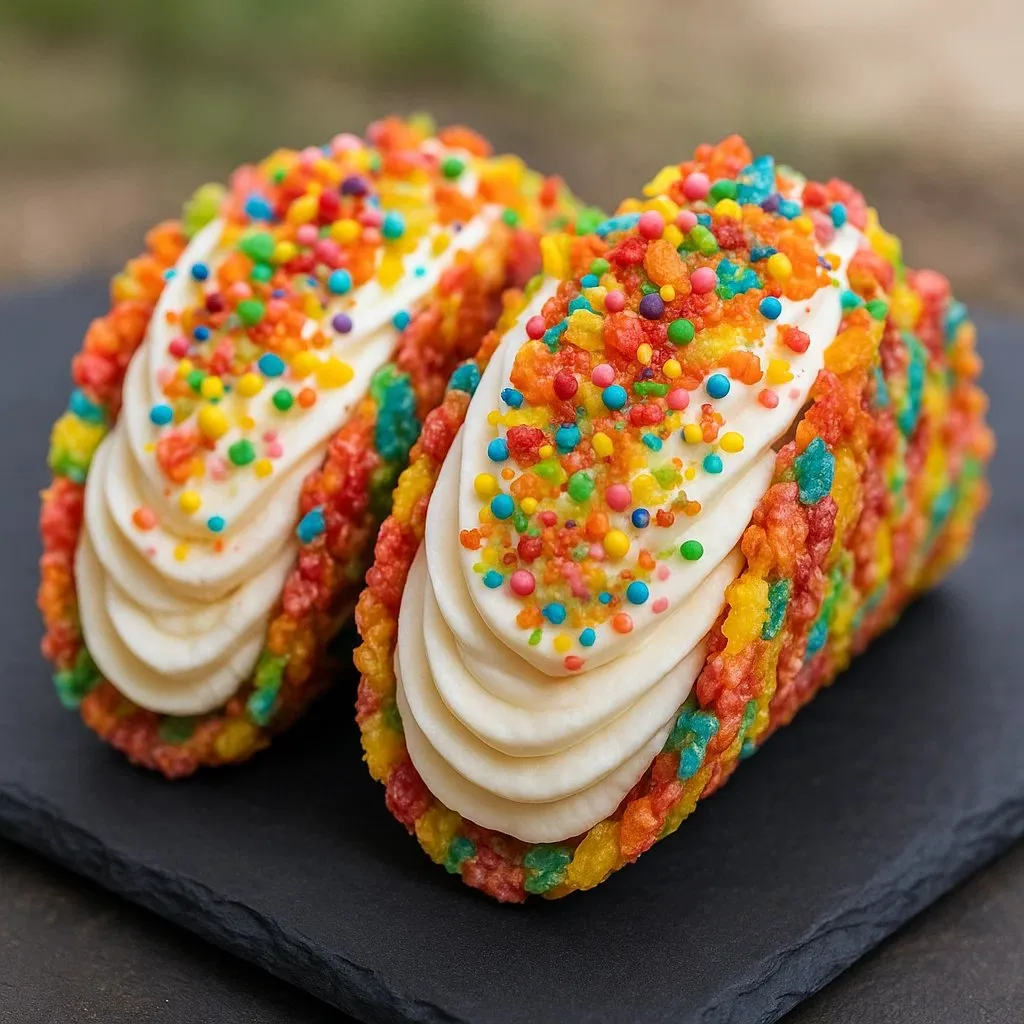
Colorful, crispy cereal shells get stuffed with a fluffy cheesecake center and showered in even more cereal pieces for one seriously joyful treat. These Fruity Pebbles Cheesecake Tacos are great when you're craving both the fun of cereal and the creamy goodness of cheesecake at the same time. They're a blast to throw together and always get folks talking at get-togethers or family movie nights.
My crew gets a kick out of making these, and everybody wants their own wild toppings. When we first took them to a backyard hangout, people were shocked the shells were made from cereal.
Dreamy Ingredients
- Extra fruity cereal: Aim for types that stay snappy with bold color—I grab the biggest, brightest pieces for that wow factor
- Whipped cream: Freshly whipped is the best because it keeps things extra light and fluffy
- Cream cheese: The creamy base of everything here—let it soften first so you don’t get lumps while mixing
- Pure vanilla extract: Even a tiny splash brings all the flavor—real vanilla is the way to go
- Unsalted butter: Helps glue the cereal shells together while adding just a bit of richness—spring for good butter if you can
- Powdered sugar: Melts right in and makes the filling sweet but never gritty—sifting helps ditch any clumps
- More fruity cereal: This goes on top so the crunch and color really pop—save a few stunners for your last sprinkle
Simple How-To
- Top It Off:
- Drop some bright fruity cereal on top of your filled shells so each bite crunches and looks like a party—dig in right away for max crunch or give them a chill for a firmer bite
- Fill 'Em Up:
- Once the shells are set and cold, generously spoon or pipe in that whipped cheesecake filling
- Lighten the Filling:
- Take it easy folding your whipped cream into the cream cheese mix—move slow and gentle so it keeps its fluff
- Sweeten the Base:
- Little by little, mix in the sugar and vanilla making sure everything gets blended—the result is perfectly even flavor
- Beat the Cream Cheese:
- Use a hand mixer to get your cream cheese airy and smooth so you don't have any chunks
- Sculpt Your Shells:
- Push the cereal mix into taco molds or muffin tins—be firm so they hold, then chill for at least 30 minutes in the fridge
- Mix the Shell Base:
- Stir your fruity cereal with melted butter until every piece glints—this way the shells stick together after chilling
 Pin
Pin
Need-to-Know
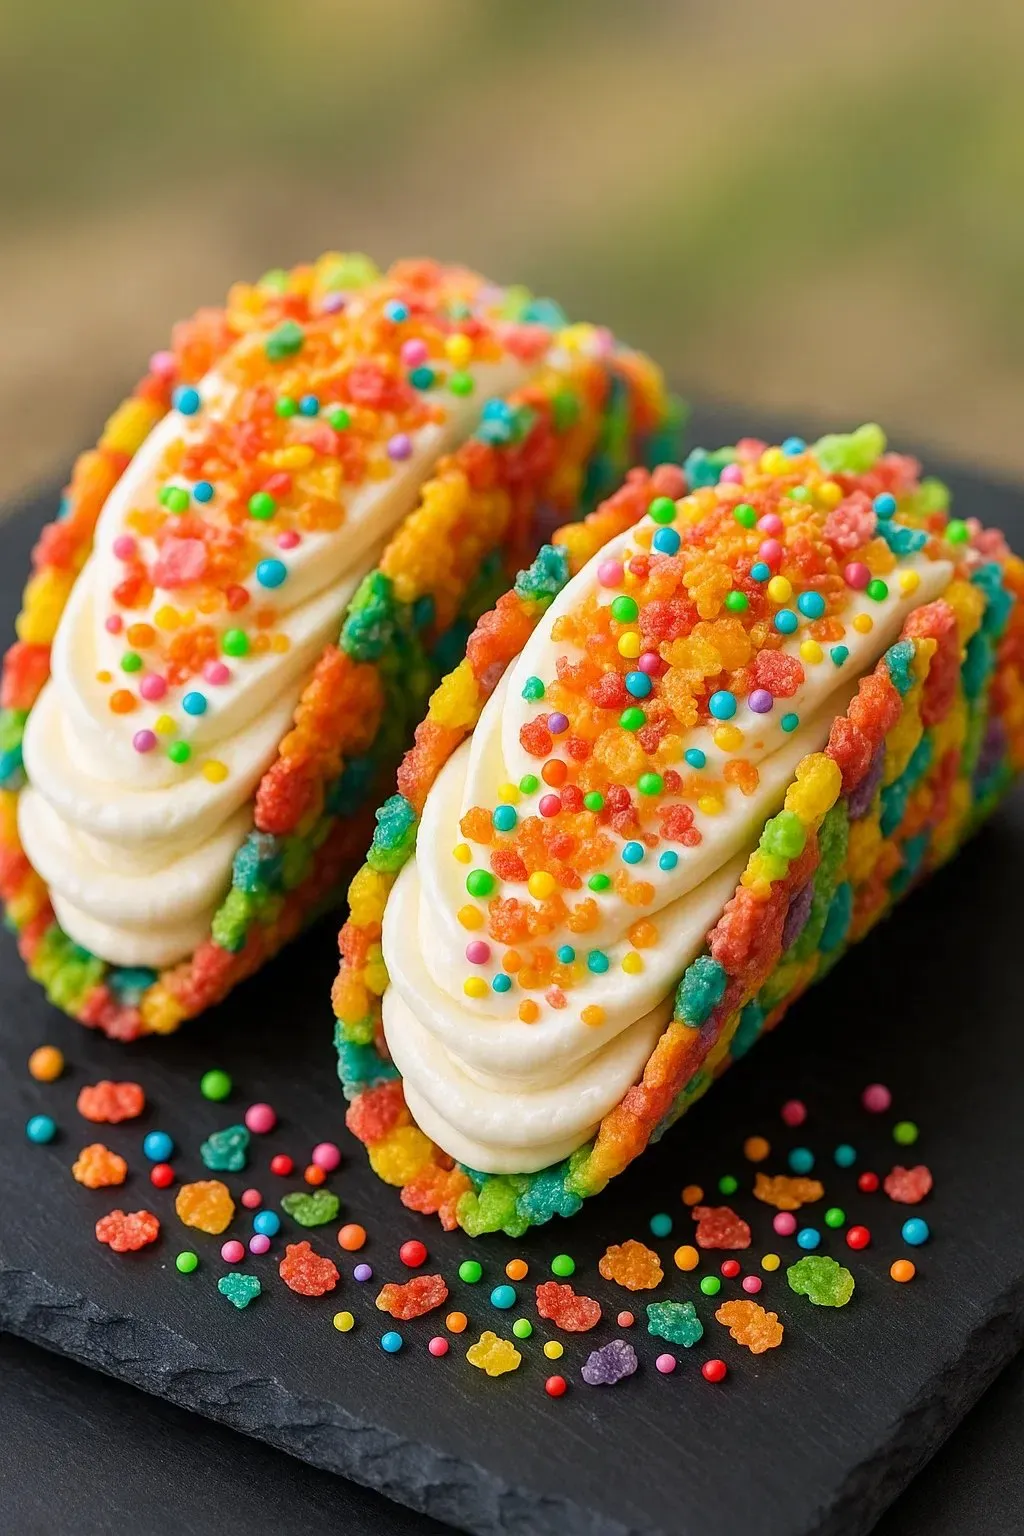
The shell made from cereal is seriously the MVP. Even after sitting with filling, it stays crisp and brings back those sneaky late-night cereal moments when I’d dream up tasty combos from whatever was in the pantry.
Keeping Them Fresh
You’ll get the most crunch eating these on the same day, but leftovers can hang out in the fridge up to a full day. The shells will soften a bit as time passes. If you’re planning ahead, keep the shells and filling separate—just stuff ‘em right before serving to really wow folks.
Switching it Up
No fruity cereal? Grab any crispy cereal with fun colors that holds up. For a less sugary take, whip the filling with unsweetened whipped cream or use Greek yogurt to get a tangy vibe.
 Pin
Pin
How to Serve
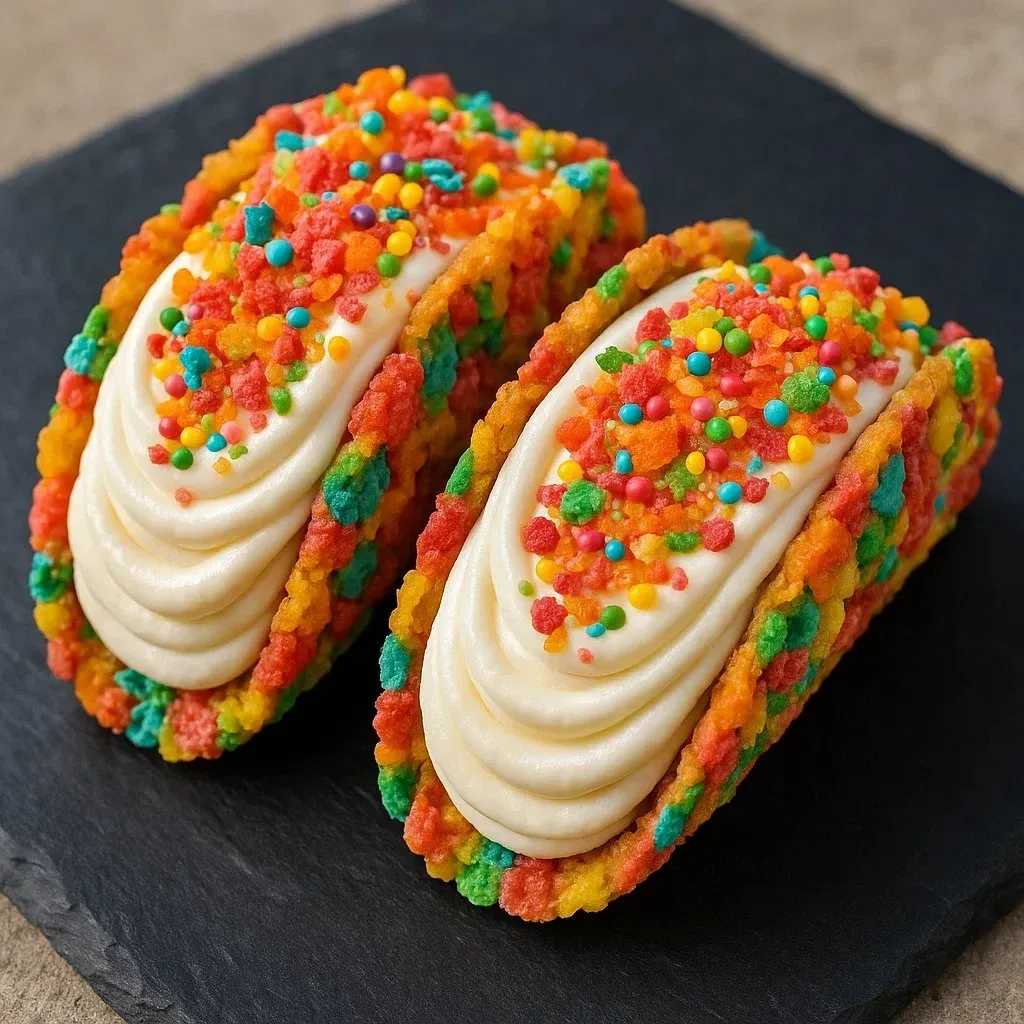
Lay these out on a bright dessert tray for birthdays or special occasions. Pair them with scoops of fruity ice or a super cold glass of milk. For the little ones, making mini versions is always a hit.
Fun Backstory
Cheesecake gets a makeover all the time, but wrapping it in cereal really feels fresh and new. The first time I saw this at a fair, I knew I had to try it. It’s a playful surprise that always makes people smile, mixing classic breakfast fun with sweet treats.
FAQs About the Recipe
- → What if I want to use a different kind of cereal?
Go for it! Any crunchy, colorful cereal you like works—just pick your favorite for a twist in taste and crunch.
- → What helps the shells stay shaped?
Make sure to pack the cereal mix tightly into your molds, then chill them well so they hold as tacos.
- → Should I serve the filling cold?
Yep, let the cream cheese filling stay cool. It turns out thicker and fluffier that way, and tastes extra fresh.
- → Can I prep these ahead of time?
You can get the shells and filling ready the night before. Just put them together right before eating to keep things crunchy.
- → Can I make these gluten-free?
Sure, just swap in any gluten-free cereal and double check your other stuff is gluten-free too.
- → What should I use to make them?
Grab a mixing bowl, a spatula, hand mixer, and some taco forms or even a muffin pan. These make things way easier.