
 Pin
Pin
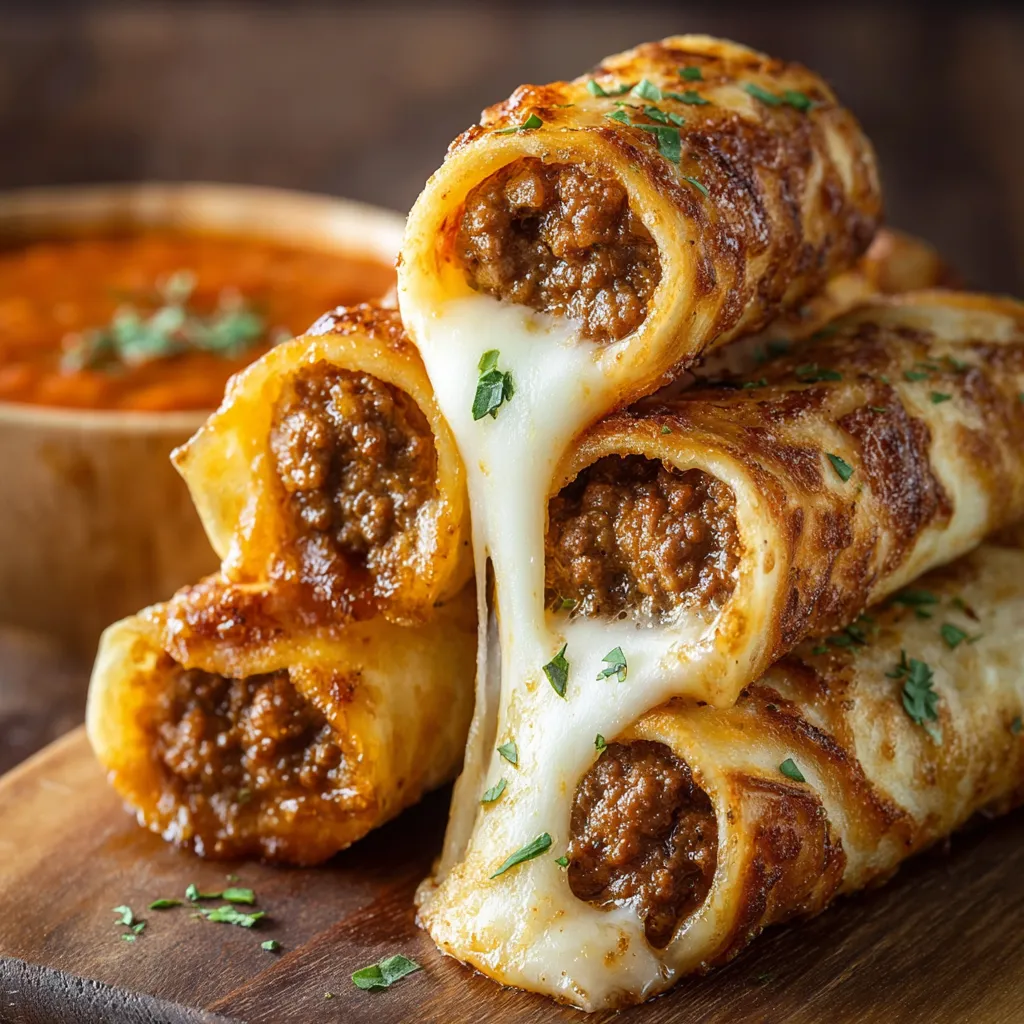
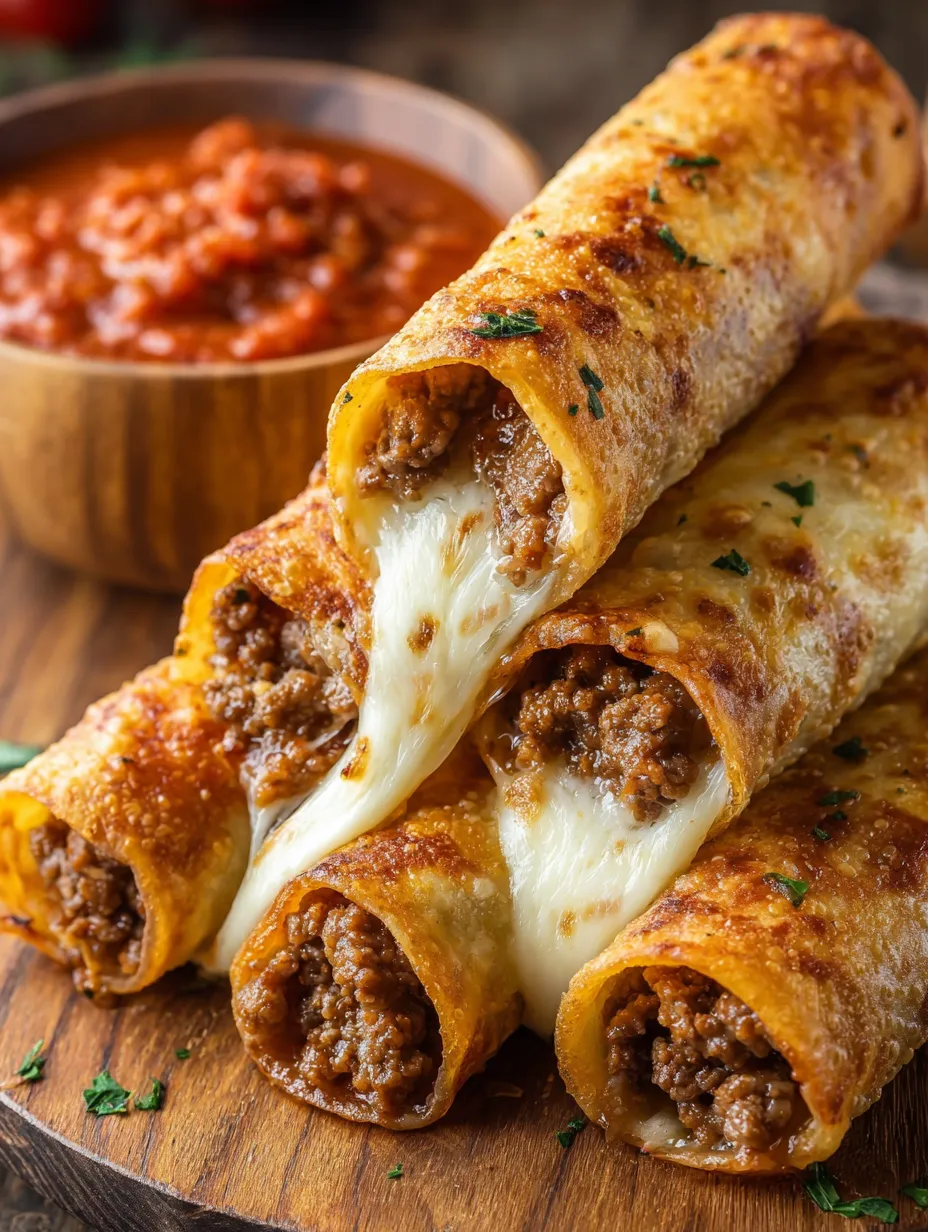
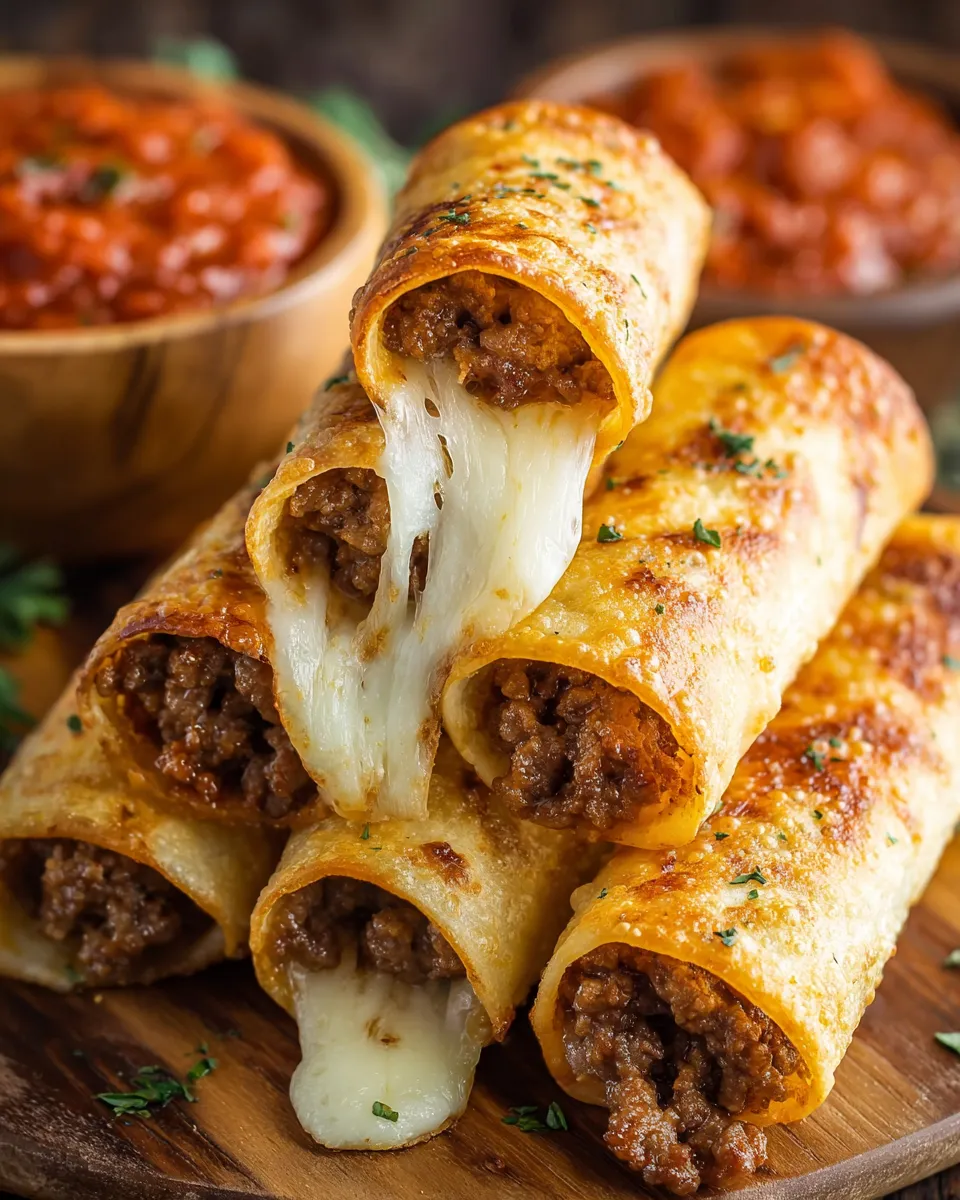
Cheesy taco breadsticks mix all the things you dig about taco night with super melty cheese bread in one munchable bite. These snacks are a breeze for parties or chill hangouts since you can toss them together fast and have a pan of hot, cheesy goodness in about 30 minutes.
Whenever I whip up a batch for a movie or big game, they disappear way before the action's over. My kids always ask for salsa and ranch for dipping.
Mouthwatering Ingredients
- 85 percent lean ground beef: Gives the filling loads of flavor and keeps things juicy. Go for beef that's bright red and not watery for the best taste.
- Taco seasoning blend: Brings all those Tex Mex vibes. Pick your fave brand or whip some up at home for less salt.
- Refrigerated pizza dough (Pillsbury): Makes things super simple. Check for a fresh can without dings or tears for best puff.
- Cheddar or Colby Jack cheese sticks: Melts perfectly and helps hold everything together. Or cut sticks from a cheese block if you want it sharper or stretchier.
- Melted butter: Gives the breadsticks a lovely glossy crust and more flavor. If you can, use butter you really like.
- Garlic powder: Adds a tasty kick and pairs up with those taco spices. Use stuff that isn't lumpy or weird-smelling.
- Dried parsley flakes: Sprinkled on top for a pop of green. Go for bright green flakes—they taste fresher.
Simple How-To Steps
- Get 'Em Baked:
- Start by setting your oven to 425 degrees F. Give a baking sheet a light spray so nothing sticks while these crisp up.
- Flavor the Meat:
- Break up the beef in a skillet on medium-high heat, cooking until it’s all browned and there’s no pink left. Drain any grease, pop it back on the stove, toss in the taco seasoning, and mix until everything's coated. Scoop the beef into a bowl and let it cool off before you use it, so the cheese doesn't melt too soon.
- Shape the Dough:
- On a floured counter, roll the pizza dough out into a big rectangle. Slice it in half the long way, then cut each half crosswise to get ten even pieces. It helps with even cooking if they're similar in size.
- Stuff and Wrap:
- Put a spoonful of cooled meat onto each dough rectangle. Add a cheese stick on top. Roll up from the short side, then pinch the ends and seams tight—that way, you keep all the good stuff inside while baking.
- Slather with Butter:
- Mix garlic powder and dried parsley into your melted butter. Brush it on every breadstick till they’re well-coated for that yummy finish and great crust.
- Line Up and Bake:
- Space out the breadsticks on your pan. Bake around 10-12 minutes, till you see golden tops and bubbly cheese peeking out. You’ll end up with a crisp outside and ooey gooey middle.
- Let Them Rest:
- Allow the breadsticks to hang out on the pan for about a minute so the cheese can set up a bit. Makes them simpler to grab and dunk. Serve with your favorite dips or taco toppings.
 Pin
Pin
Honestly, the melty cheese totally wins for me. That cheesy pull after the first bite is everything. My crew once gobbled up a whole tray before I could even take a picture!
Keeping Them Fresh
Pop any leftovers in a sealed container in the fridge and they’ll stay good for up to four days. If you want to keep them longer, freeze them in a single layer first, then toss them in a freezer bag. Warm up in the oven or air fryer for a couple minutes so they come out crispy again.
Swap It Up
If you want something lighter, use ground chicken or turkey instead of beef. For a veggie spin, swap in some refried beans and diced peppers. And really, any cheese that melts well—like mozzarella or pepper jack—totally works here.
 Pin
Pin
Serving Ideas
Dip into salsa, guac, or ranch. If you want more taco vibes, add shredded lettuce, chopped tomatoes, and extra cheese on the side. They’re awesome with a fresh salad or some chips too.
How These Came to Be
You won’t find cheesy taco breadsticks in old-school Mexican cooking—they pull ideas from Tex Mex tacos and American cheese bread. It’s a fun mashup that brings together favorites in one easy, party-ready snack.
FAQs About the Recipe
- → Are there other meats I can swap in besides beef?
Definitely! Ground chicken or turkey both work well for a lighter twist—just add your favorite seasoning.
- → How do I stop the filling from oozing out?
Squeeze the dough edges together really snug, and make sure the seam is at the bottom on your baking pan. That helps keep everything tucked inside.
- → Which cheeses melt the best for this?
Cheddar and Colby Jack are awesome choices, but Monterey Jack or mozzarella also give a nice cheesy pull.
- → Is it okay to freeze these breadsticks?
For sure! After baking, toss them in the freezer. When you want more, heat them up in the oven. Good for prepping ahead!
- → What should I dip these in?
Dip into queso, guac, sour cream, or salsa for a tasty combo—anything goes!
- → Can I prep these before my guests come over?
Of course! Put them together earlier in the day, chill in the fridge, then bake right before folks arrive. They'll be hot and delicious.