
 Pin
Pin
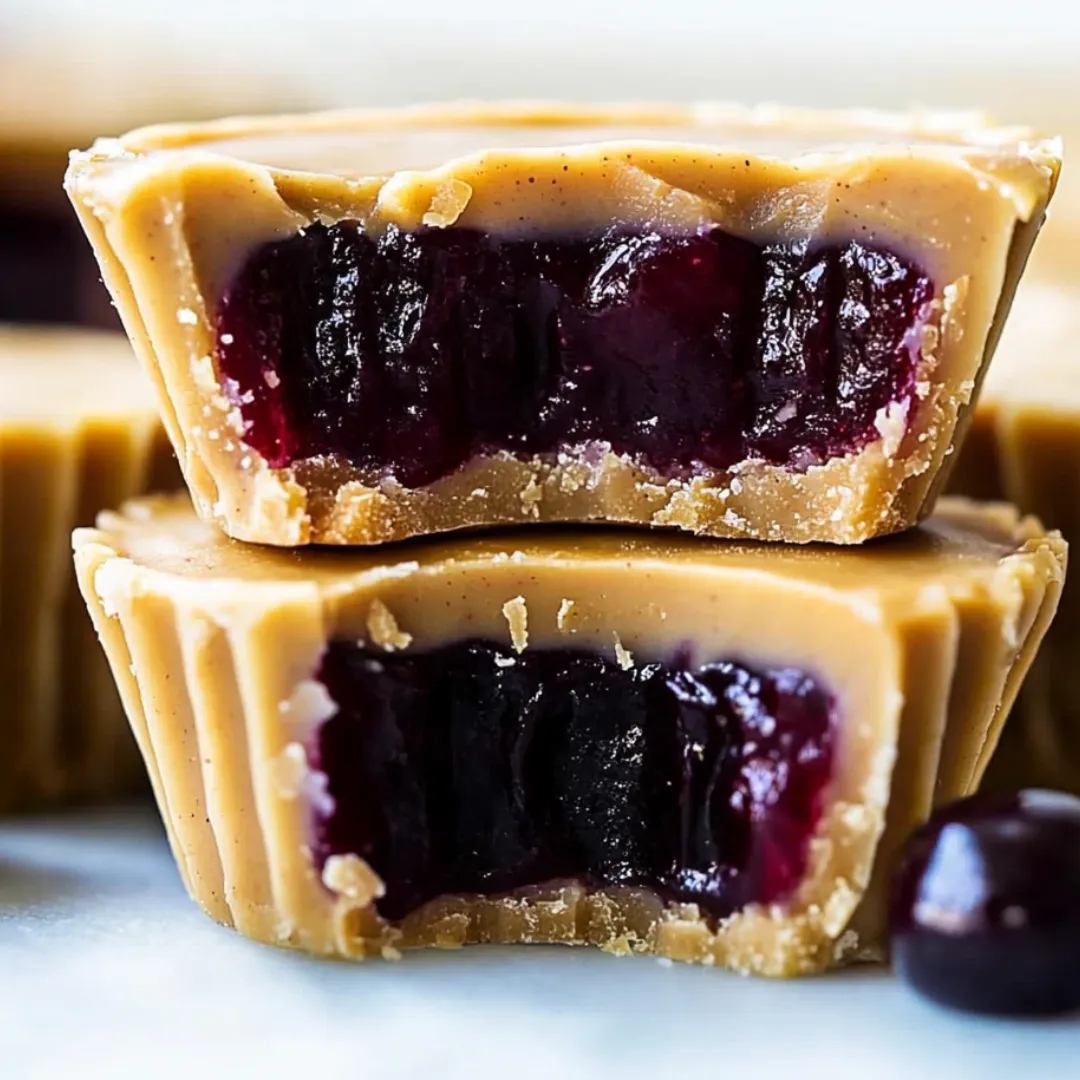
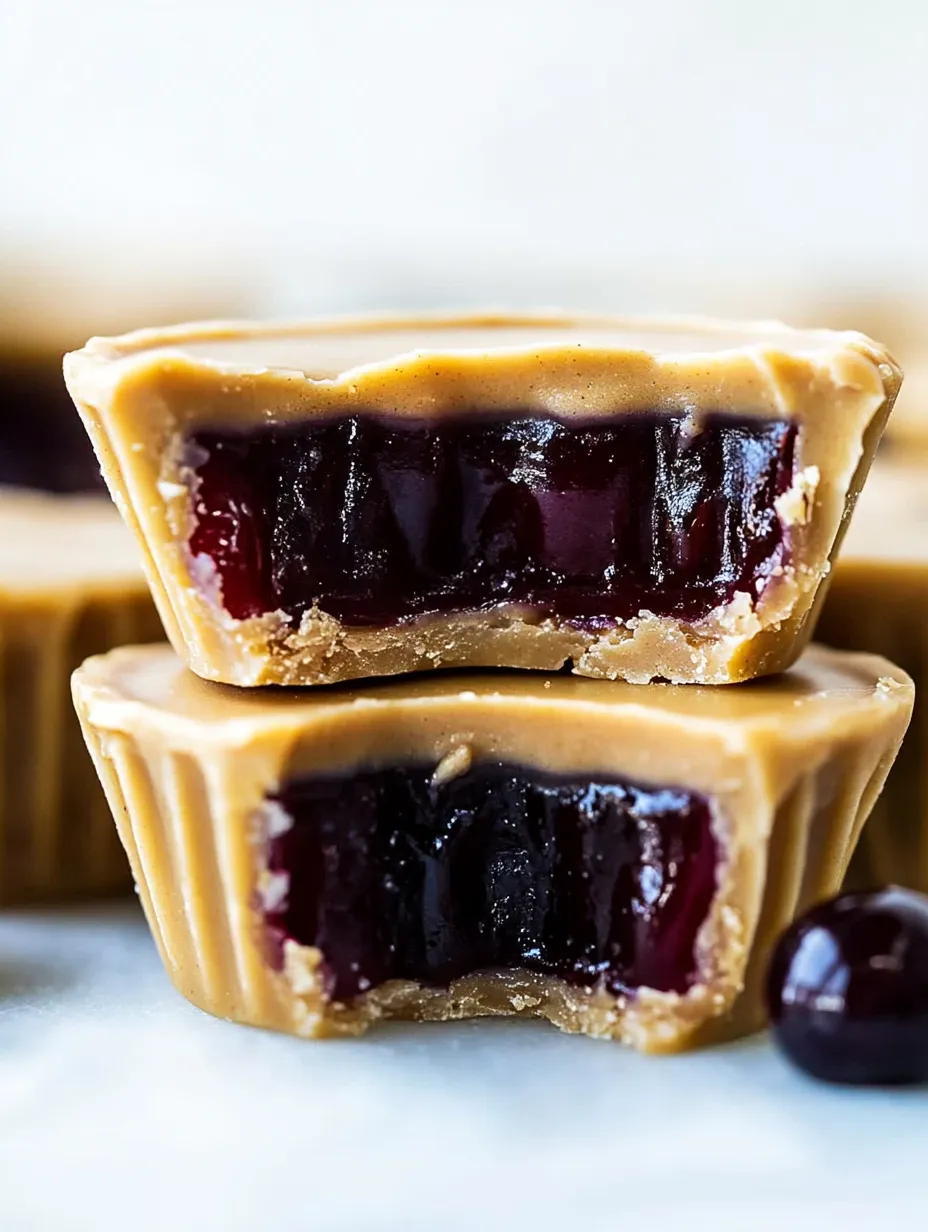
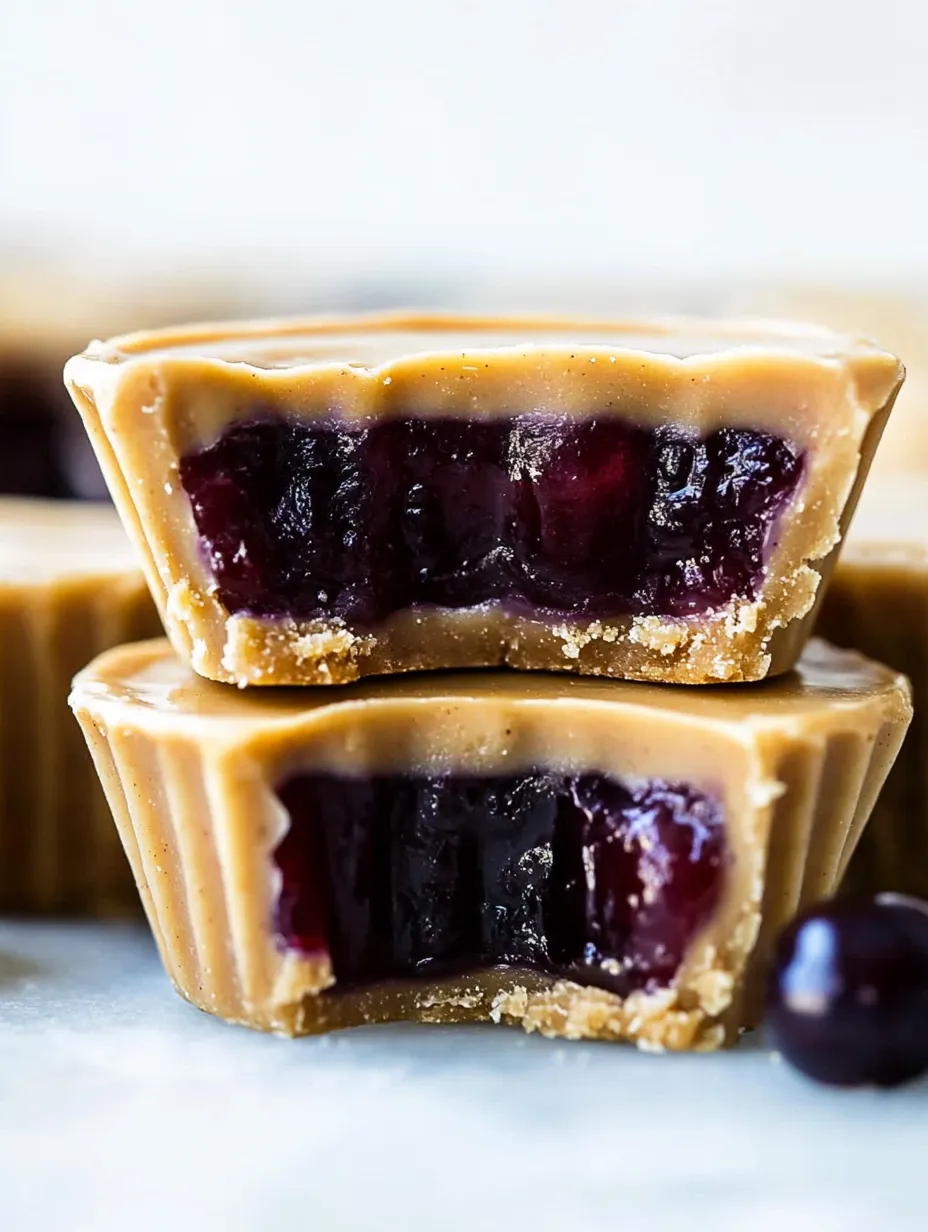
This frozen PB&J cups treat turns your favorite sandwich combo into a chilled snack with only three easy ingredients. When you bite in, the coconut oil gives that satisfying crack, while smooth peanut butter and jam deliver those familiar flavors we've grown up loving.
I started making these treats during rainy days as a healthier swap for candy from the store. Now they've become my standard offering when my kids have pals over. They vanish almost as fast as I can put them together!
Ingredients
- Coconut oil: This key ingredient creates that perfect solid texture that makes everything stay together
- Unsweetened peanut butter: Gives that rich taste and healthy fats look for natural options for best results
- Fruit-sweetened jam: Brings natural sweetness without added sugar pick quality brands for better flavor
- Optional salt: Boosts the overall taste and creates that can't-resist sweet-salty mix
- Optional coarse salt topping: Adds a fancy touch that makes the whole treat taste better
Step-by-Step Instructions
- Prepare Muffin Liners:
- Put 10 cupcake liners in a regular muffin tin or set up 10 silicone cupcake molds on a baking sheet, making sure they're firmly in place for filling.
- Create Peanut Butter Mixture:
- Gently warm the coconut oil in a small pot on low heat until it's just melted. Right away, mix it into the peanut butter until totally smooth. If your peanut butter doesn't have salt, toss in a couple pinches to make the flavor pop.
- Form Base Layer:
- Put one tablespoon of your peanut butter mix into each liner, making sure it spreads flat on the bottom. Stick the whole tray in the freezer for exactly 10 minutes so the base gets partly firm.
- Add Jam Center:
- Take the tray out when the bottom layer feels firm but isn't totally frozen. Drop two teaspoons of jam in the middle of each cup. Use your spoon back to flatten the jam gently without pushing it all the way to the edges.
- Complete The Cups:
- Add another tablespoon of peanut butter mix on top of each cup, making sure to cover all the jam. For the nicest look, start pouring in the middle and let it naturally spread outward.
- Freeze And Set:
- Put the tray back in the freezer for at least 30 minutes until they're completely hard. If you want to add coarse salt, sprinkle it on after about 5 minutes in the freezer when the tops are starting to set but aren't fully hard.
 Pin
Pin
Coconut oil really is the wonder ingredient in these small treats. I found out how important it was when I tried making them with just peanut butter and jam the first time around. Without adding coconut oil, they never fully hardened and turned into a tasty but super messy snack for everyone.
Storage Tips
You can keep these PB&J cups in the freezer for up to 3 months in a sealed container. I usually put parchment paper between layers so they don't stick together. If you want them softer, keep them in the fridge instead, but they'll be much less firm and should be eaten within 2 weeks.
Substitution Ideas
What's great about this treat is how easy it is to change up. Try using almond butter for a fancier taste or sunflower seed butter if you need to avoid nuts. You can swap in any jam you like tart raspberry works great against the sweet base, while apricot brings a different kind of sweetness. Instead of coconut oil, you might use cacao butter, though it will make them taste more like chocolate.
Serving Suggestions
These cups taste awesome straight from the freezer when it's hot outside, but let them sit out for about 5 minutes before eating in cooler weather. They go really well with an afternoon cup of tea or coffee. For a fancy dessert version, try putting a cup on a small plate with some fresh berries and a tiny bit of whipped coconut cream.
 Pin
Pin
FAQs About the Recipe
- → Will other nut spreads work too?
Absolutely! Try it with cashew spread, almond butter, or whatever nutty option you've got in your pantry.
- → Which jam should I pick?
Naturally sweetened fruit jams work great, but honestly any jam you love with nut butter will taste amazing.
- → Where should I keep them?
Pop them in a sealed container and stick them in your freezer for firm treats or fridge if you want them softer.
- → Can I make more at once?
For sure! Just double or triple everything to make a bigger batch.
- → How do I stack the different parts?
Start with some nut butter mix at the bottom, drop jam in the middle, then cover with more nut butter mix before freezing.