
 Pin
Pin
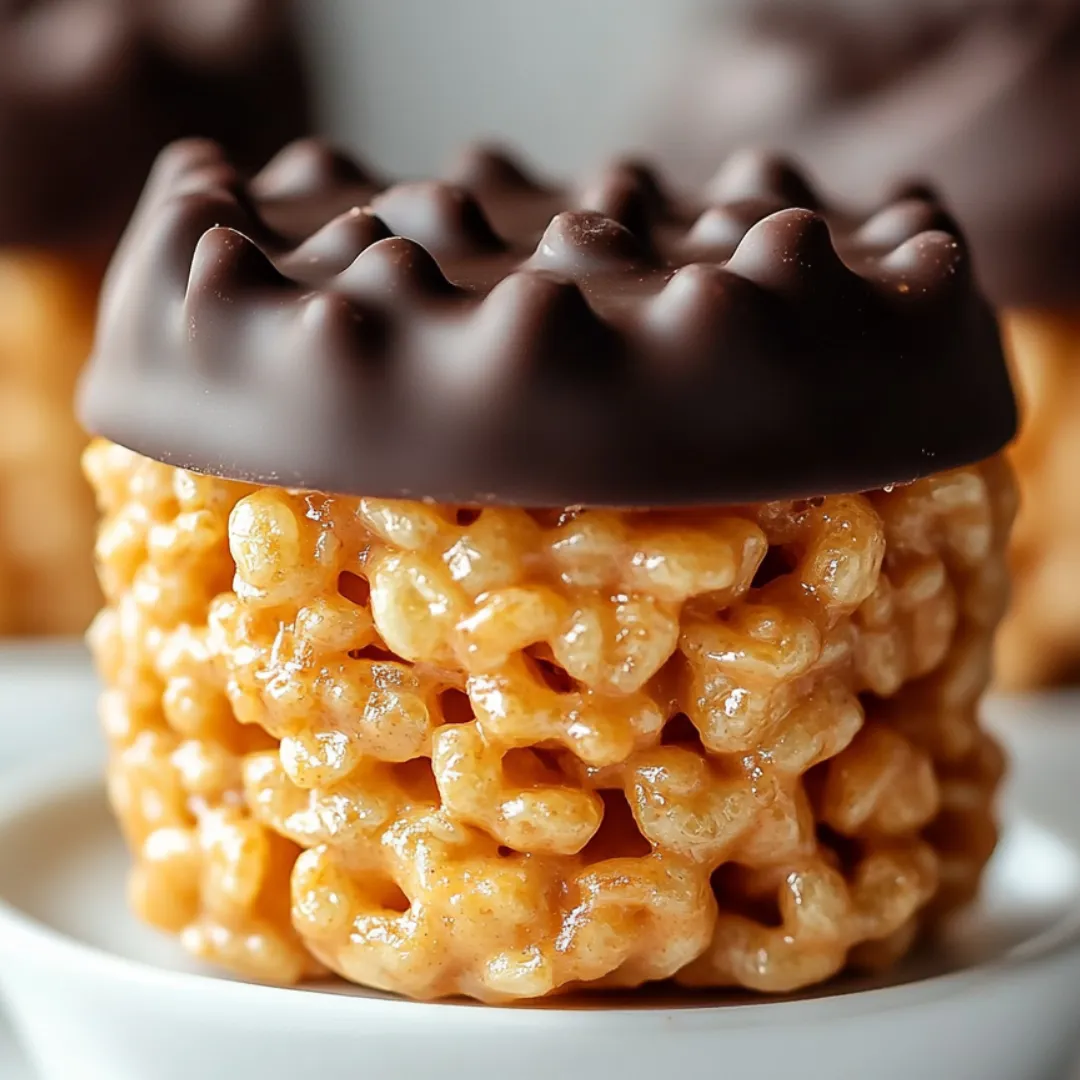
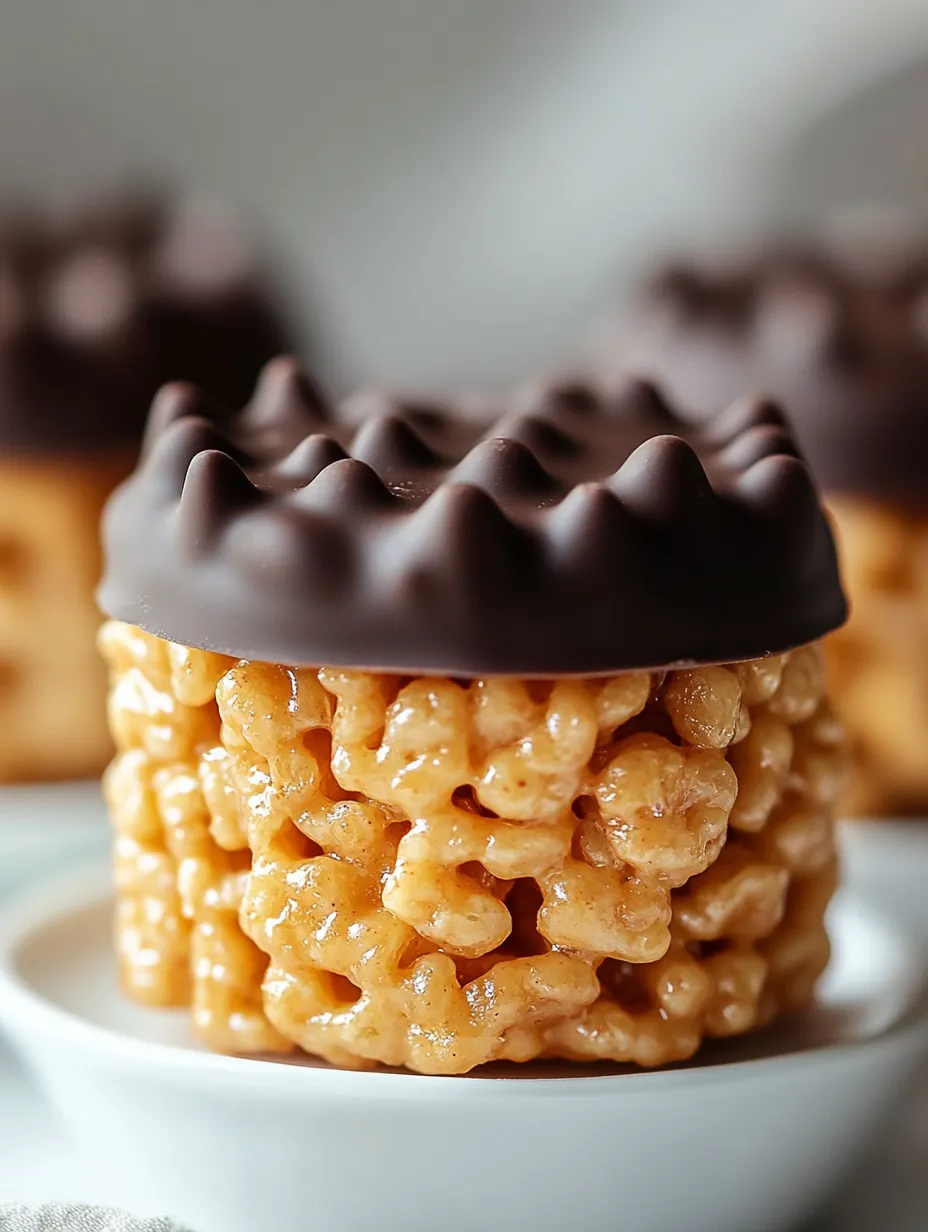
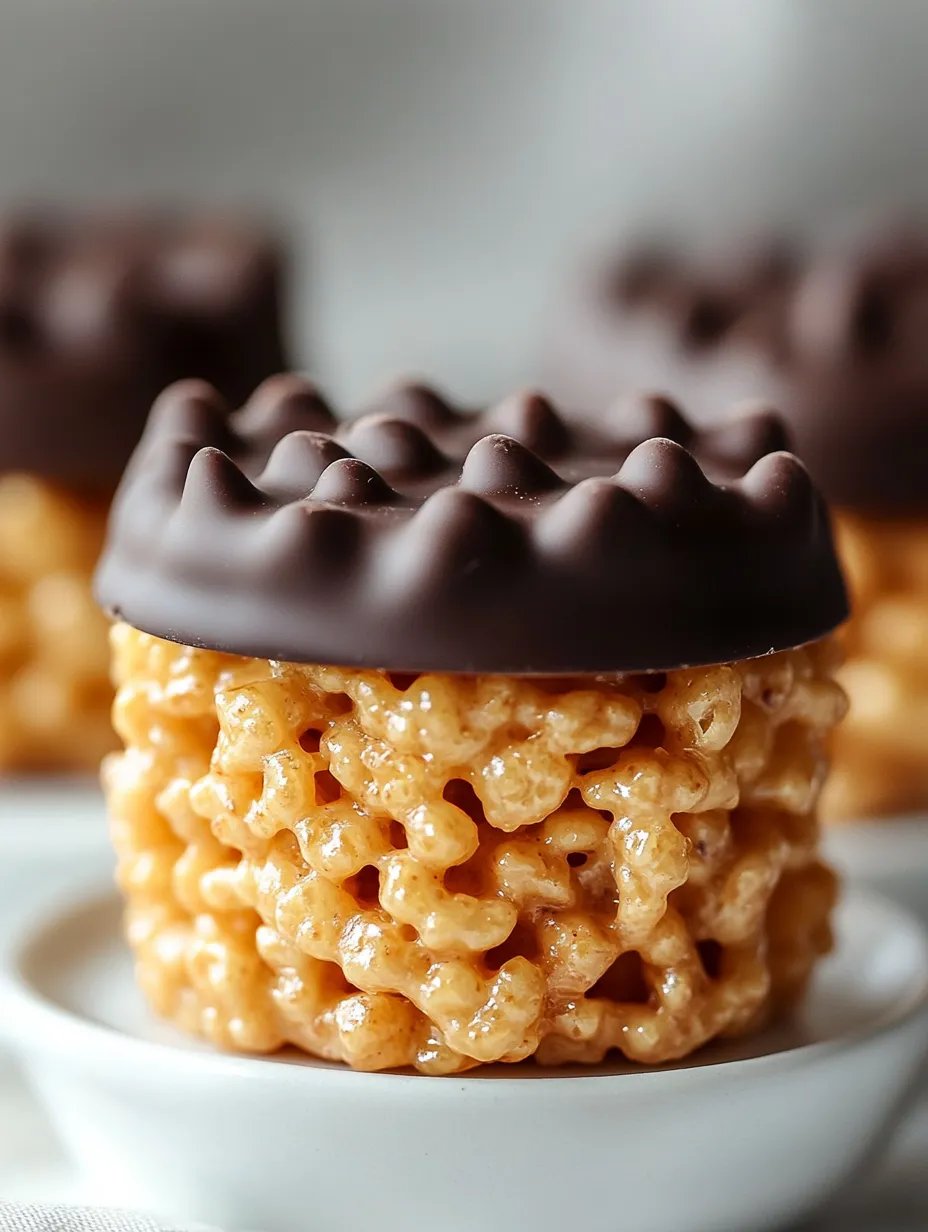
These mini peanut butter chocolate cereal cups turn basic items into mouthwatering treats that perfectly balance sweet, salty, and crunchy elements. Mixing crisp cereal with smooth peanut butter and decadent chocolate creates a treat that brings back memories while feeling fancy enough for everyone to enjoy.
I whipped these up at my nephew's party when our oven suddenly quit working. They were such a success that my family now calls them our "backup dessert" – though we don't really wait for disasters to make a batch!
Ingredients
- Rice Krispies cereal: 3 cups gives you that signature light, airy crunch that makes these treats so satisfying
- Chocolate chips: 1½ cups forms a delicious top layer that locks in flavor – go for quality chips for better taste and smoother melting
- Chunky peanut butter: 1 cup brings rich nutty taste and fun texture bits – try the natural kind for stronger flavor
- Honey: 6 tablespoons acts as your sweet glue that keeps everything stuck together while adding gentle flower hints
- Salt: ⅛ teaspoon boosts all the flavors and creates that can't-stop-eating sweet-salty mix
Step-by-Step Instructions
- Set up your pan:
- Put paper or silicone liners in a regular muffin tin so your treats won't stick later. This helps them keep their cup shape and come out cleanly.
- Mix the sticky stuff:
- Put your peanut butter, honey, and salt in a medium pot over low heat. Keep stirring for about 3-4 minutes until everything melts together smoothly. Low heat helps avoid burning while getting everything well mixed.
- Add your cereal:
- Take the pot off the heat and dump in your Rice Krispies right away. Stir everything together gently for about 2 minutes, making sure all cereal gets coated without smashing it.
- Shape into cups:
- Spoon the mixture evenly into 12 muffin cups. Use a spoon back or slightly wet fingers to push down in the middle of each one, making a little dent for the chocolate to sit in.
- Top with chocolate:
- Melt your chocolate chips in the microwave or a double boiler, stirring every 30 seconds until smooth. Carefully pour the melted chocolate over each cup, filling the dent and covering the top.
- Cool them down:
- Put the whole muffin tin in your fridge for at least 1 hour, though 2 hours works better. They're ready when they feel firm and the chocolate has completely hardened.
 Pin
Pin
Chunky peanut butter really makes this recipe special. My little girl used to eat around all the peanut bits, saving them for last like they were tiny treasures. Now she's a teen, but she still gets the same happy look when she bites into one and finds those hidden peanut chunks.
Tasty Serving Ideas
These crispy cups taste amazing with a scoop of vanilla ice cream on the side. The mix of cold, smooth ice cream with the chewy, crunchy treats makes both parts taste even better. For a really cool effect, put a slightly warm cup next to cold ice cream and watch the chocolate soften a bit, giving you different temperatures in each bite.
 Pin
Pin
Keeping Fresh and Planning Ahead
These treats actually taste better after sitting for a day as the flavors mix together and the texture settles. Keep them in a sealed container with parchment paper between layers so they don't stick together. They'll stay good at room temperature for 3 days, in the fridge for up to a week, or in the freezer for 3 months. If you freeze them, let them sit out for about 20 minutes before eating to get the right texture back.
Different Ways to Make Them
You can easily change up the basic recipe to try new flavors. Swap in almond butter instead of peanut butter for a lighter taste. Try white chocolate on top for a sweeter, creamier finish. To make them look extra special, add some sprinkles, chopped nuts, or a tiny bit of sea salt on the still-wet chocolate to boost that sweet-salty combo.
FAQs About the Recipe
- → Can I use smooth peanut butter instead of chunky?
Absolutely, smooth peanut butter works great in this recipe, but chunky gives you more crunch and texture.
- → How can I make this dessert vegan?
Just grab some vegan chocolate chips and swap the honey for maple syrup or agave nectar.
- → Do I need special liners for the muffin tin?
Regular paper liners or silicone cups work great and make it easy to pop the treats out.
- → Can I store these cups for later?
You can keep them in the fridge in a sealed container for a week or toss them in the freezer to last even longer.
- → What other toppings can I add?
Try sprinkling some crushed nuts, a bit of sea salt, or tiny marshmallows on top before the chocolate hardens for extra yumminess.