
 Pin
Pin
Whenever there's a celebration at my place, these melt-in-your-mouth butter mints make everything feel a little brighter. I keep making them for any get-together—baby showers, holidays—you name it. Once you try their silky-smooth, sweet, minty bite, you'll get why they're a staple on my table.
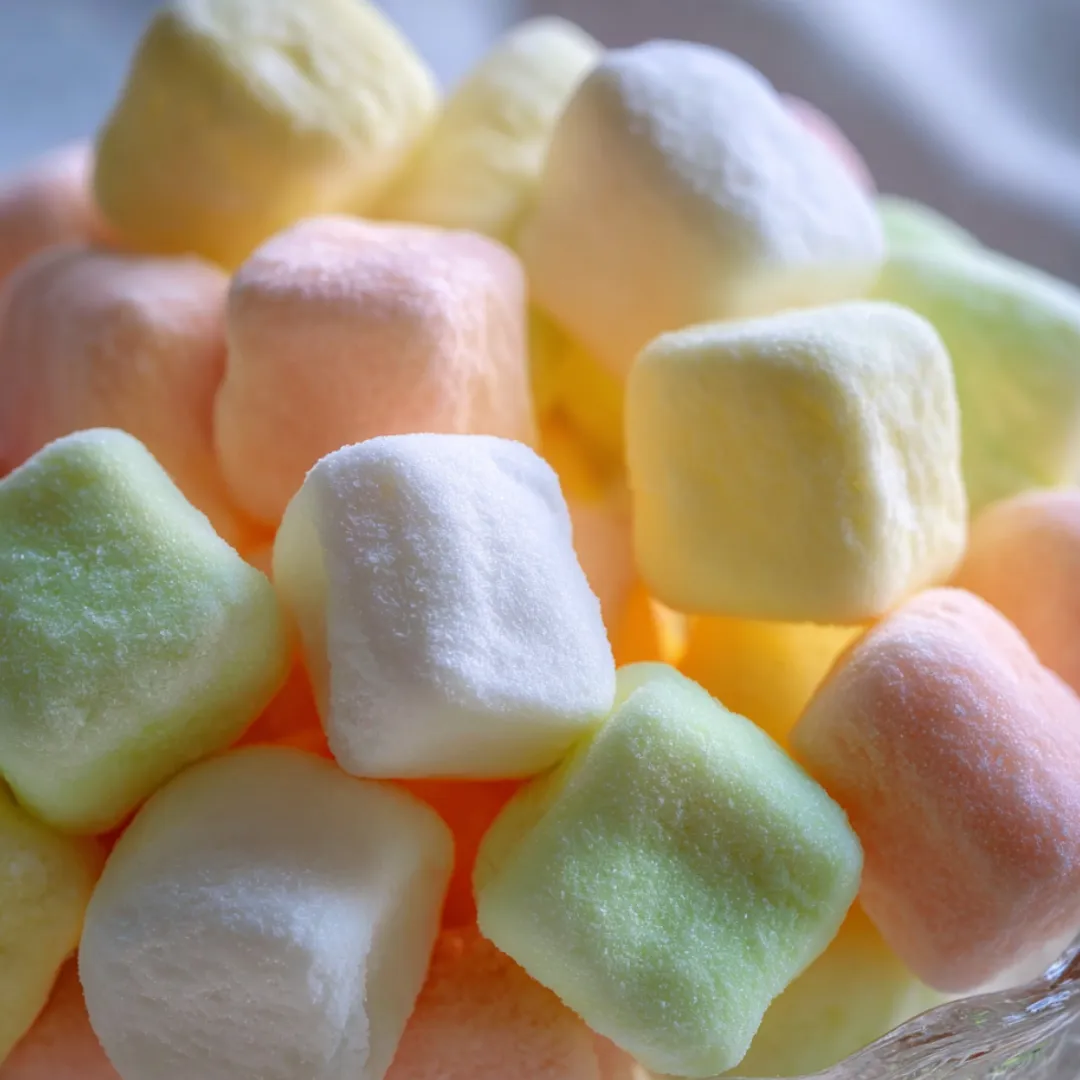
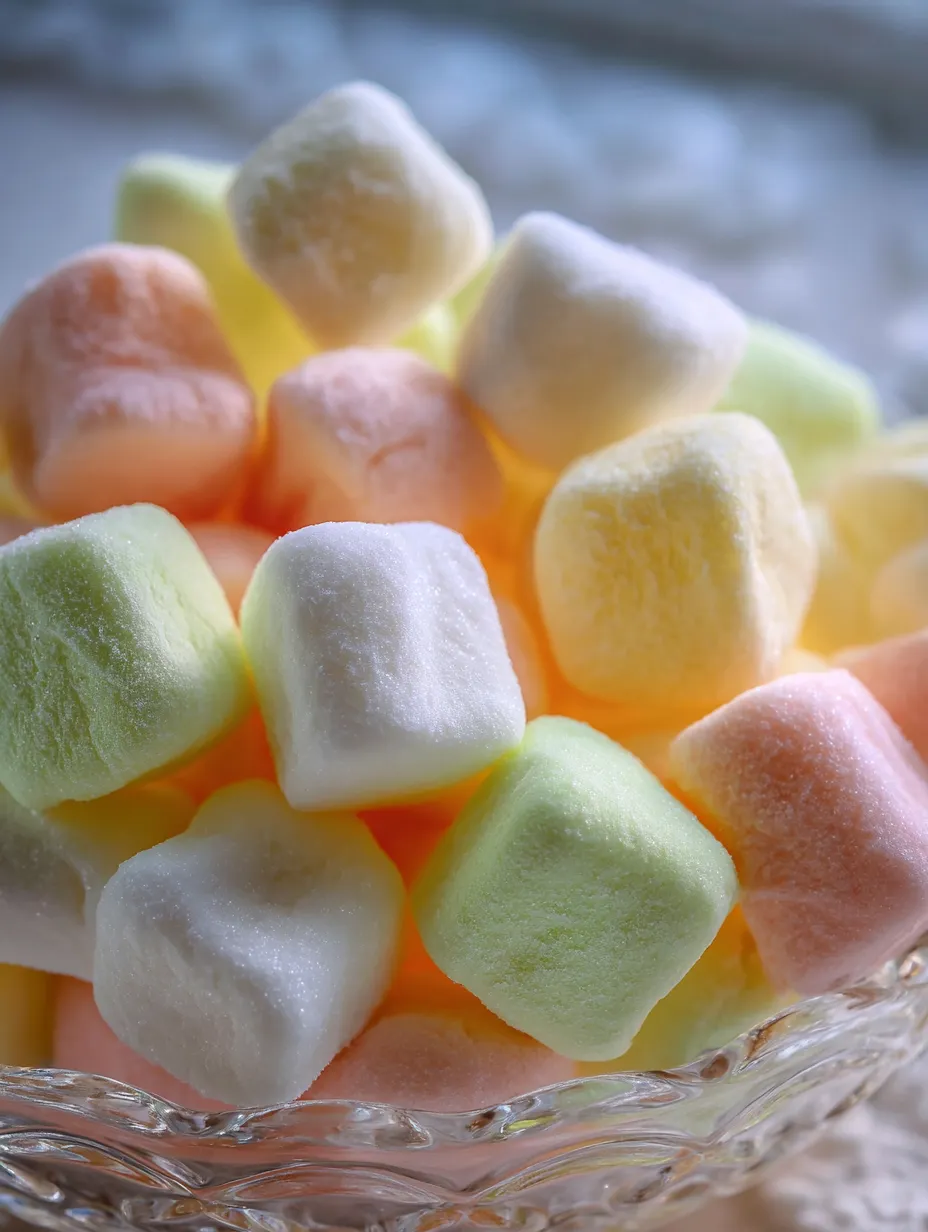
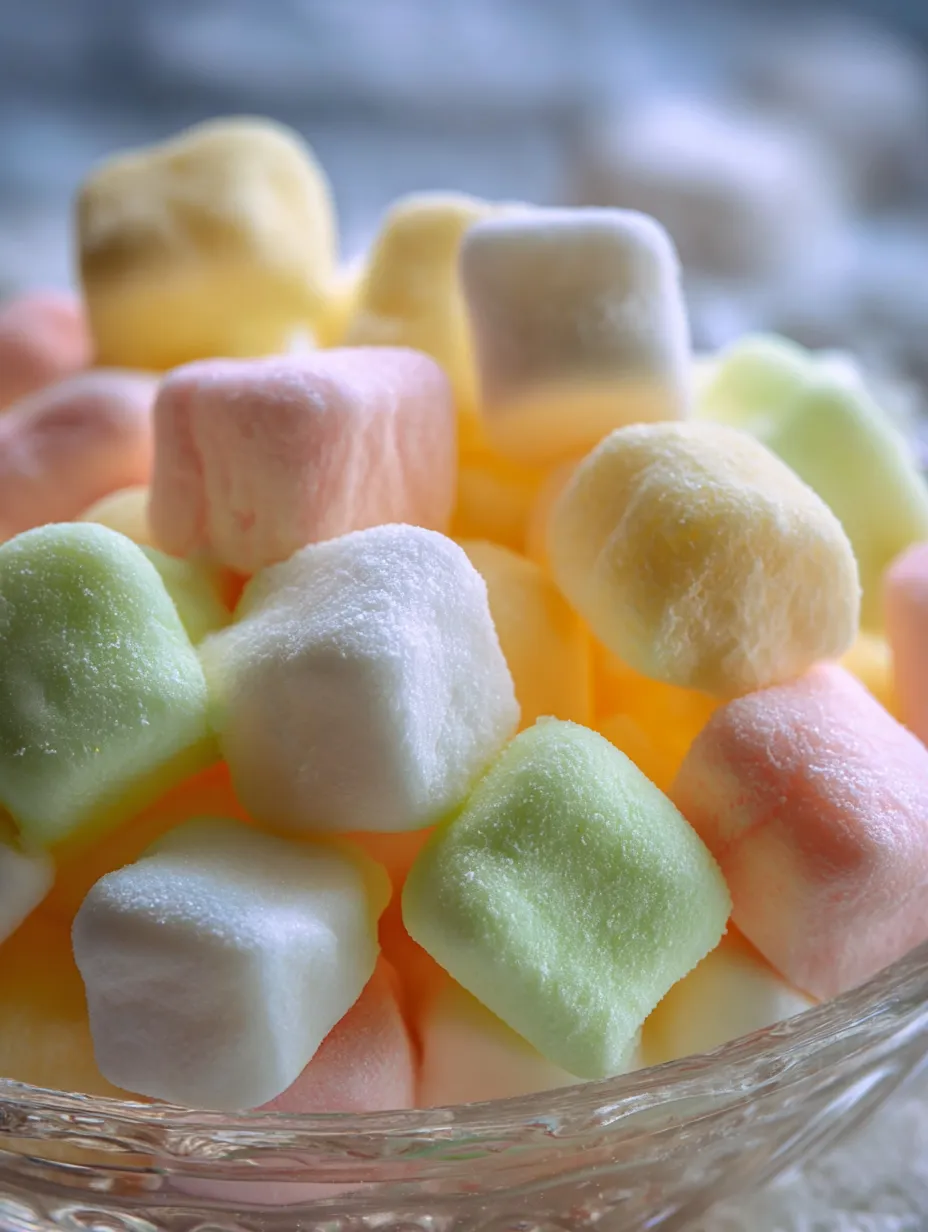
My daughter and I first made a whole batch in every color of the rainbow on a snowy day for a wedding shower, and now no family milestone feels complete without a bowl of these on hand.
Dreamy Ingredients
- Vanilla: rounds out the flavors and gives that familiar warm note—go for real vanilla if you can
- Food coloring: brings a pop of pastel color that makes these candy bites special—gel is best for less mess and bold shades
- Extract like peppermint or lemon: adds a unique zing—try to use top-notch extracts for the purest taste
- Sweetened condensed milk: adds creamy sweetness and helps everything stick together; pick a brand with just milk and sugar
- Powdered sugar: sweetens things up and helps the mints hold together—sift it first for the silkiest mix
- Softened butter: the secret to that dreamy, creamy feel—make sure it's unsalted and fresh for the best results
Simple How-Tos
- Let the Mints Dry
- Set the pillowy mints out in one layer on a baking sheet. They'll dry out and get their signature texture after hanging out uncovered for a full day.
- Shape the Mints
- Roll out bits of colored dough into long ropes, about as thick as your finger. Cut crosswise into bite-sized pieces and spread them out on your clean board.
- Add Colors
- Divide your dough into a few batches, depending on how many shades you'd like. Drop in food coloring and knead it in until pastel swirls show up—wear gloves or use a mixer to keep your hands neat.
- Get the Dough Going
- Toss in powdered sugar, condensed milk, vanilla, and your extract to the butter. Beat everything on medium till it forms a thick, playable dough. Scrape the sides as you go. If it’s sticky, just add a sprinkle more sugar.
- Smooth Out the Butter
- Use your mixer to cream the butter till there aren't any lumps—about half a minute. This sets up the smooth texture the mints are famous for.
 Pin
Pin
Good-to-Know
- Makes a sweet treat you can prep way ahead of time and skip the oven
- Freeze them for up to eight weeks and they’ll still taste amazing
- No two batches look exactly alike—those pretty pastel swirls are all part of the homemade charm
That cool burst from the peppermint always brings me back to my childhood, remembering my grandma shaping lovely ropes of dough for springtime gatherings. The whole kitchen smelled fresh and sweet—it’s a memory that sticks with me every time I make them.
How to Store
Keep your mints sealed tight in the fridge for up to three weeks, or stash them away in the freezer for eight weeks. Let them warm up to room temp, so they get soft and creamy every time you serve them.
Easy Swaps
Lemon or cinnamon extract gives a totally new flavor twist if you want to match a party vibe. Dairy-free butter and coconut condensed milk can make these work for folks who can’t do dairy—they’ll taste a little different but still good.
 Pin
Pin
Serving Ideas
Fill pretty jars or line cupcake papers with your mints for showers, teas, or special parties. Tuck a few into treat bags with a ribbon for thoughtful little gifts anyone would love.
Backstory
Butter mints started in Southern kitchens in the US. Hostesses used to set out little bowls of them for guests to feel welcome. They're still made just as much for their old-school goodness and charm as for their melt-in-your-mouth texture.
FAQs About the Recipe
- → Could I pick different extract flavors?
Definitely! You can swap in peppermint, almond, lemon, or even cinnamon extract to jazz up your mints.
- → What can I do if my dough keeps sticking?
When it's sticky, just sprinkle in extra powdered sugar. Keep going till it’s easy to roll and work with.
- → How do I get the color into the dough?
Drop in a tiny bit of food color. Work it through by hand or use the paddle on your mixer if you don’t want stained hands.
- → How should I keep the mints fresh?
Put your finished mints in something airtight. Slide them in the fridge for weeks, or freeze and save them for a couple of months.
- → Is it okay to make these mints days before a big event?
For sure—make them ahead and stash in the fridge or freezer until you’re ready to set them out for your guests.
- → How chunky do the pieces have to be?
Roll the dough into skinny ropes. Chop them up into little bites for that classic look everyone expects.