
 Pin
Pin
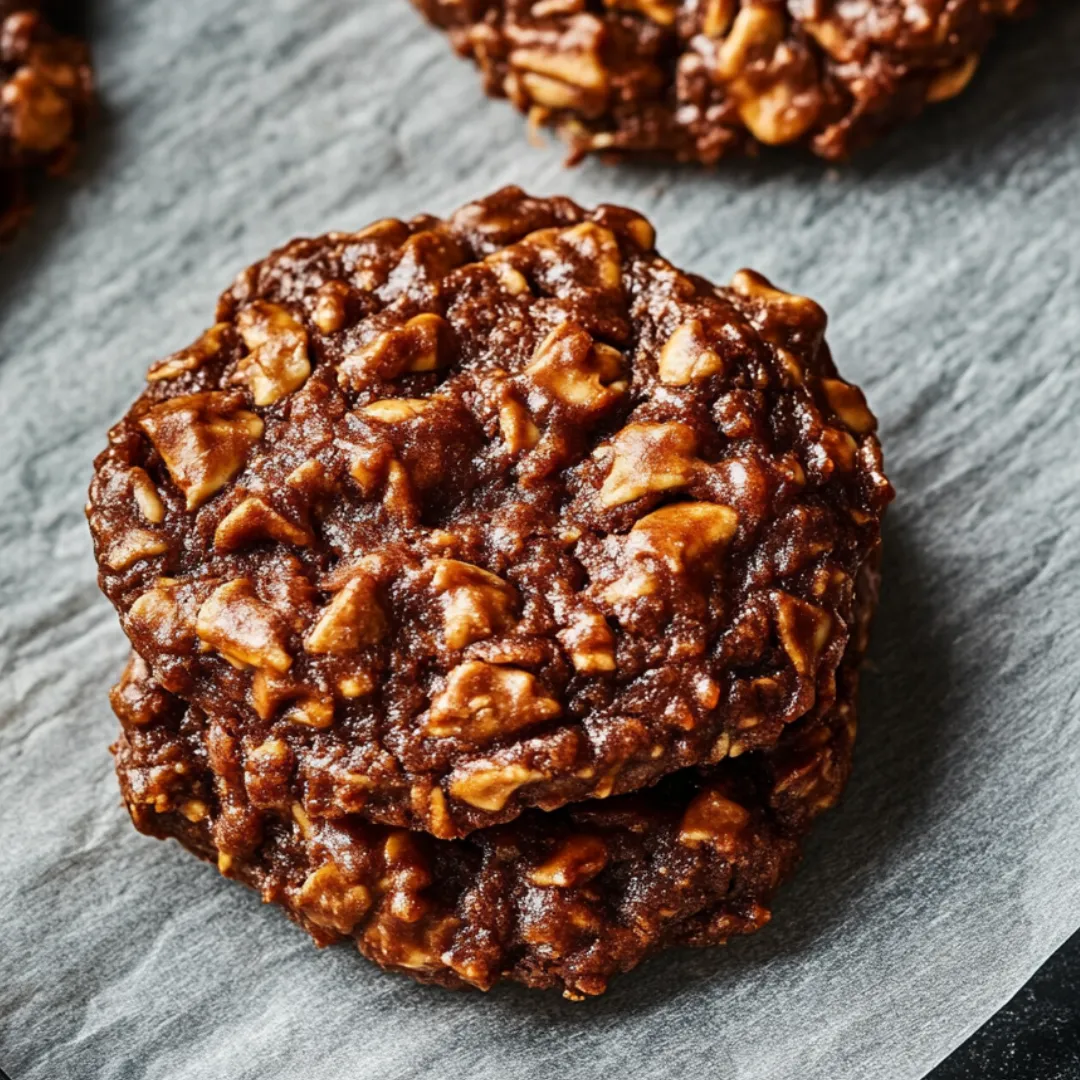
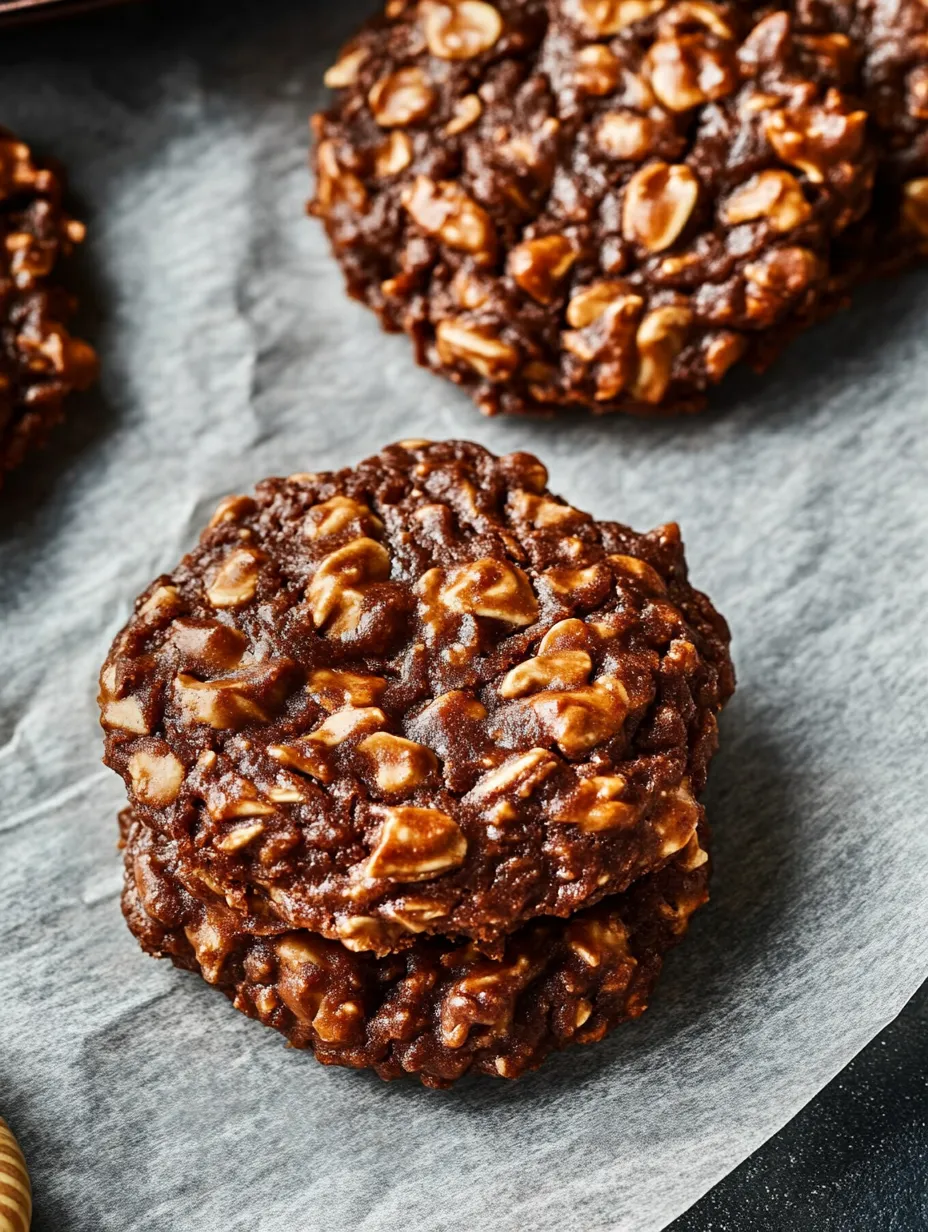
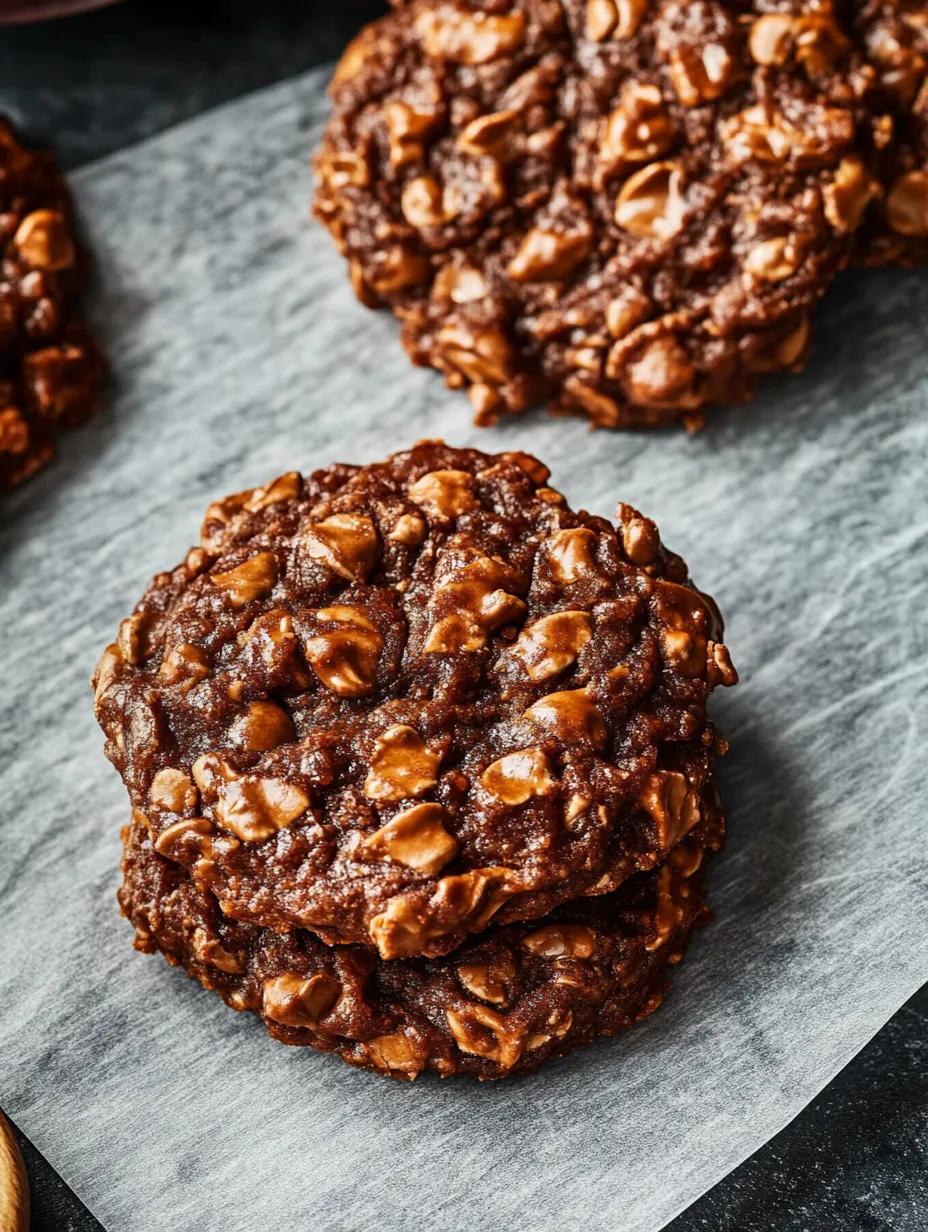
During scorching summer days when I can't bear to turn on the oven, these traditional No-Bake Cookies come to my rescue. They mix the unforgettable combo of chocolate, peanut butter, and oats into a treat that my family gobbles up before I've even put away the mixing bowl.
I first whipped these up during a blackout when my children were desperate for sweets. Now they beg for them all the time, even with working electricity, because they've grown into our family's go-to comfort treat.
What You'll Need
- Unsalted butter: Adds richness and holds everything together. Better butter means better flavor.
- Granulated sugar: Makes them sweet and helps them firm up as they cool down.
- Milk: Brings needed moisture. Go with whole milk if you can, but any kind works.
- Unsweetened cocoa powder: Gives that rich chocolate taste without extra sugar. Dutch process cocoa makes them taste even better.
- Creamy peanut butter: Brings that nutty flavor and helps them set up right. Watch out with natural kinds as they might change how firm they get.
- Pure vanilla extract: Boosts all other flavors. The real stuff really shows up in the taste.
- Kosher salt: Cuts the sweetness and makes the chocolate taste pop.
- Quick oats: Creates that perfect chewy bite. Regular old fashioned oats work too but feel different in your mouth.
Making Your Cookies
- Get Ready:
- Put parchment paper or silicone mats on two cookie sheets so the cookies won't stick. Don't skip this or you'll never get the cookies off your trays.
- Mix Up The Chocolate:
- Throw butter, sugar, milk and cocoa powder into a pot over medium heat. Give it a stir now and then until you see bubbles all over, not just around the edges. When it's bubbling everywhere, time it for exactly one minute. This timing trick makes sure they'll set right.
- Add Your Flavor Boosters:
- Take it off the heat after that one minute. Mix in peanut butter, vanilla extract and salt until everything's smooth and the peanut butter has all melted. You want it looking shiny and well mixed.
- Dump In The Oats:
- Pour in all three cups of oats at once and stir until every bit of oat gets coated with chocolate. Don't drag your feet here since the mix starts hardening as it cools down.
- Shape Your Cookies:
- Spoon about 2 tablespoons of mix onto your lined sheets. If you want them all the same size, grab a cookie scoop. Keep them about an inch apart since they'll spread a little.
- Let Them Firm Up:
- Leave the cookies alone for 20 to 30 minutes at room temp until they're totally cool and hard. You'll notice they change from shiny to dull-looking when they're done.
 Pin
Pin
What I love most about making these is watching my kids circle the kitchen while they cool, constantly asking if they're ready to eat yet. That waiting game is almost as fun as eating them, which is why I always make twice as many now.
Keeping Them Fresh
These no bake treats stay good in a sealed container at room temperature for about 3 days. Want them to last longer? Pop them in the fridge for up to a week, which gives them a nice cool texture some of my family actually prefers. They're great for freezing too. Just put parchment paper between layers in a container and freeze for up to 3 months. Let them sit out about 30 minutes before you eat them.
Fixing Common Problems
If your cookies won't harden properly, you probably didn't boil them long enough. The mix needs to hit what candy makers call the soft ball stage, which happens after boiling hard for a full minute. Humidity can mess with them too. On really muggy days, you might need another 1/4 cup of oats to soak up extra moisture. If they turn out too dry and crumbly, you likely boiled them too long. Getting the timing just right matters a lot here.
 Pin
Pin
Tasty Twists
The basic version tastes amazing on its own, but you can jazz them up tons of ways. Try mixing in 1/2 cup coconut flakes for a beachy vibe, or swap out peanut butter with almond butter if someone can't eat peanuts. During Christmas, I love adding a bit of peppermint extract and sprinkling crushed candy canes on top. Want more texture? Toss in 1/3 cup chopped walnuts or pecans after you've mixed in the oats.
Ways to Enjoy Them
These cookies go great with a cold glass of milk for dipping or try putting a scoop of vanilla ice cream between two cookies for a fancy treat. Sometimes I'll serve them with fresh berries and yogurt for brunch. They also work perfectly in packed lunches since they stay good without refrigeration for several hours.
FAQs About the Recipe
- → What is the texture of no-bake cookies?
These cookies have a chewy middle with a bit of firmness on the outside and pack a smooth, rich taste from the blend of chocolate and peanut butter.
- → Can I use old-fashioned oats instead of quick oats?
Sure thing, but your cookies will feel a bit coarser and won't hold together as well since old-fashioned oats come in bigger pieces than quick oats.
- → How do I store no-bake cookies?
Pop them in a sealed container at room temp for up to 3 days, stick them in the fridge for a week, or freeze them if you want them to last even longer.
- → Can I substitute almond butter for peanut butter?
Absolutely, swap in almond butter if you want. It'll give you a somewhat different taste but won't mess up how the cookies turn out otherwise.
- → What makes no-bake cookies set properly?
You've got to let the mix come to a complete bubbling boil for a full minute so the sugar melts and sticks everything together right. If you skip this part, you'll end up with cookies that don't firm up.