
 Pin
Pin
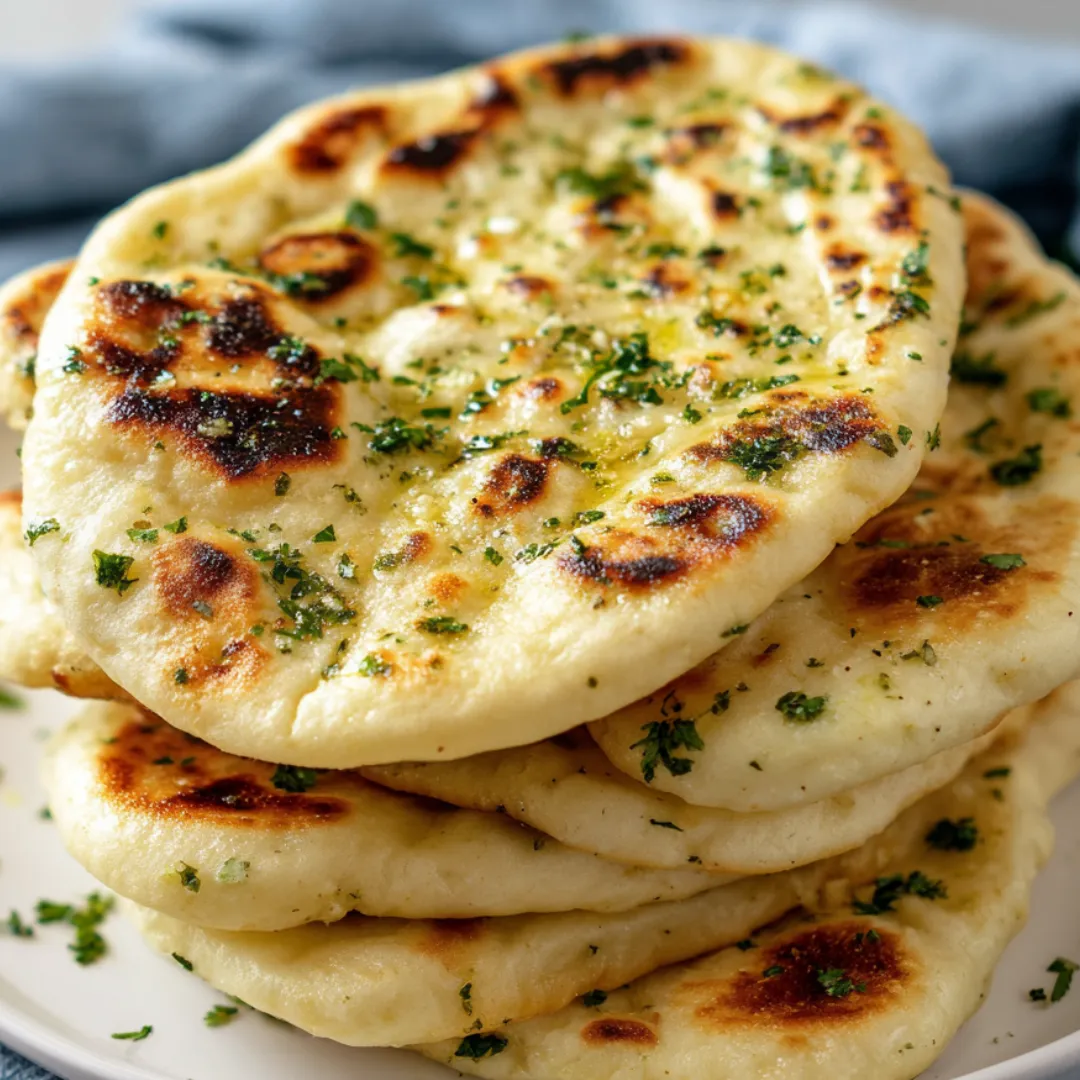
Baking your own garlic pita bread fills your kitchen with the best smells and a hit of buttery garlic. It’s super easy, tastes fresher than anything at the store, and comes out fluffy, soft, and loaded with flavor. Perfect for sopping up spreads or enjoying on the side with your go-to Mediterranean meal.
When I whip up these pitas, honestly the hardest part is keeping my hands off them long enough to get the garlic butter on. My whole family hangs out by the stove just waiting for a warm bite.
Irresistible Ingredients
- Fresh parsley: finishes each round with fresh flavor and a pop of green. Chop it last minute for a burst of brightness.
- Fresh garlic: brings zippy punch to every bite. Always go for freshly pressed cloves over anything packaged.
- Butter: makes the topping rich and delicious. Real butter gives the best melt and taste.
- Olive oil: keeps everything moist and brings a hint of fruitiness. Extra virgin upgrades the flavor even more.
- Water: helps blend your dough. Use room temp or lukewarm water to nail the right texture.
- Milk: gives a little richness and makes things super soft. Warming it a bit will help your yeast get started.
- Active dry yeast: lifts the dough for that signature fluffy pocket. Double check it’s fresh—you want a strong rise.
- Salt: evens out flavors and helps yeast do its thing. Fine sea salt is great if you have it.
- All-purpose flour: brings everything together and keeps your pitas soft. Fresh flour makes a big difference.
Simple Step-by-Step Directions
- Make Garlic Butter Topping:
- Melt your butter in a bowl you can microwave, then stir in chopped fresh parsley and pressed garlic. Brush over warm pitas as soon as they’re done.
- Keep Warm and Repeat:
- As each pita finishes cooking, wrap it up in a towel to keep soft. Repeat for all your dough balls.
- Cook on the Stove:
- Heat a skillet with just a little olive oil over medium-high. Lay a rolled-out pita in and cook until you see bubbles, about thirty seconds. Flip and toast the other side—get both golden. It won’t take long per side.
- Roll out the Pitas:
- Grab one dough ball, dust it with flour, and use a rolling pin to flatten it into a circle, about a quarter inch thick. Roll the rest, keeping them covered so they don’t dry out.
- Form Dough Balls:
- Shape each dough piece into a neat ball with your hands so they cook up evenly. Stash them under a towel while you work.
- Shape the Dough:
- Scatter a little flour over your work space. Press the dough gently into a circle and slice into six pieces.
- Let the Dough Rise:
- Seal up your bowl with plastic and toss a kitchen towel over it. Leave somewhere warm for about an hour. This is when your dough gets fluffy.
- Knead in the Olive Oil:
- Pour in olive oil and start kneading. Scrape up any bits from the sides and go until it’s nice and smooth—no dry patches left.
- Combine Wet Ingredients:
- Add warm water and milk to the dry mix. Stir until you’ve got a rough, shaggy ball of dough.
- Mix the Dry Ingredients:
- Dump flour, salt, and yeast into a big bowl. Whisk well so everything’s even—this gets your pita rising right.
 Pin
Pin
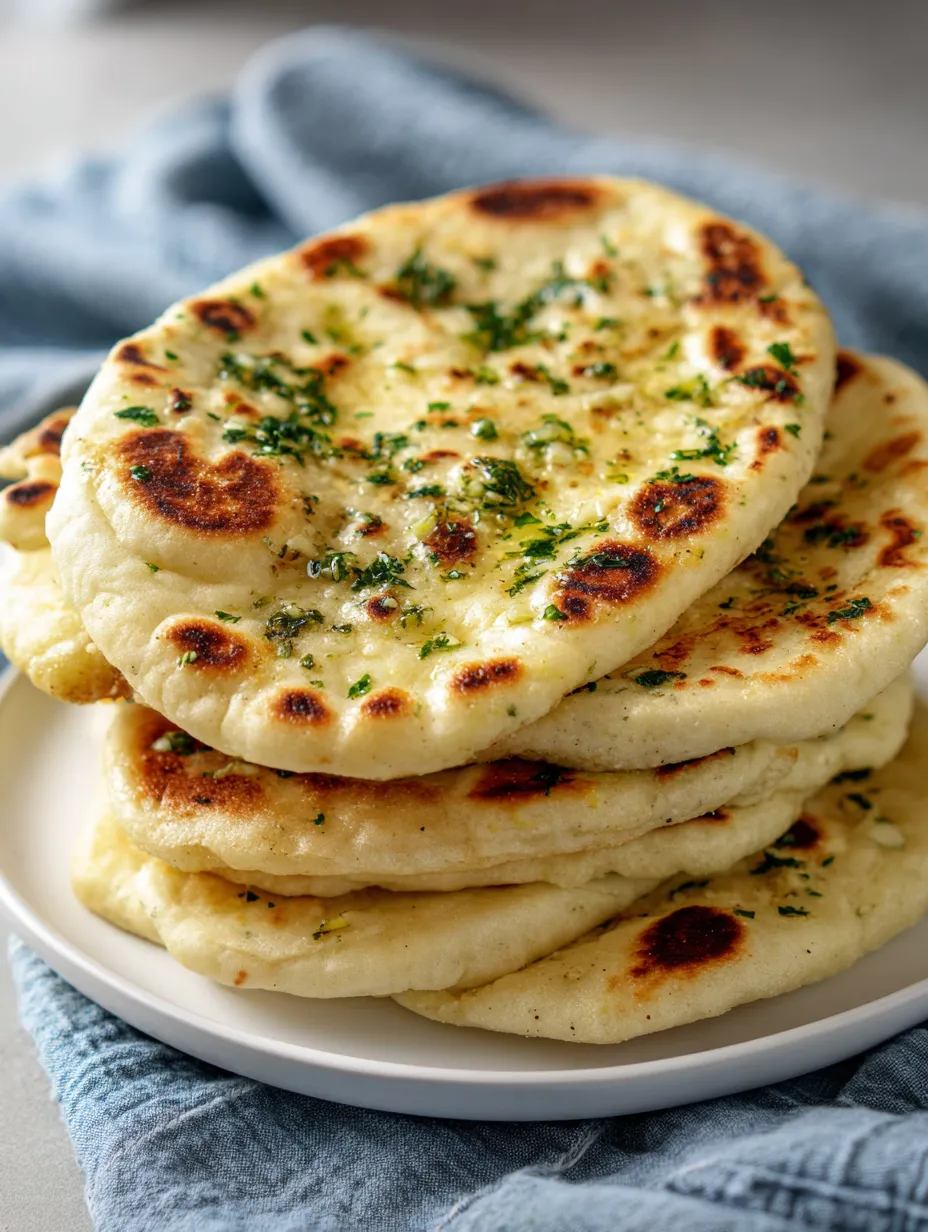
Baking these reminds me of family movie marathons, when we’d pull steaming pitas apart and dunk them in garlicky hummus. I always go heavy on the buttery garlic—and tossing fresh parsley on top just brightens the whole thing up.
How to store it
When they’re totally cool, stash your garlic pitas in a sealed container or bag for up to three days. You can quickly rewarm them in the toaster, give them a zap in the microwave, or toss right back into a pan on the stove. They also freeze really well. Stack with parchment between each one and seal in a freezer bag for two months. You don't have to thaw—just bake straight from frozen at three fifty until hot.
Swaps you can make
Can’t do regular flour? A good gluten free all-purpose mix works. Try swapping in some whole milk yogurt for a richer bite. Change up the herbs—dill or cilantro are both fun. For a dairy-free version, reach for vegan butter and your favorite plant milk.
 Pin
Pin
How to serve
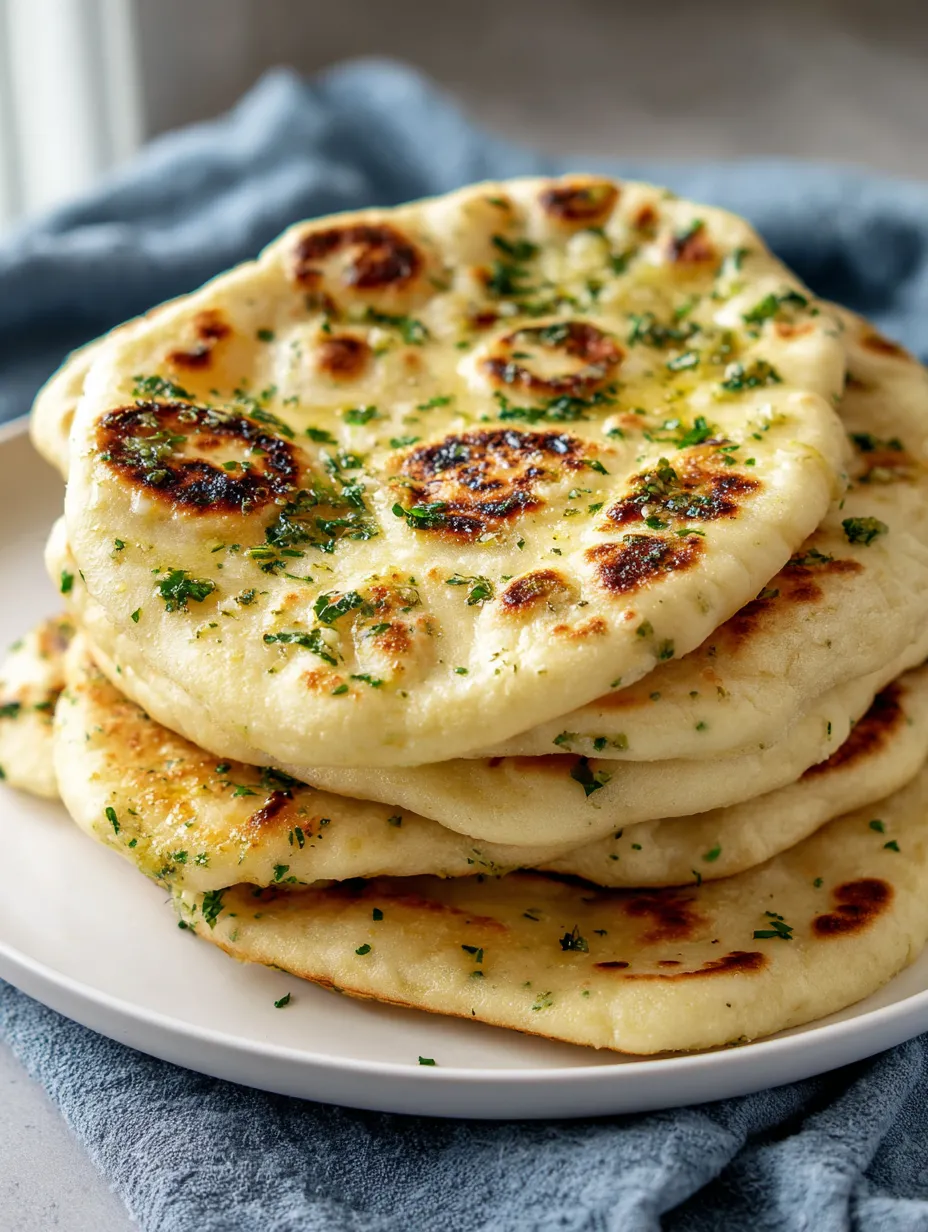
Keep them warm and fluffy for dipping in hummus, tzatziki, or baba ganoush. They’re great as a side for salads, soups, or stews too. Stuff them with grilled chicken or roasted veggies for wraps. Hosting? Cut into pieces and pass out with all your favorite dips.
Meaning behind it
Pita is loved everywhere from the Mediterranean to the Middle East for its swirl of uses—tear it, stuff it, or share with friends. The garlic and herb twist takes some notes from Greek and Turkish kitchens. My Greek grandma always brushed hot bread with fragrant olive oil and herbs, and making this brings those memories flooding back.
FAQs About the Recipe
- → What can I do so the pita stays tender?
Catching the warm pita in a towel right after cooking lets the steam soak in, helping the bread stay nice and soft until you eat it.
- → How would I make this gluten-free?
Switch regular flour for your favorite gluten-free blend. The pita should turn out tasty either way.
- → What's an easy way to heat up pita again?
Toss it in your toaster, or warm it up in a skillet or oven at 350°F 'til it's just hot enough.
- → Any tips for stashing leftovers?
Once pita has cooled, pop it in a sealed bag at room temp for three days or throw it in the freezer for a couple months.
- → Can I get creative with other herbs or spices?
Absolutely—add some extra chopped parsley, chives, or dash in some chili flakes for more punchy flavor in the butter.
- → Is this bread good for scooping up dips?
You bet! That fluffy inside and garlicky, herby finish is perfect to dunk in hummus or tzatziki.