
 Pin
Pin
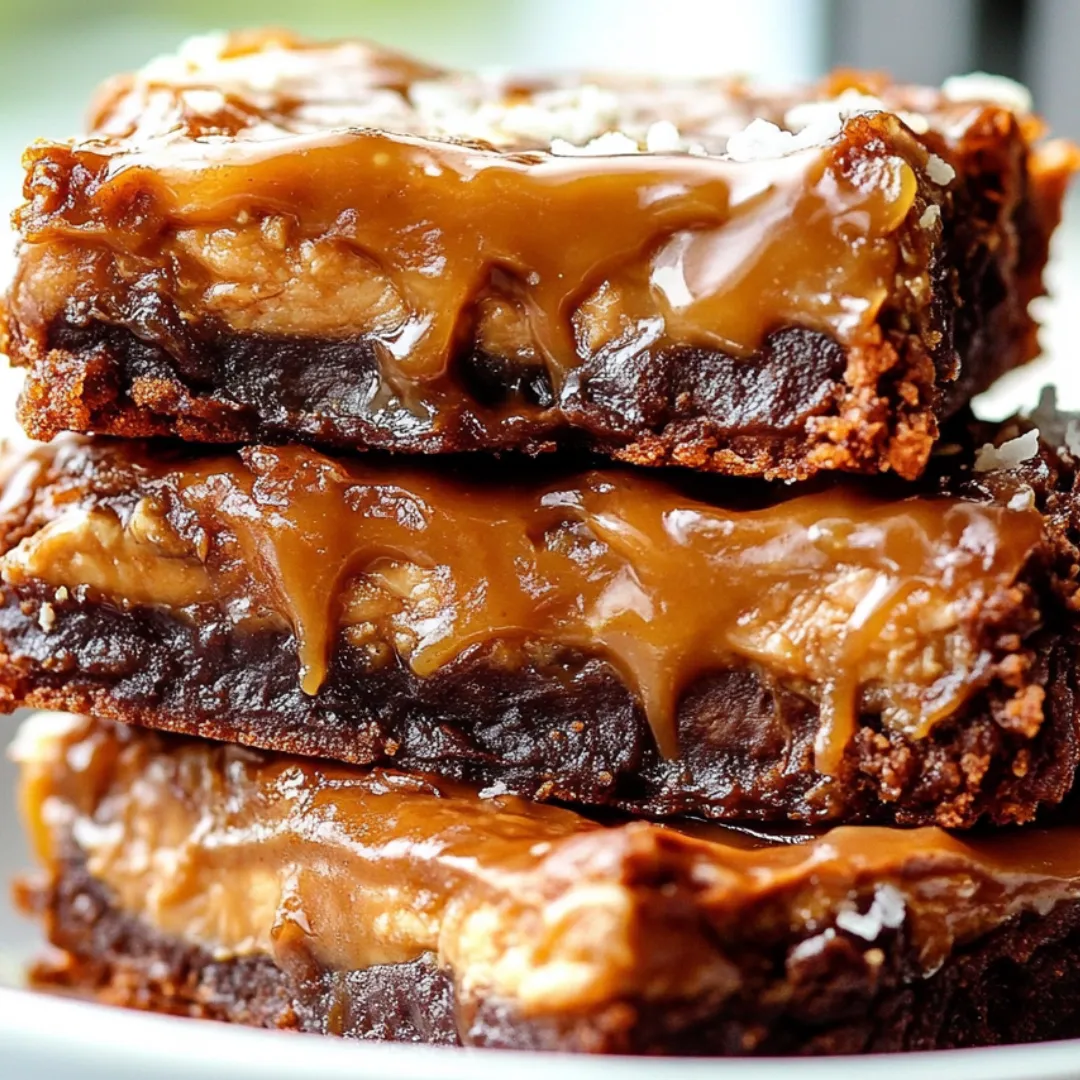
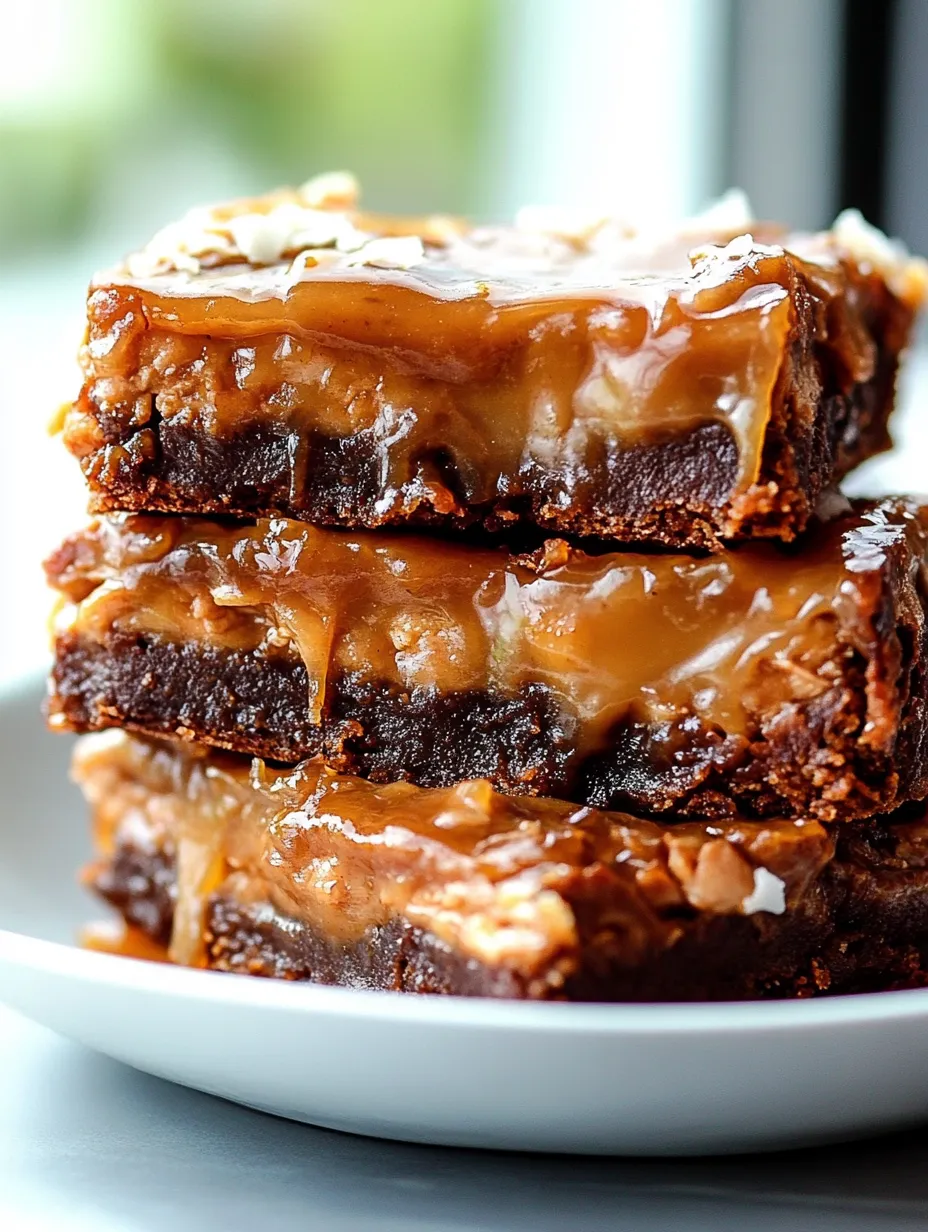
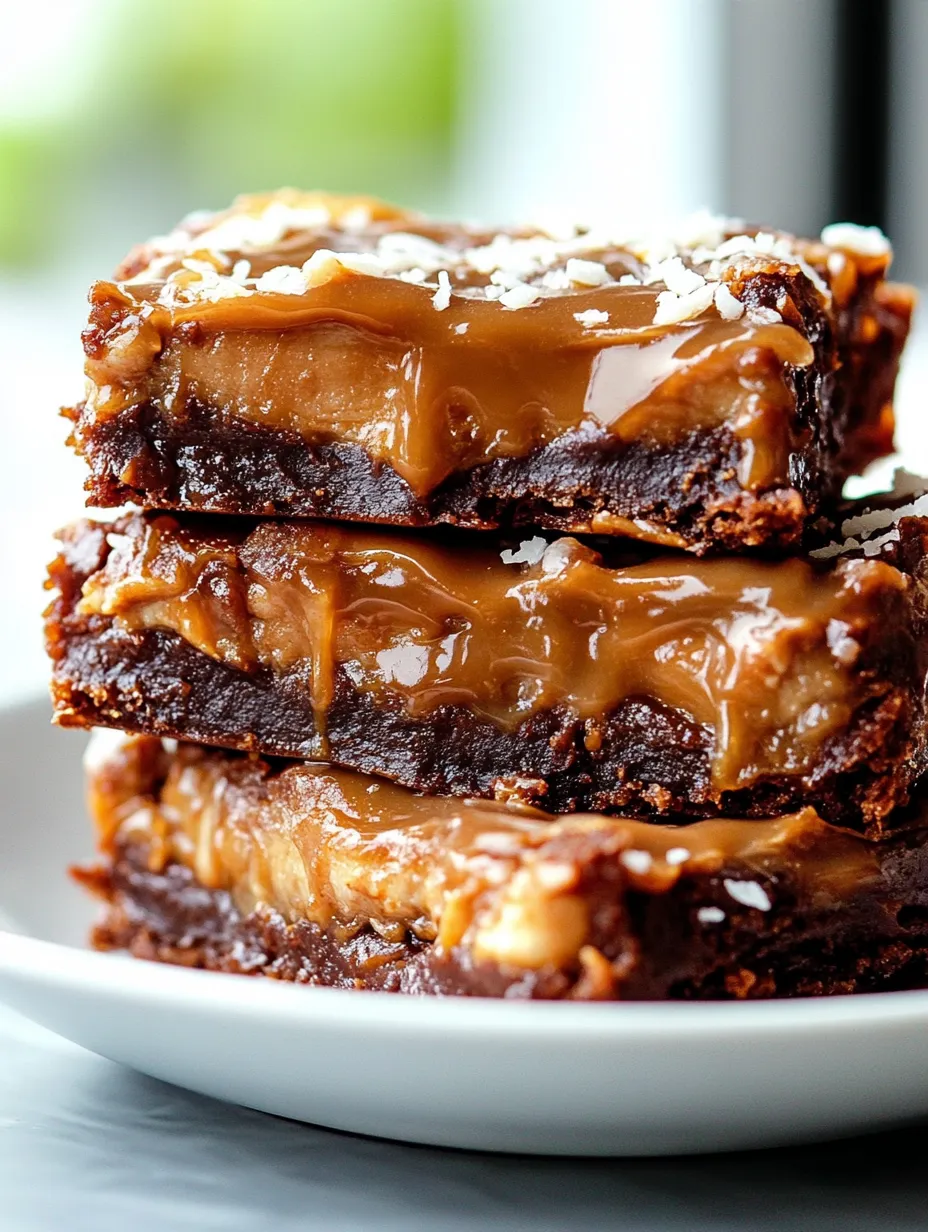
These over-the-top fudgy brownies with gooey caramel middles strike the perfect balance between chocolatey richness and sweet, flowing centers. They've become my go-to crowd-pleaser whenever I need to wow folks at family get-togethers or community potlucks.
I whipped up these treats for the first time when my daughter told me she wanted "something with chocolate and caramel" instead of birthday cake. They were such a hit that they've turned into our family's go-to celebration treat, winning over even the toughest dessert judges we know.
Ingredients
- Butter: Makes everything moist and brings out all that chocolate goodness
- Semisweet chocolate: Gives just the right mix of sweet and deep flavor. Try to grab good quality bars around 60% cocoa
- Sugar: Adds sweetness and helps create that fudgy texture we all love
- Eggs: Hold everything together while keeping your brownies nice and soft
- Vanilla extract: Brings all the flavors to life. Go for real vanilla instead of the fake stuff
- Flour: Gives structure but won't make things cakey. Regular all-purpose works great
- Salt: Cuts the sweetness and makes the chocolate pop
- Chocolate chips: Create amazing little pockets of melted chocolate throughout
- Caramels: The store-bought wrapped kind work perfectly and save you time
- Heavy cream: Thins out your caramel so it flows just right without losing flavor
Detailed Directions
- Set Things Up:
- Get your oven hot at 350°F with the rack right in the middle. Put nonstick foil in your 9x13 pan with extra hanging over the sides. This will make pulling out your brownies super easy later.
- Mix The First Part:
- Put your butter and chopped chocolate in a big microwave-safe bowl. Heat it bit by bit - 30 seconds at a time - and stir between each zap until it's all smooth. This slow melting keeps the chocolate from burning. Dump in your sugar while everything's still warm and whisk it all together. The warm mix helps melt the sugar a bit, which gives you that awesome crackly top.
- Add The Wet Stuff:
- Whisk in one egg at a time, making sure each one's totally mixed in before adding another. This creates that perfect fudgy texture we want. Stir in the vanilla too so its flavor gets everywhere.
- Mix In The Dry Ingredients:
- Gently stir in flour and salt just until you can't see any dry spots. Don't go crazy with mixing or you'll end up with tough brownies - just stir until everything comes together.
- First Cooking Round:
- Spread half your batter into the pan, making it nice and even. This bottom layer needs to cook partway to hold up that caramel we'll add later. Bake it for 20 minutes until the top feels set but isn't fully done.
- Let It Rest:
- Let that first layer cool for a full 20 minutes. This waiting time matters - if it's too hot when you add caramel, the caramel will just sink right in.
- Make Your Caramel:
- Unwrap all those caramels and throw them in a microwave-safe bowl with the heavy cream. Heat in 30-second bursts, stirring each time until it's totally smooth and you can pour it. It should flow nicely but not be bubbling hot.
- Add The Middle Layer:
- Pour your warm caramel over the cooled brownie base and spread it evenly using a flat spatula. Work fast since the caramel starts firming up as it cools.
- Top It Off:
- Quickly warm up your leftover brownie batter in the microwave for about 10-15 seconds until you can spread it. Carefully drop spoonfuls over the caramel and gently spread to cover everything. The slightly warm batter spreads easier without messing up the caramel.
- Sprinkle Chocolate Chips:
- Scatter chocolate chips all over the top layer. They'll get all melty during baking and create yummy chocolate spots throughout.
- Finish Baking:
- Put the pan back in the oven and bake for another 20 minutes. You'll know they're done when the edges look set but the middle still jiggles a little when you gently shake the pan.
- Cool Down Time:
- Let everything cool completely at room temperature, then stick it in the fridge for at least two hours before cutting. Don't skip this chilling step - it's the only way to get nice clean cuts.
 Pin
Pin
The caramel really steals the show in this recipe. I've tried both scratch-made caramel and the store-bought candies, and surprisingly, those ready-to-use caramels make the perfect chewy texture that cuts beautifully. My nephew once told me these were "way better than store-bought ones" - pretty big compliment from a twelve-year-old chocolate expert!
Keeping Them Fresh
These caramel treats actually get better after hanging out in the fridge overnight, so you can totally make them ahead. Keep them in a sealed container with parchment between layers so they don't stick together. They'll stay amazing for about five days in the fridge. If you want to keep them longer, wrap single pieces in plastic and then foil before freezing for up to three months. Let them thaw overnight in your fridge for the best texture.
Fixing Common Problems
The biggest issue folks run into is getting clean cuts. For picture-perfect squares, make sure they're super cold, then use a big sharp knife dipped in hot water and wiped dry between cuts. If your caramel turns out too firm, you probably cooked it too long in the microwave. Next time, try shorter heating times and stir more often. Got caramel that's too runny? You might've used too much cream or didn't let them cool long enough before serving.
Serving Ideas
These brownies are totally amazing on their own, but they're out of this world when slightly warmed up with a scoop of vanilla ice cream on top. For a fancy dessert setup, put a brownie square on a plate, add ice cream, then drizzle some warm caramel sauce over everything and finish with a tiny sprinkle of sea salt flakes. During holiday season, I add a light dusting of gold edible sparkles for a fancy touch that always gets people talking.
 Pin
Pin
FAQs About the Recipe
- → Can I swap in dark chocolate instead of semi-sweet?
Absolutely! Dark chocolate works great for a deeper, less sweet flavor. You might want to add a bit more sugar to balance things out.
- → What's the best way to keep these brownies fresh?
Pop them in an airtight container at room temp for up to 3 days or stick them in the fridge for a week. Just let them warm up before you dig in.
- → Is it OK to use premade caramel sauce?
Definitely! A good quality store caramel can save you time instead of melting caramels and cream yourself.
- → Got any tips for cutting these neatly?
Cool the brownies completely in the fridge first. Then grab a sharp knife and wipe it clean between cuts for nice, tidy squares.
- → Can I make these ahead and freeze them?
You bet! Wrap them up in plastic and foil, then freeze for up to 3 months. Just thaw them in your fridge overnight when you're ready for them.