
 Pin
Pin
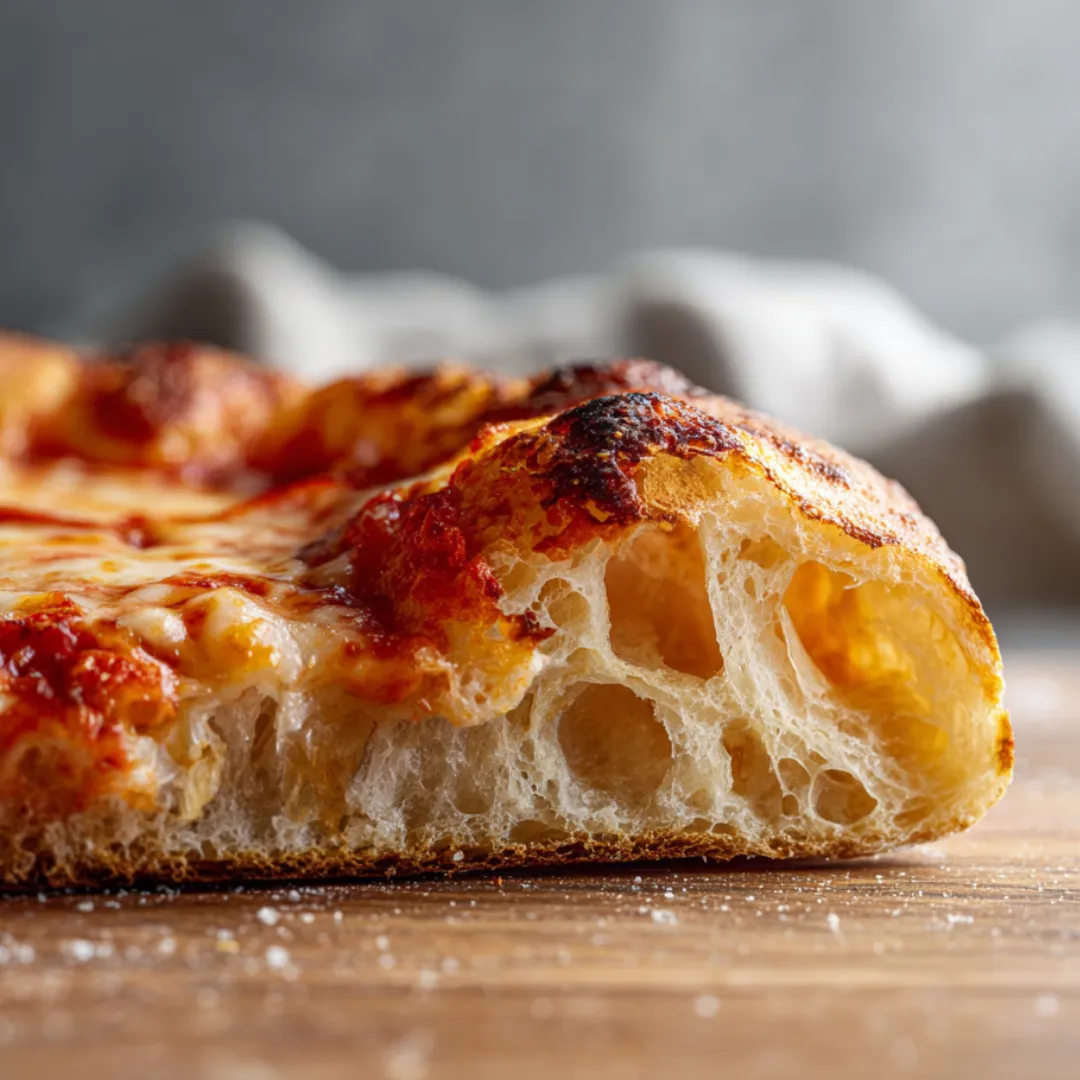
That crackly, puffy pizza base you get at fancy pizza spots? Turns out, it’s easy to make the chewy, springy version at home using just yeast, water, flour, and salt. Let the dough chill out with lots of water for tons of flavor and big air bubbles. I first threw this together for Friday nights and honestly, friends always ask for the dough when they try it.
I was nervous my first go, but after the first fold, I was hooked. Since then, I’ve walked friends through it and now we do it most weekends around here.
Tasty Ingredients
- All-purpose flour: makes the dough chewy and holds everything together—try unbleached if you can for better stretch
- Warm water: gives great bubbles—filtered is best if you’ve got it
- Active dry yeast: gets the dough nice and puffy—proof in water to check it’s working
- Fine salt: brings out flavor and keeps yeast in line—look for salt with nothing extra added
How to Make It
- Repeat and Enjoy:
- Do the same for your second ball of dough or stash it for the next time. Slice up the hot pizza and dig in while it’s fresh.
- Bake and Broil:
- Push the pizza right onto your blazing hot stone or steel. Give it five minutes to bake, then hit it with the broiler until you get those big bubbles and the cheese is nicely melted (two to four more minutes). Using a cast iron? Bake longer, about fifteen to twenty minutes, then broil just at the end for top color.
- Shape and Top:
- Flatten your dough balls lightly on a floured board, keeping the edges thick. Stretch to a round about a foot wide and shift to a floured pizza peel. Wiggle to make sure nothing sticks. Shape more if you need. Cover with sauce and your favorite things, but leave the rim bare.
- Preheat Oven:
- Cram your oven and stone (or steel) all the way up to max temp for at least forty-five minutes. The hotter the better! If you don’t have a stone, a heavy baking sheet or slicked-up cast iron pan works too.
- Shape Dough Balls:
- Once the dough’s risen, plop it onto flour and split it in two. Take a chunk and gently pull up the sides into the middle until you’ve got a loose ball. Flip it seam-side down and roll it a smidge to tighten it up. Do the same with the other half. Oil a plate, set both balls there, rub on a little oil, and cover up. Let them rest one more hour.
- First Rise and Fold:
- Cover and let the dough hang out for about sixty minutes, then wet your hand and fold it in on itself five times, spinning the bowl as you go. This makes the dough stronger. Move to a lightly oiled bowl seam-down, cover, and let it get twice as big—usually five or six hours.
- Incorporate Yeast and Salt:
- Sprinkle your salt over the dough, pour in the bubbly yeast mix, then reach in with damp fingers and fold parts of the dough up and over a few times to mix it all in. It’ll look a bit rough and messy and that’s perfect.
- Dissolve Yeast:
- Add yeast to the bit of saved warm water and let it get frothy so you know it’s ready. Just takes a few minutes.
- Mix and Rest:
- Stir most of the water with all the flour in a big bowl just until you can’t see dry patches. Cover and let it sit for about twenty minutes so the flour soaks up the water—this makes it so much easier.
 Pin
Pin
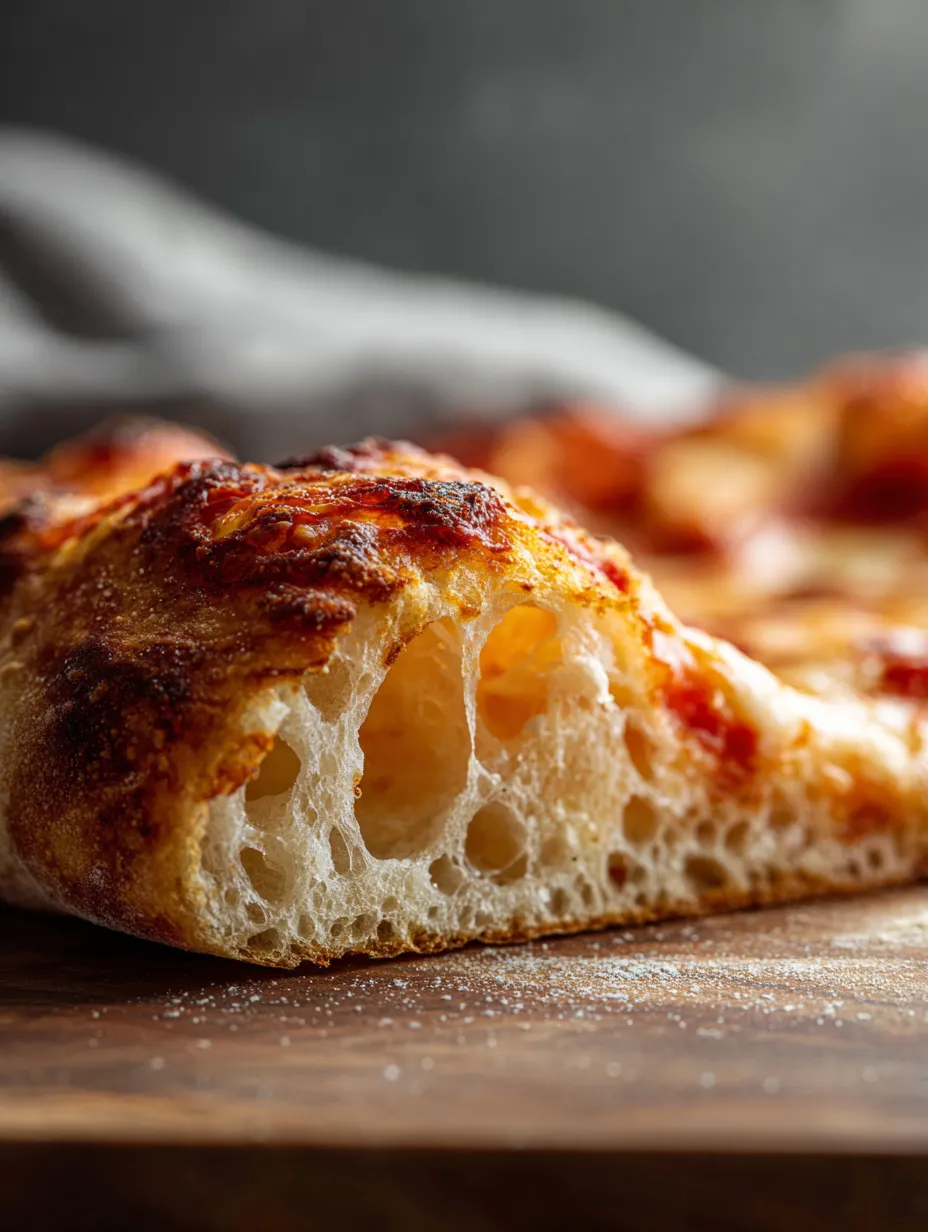
I’m always blown away seeing dough double and get airy. Once it starts bubbling and rising, pizza night feels like a treat. My personal favorite? Using local flours for a special kind of taste and finish every time.
Saving Leftovers
Want to bake later? Tuck the dough balls in the fridge covered and they’ll keep up to two days. Let them warm to room temp before shaping. Baked pizza lasts three days chilled and gets crispy again heated in a hot pan or oven.
Swaps
Bread flour works instead of all-purpose and actually makes it chewier. Instant yeast’s fine too—just use the same amount. For a twist, swap in a bit of whole wheat (like ten percent of the total) for a nutty flavor.
Ways to Serve
Go classic with red sauce and mozzarella or get wild with caramelized onions, fried veggies, pepperoni, even spoonfuls of ricotta. A drizzle of olive oil and a sprinkle of flaky salt once it’s baked seriously makes it special.
 Pin
Pin
FAQs About the Recipe
- → What does high hydration do for dough?
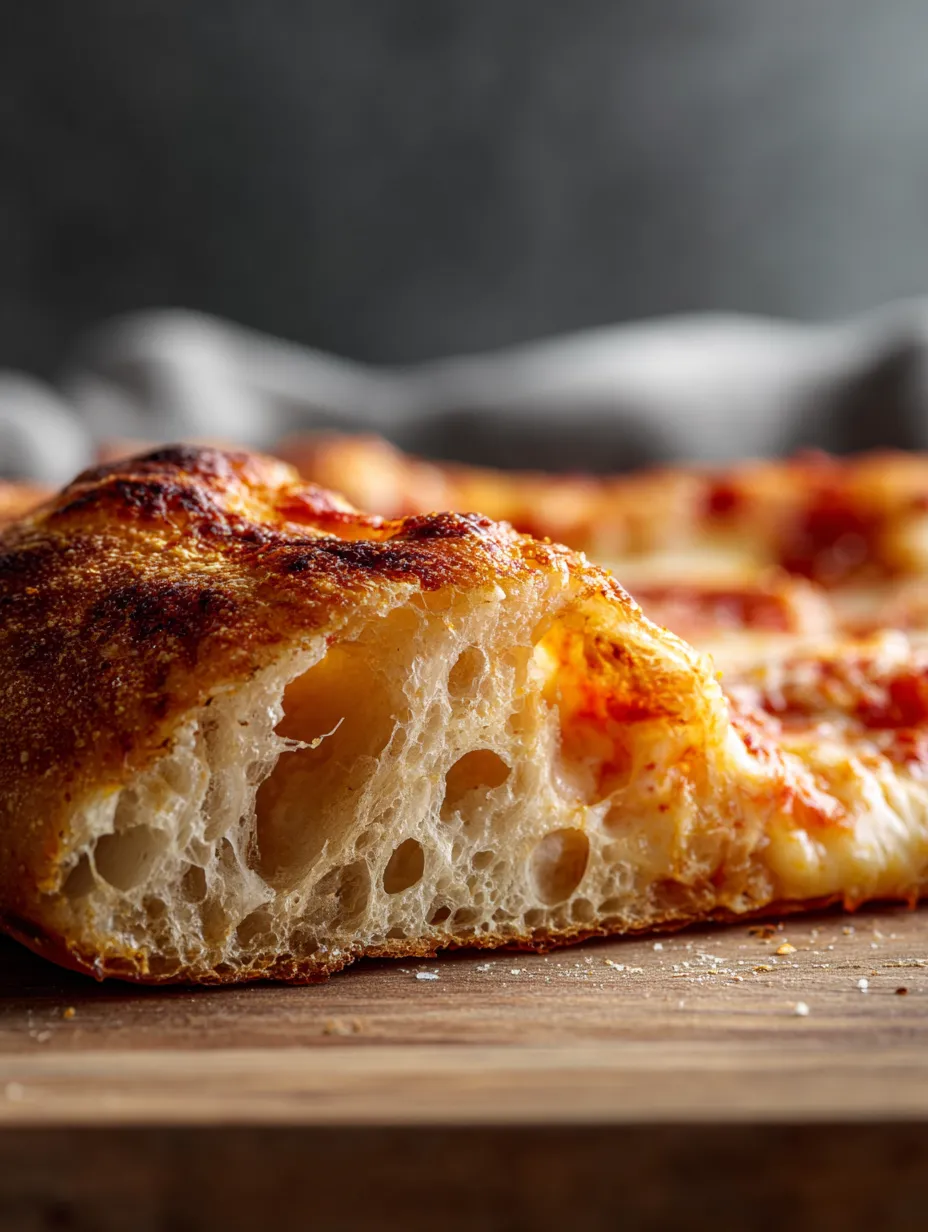
When you use more water, the dough turns out stretchier and full of big bubbles. The texture inside gets chewy and soft, too.
- → Why take time for a long fermentation?
Letting the dough hang out in the fridge helps it taste way better and gives you a light, airy chew that’s easy on your stomach.
- → Best way to bake this kind of dough?
Pop your dough on a hot steel, stone, or cast iron before sliding it in the oven—the hotter, the better for a bubbly crisp bottom.
- → How do those big pizza bubbles show up?
If you're gentle with shaping and don't squish the dough, the air stays in. Bake it hot and you'll watch those blisters blow up.
- → Can you stash leftover dough in the fridge or freezer?
Ball up your dough and toss it in the fridge for 48 hours or freeze for later—just bring it back to room temp before baking.