
 Pin
Pin
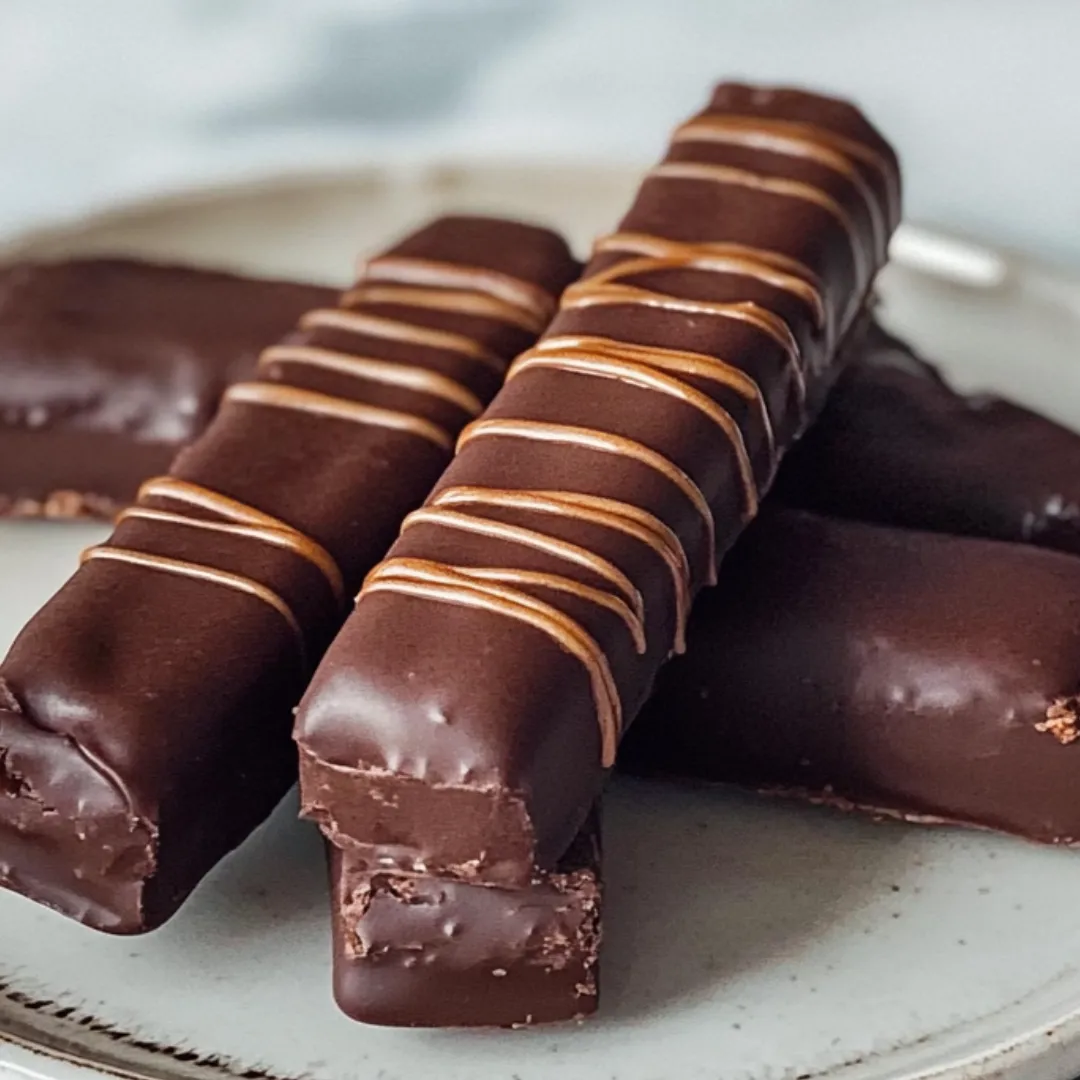
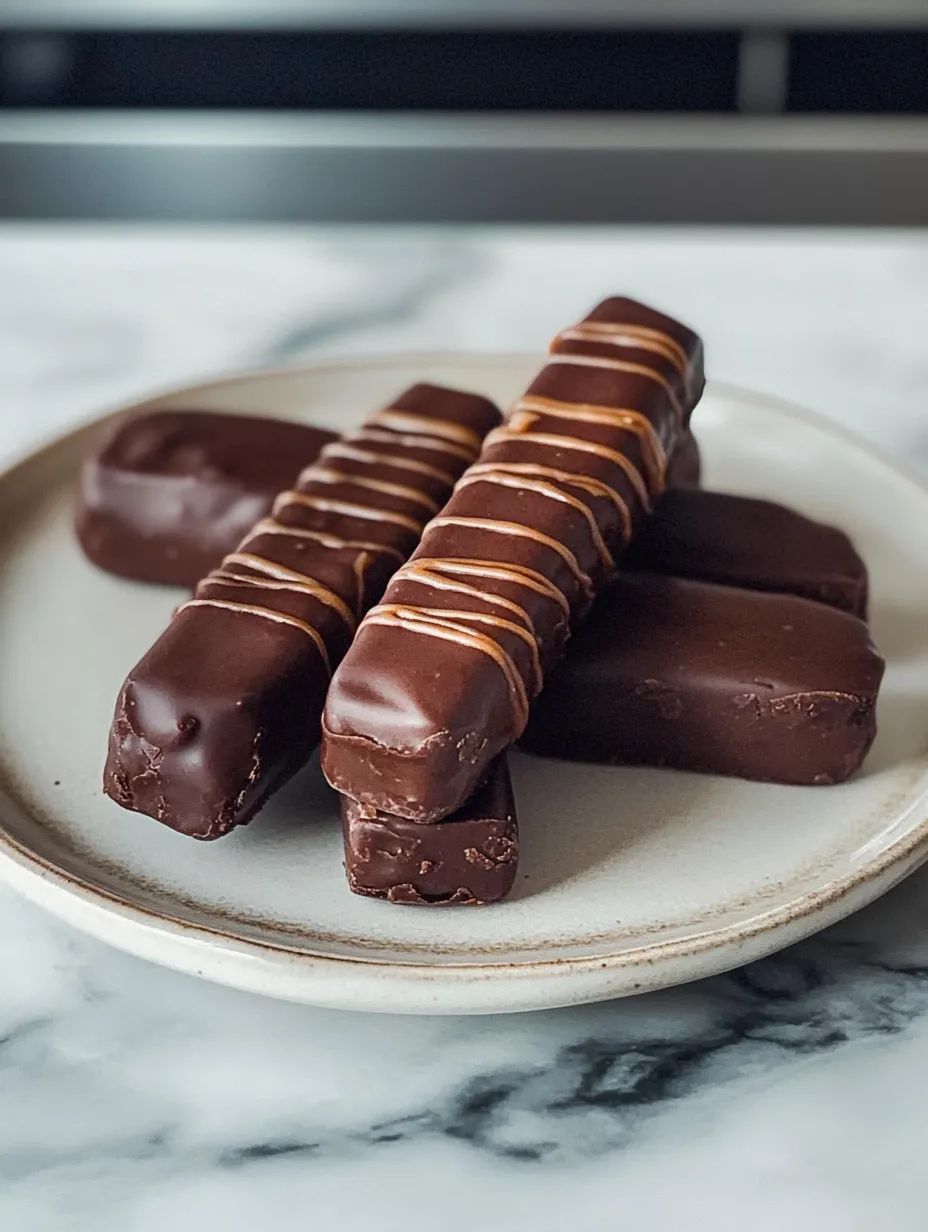
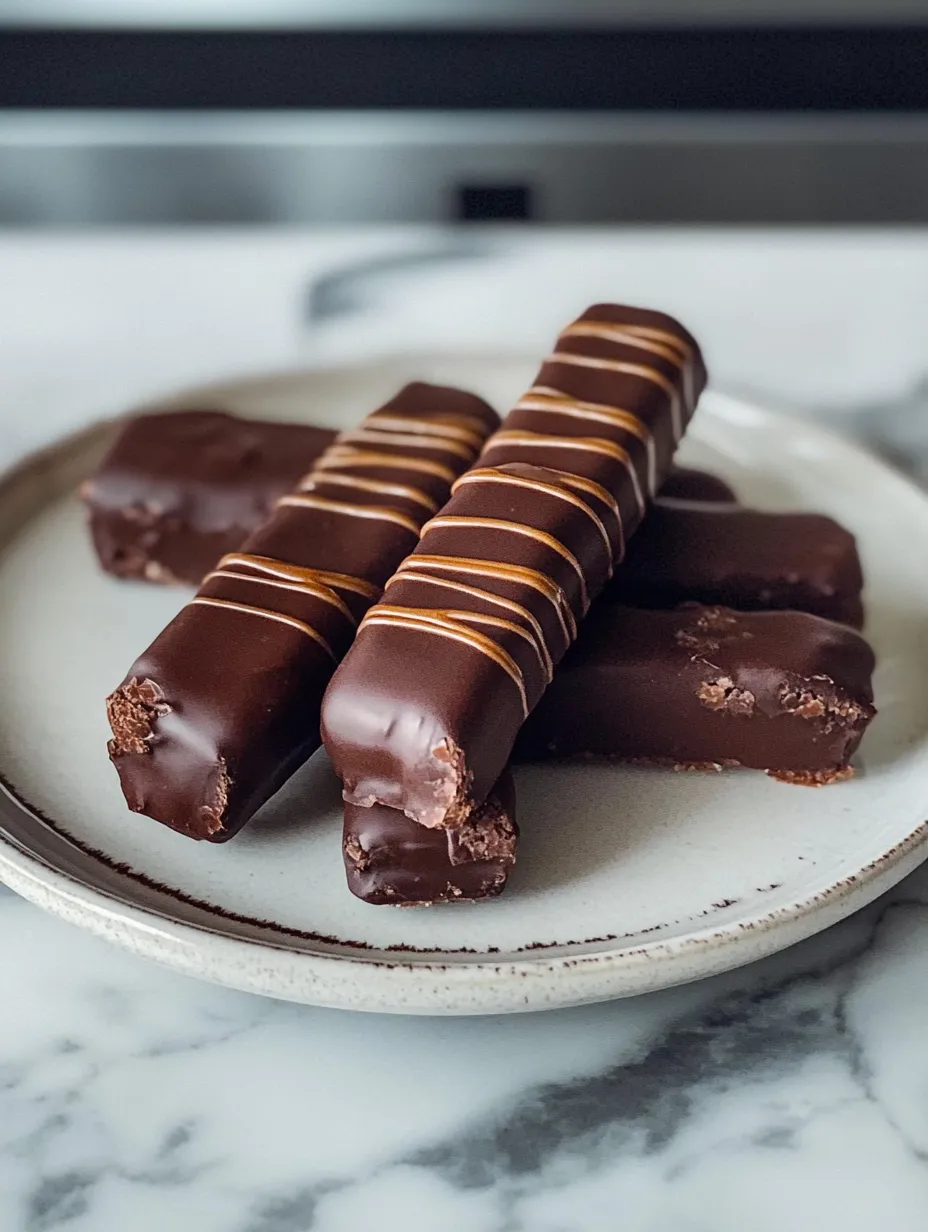
This DIY take on Twix candy bars turns an indulgent snack into a better-for-you delight without losing any taste. Crafted with good-for-you stuff like almond flour and natural sweeteners, these no-gluten bars pack that familiar cookie-caramel-chocolate combo we all want, but in a way you won't feel bad about eating.
I came up with these bars while hunting for healthier swaps for the candy my family couldn't stop buying. What began as just trying something new quickly turned into our favorite treat for watching movies and sending to friends who can't eat certain foods.
What You'll Need
- Almond flour: Gives you that crumbly, buttery base while staying gluten-free and adding a hint of nuttiness
- Maple syrup: Brings natural sweetness with more character than plain old sugar
- Creamy peanut butter: Makes an amazing caramel layer without needing dairy or tons of cooking time
- Chocolate chips: They'll melt smoothly for the top layer, so grab good ones for better flavor
- Coconut oil: Thins out the chocolate so it coats better and adds a touch of richness
How To Make Them
- Get the cookie base ready:
- Mix up your almond flour, melted butter, maple syrup, vanilla, and salt in a big bowl until it sticks together. It should be a bit crumbly but pack well when pressed. Push it firmly into your paper-lined pan, making sure it's even all over. Bake until you see golden edges, which means the almond flour has gotten that nice nutty taste.
- Whip up the caramel middle:
- Stir together peanut butter, maple syrup, vanilla extract and almond flour until it's totally smooth. The almond flour makes it thick like real caramel. Spread it carefully on top of your cooled cookie layer, taking time to get into every corner. Don't skip freezing it - this step lets you cut cleanly and keeps the caramel from leaking when you dip in chocolate.
- Sort out the chocolate top:
- Melt your chocolate chips with coconut oil however you like, but keep stirring so it doesn't burn. You want it totally smooth and a bit runnier than just melted chocolate. Work fast when you're dipping since the frozen caramel starts softening pretty quick. A fork works great for lifting bars out while letting extra chocolate drip away.
- Put it all together:
- Slice your frozen block into 16 equal bars before dipping. This gives you that classic candy bar look. When dipping, make sure to cover everything including sides and bottom. Adding a tiny bit of sea salt on top isn't required but it really cuts the sweetness and makes everything taste even better.
 Pin
Pin
The peanut butter caramel part is honestly the best thing about this recipe. I stumbled on this trick when I didn't have any dates for regular homemade caramel and needed something quick. My kid said it was even tastier than the original, and now we make a batch whenever someone deserves something special made from scratch.
Keeping Them Fresh
These DIY Twix bars stay best when kept in a sealed container in the fridge for up to two weeks. The chocolate outside helps protect the softer layers, but they'll get soft if left out for more than an hour. If you want to keep them longer, wrap each bar in parchment and put them in a freezer container. They'll stay good frozen for up to three months. When you want to eat a frozen one, let it sit out for 10-15 minutes and it'll be just right.
 Pin
Pin
Ways To Switch It Up
The cool thing about making your own Twix bars is you can change them to fit what you need or like. For no nuts at all, try sunflower seed butter instead of peanut butter and cassava flour instead of almond flour. If you like stronger chocolate, go for 70% dark chips for less sweetness and more grown-up taste. For something different, mix a teaspoon of espresso powder into the chocolate or add orange zest to the cookie base. You can even try putting a thin layer of raspberry jam between the cookie and caramel for a fruity twist.
Where Twix Came From
The Twix bar we all know started in Britain back in 1967 and showed up in America in 1979. People think the name "Twix" comes from mixing "twin" and "sticks," talking about how it comes as two pieces. While the ones in stores use lots of processed stuff and regular sugar, this homemade version keeps the tastes we love but makes the nutrition much better. Making candy at home links us back to older traditions from before mass production, when treats were created with basic, wholesome stuff for special times.
FAQs About the Recipe
- → Can I swap out the almond flour for something else?
Sure thing, try other nut flours like cashew or hazelnut flour instead. Just know the texture might turn out a bit different.
- → How do I make these without dairy?
Just swap the butter for coconut oil or another plant-based fat to make them completely dairy-free.
- → What works instead of peanut butter?
Go with almond butter, cashew butter, or sunflower seed butter if you can't have peanuts.
- → What's the best way to keep these fresh?
Pop them in a sealed container in your fridge for up to a week or freeze them for about a month.
- → Can I melt chocolate without using a microwave?
You bet. Just put your chocolate and coconut oil in a bowl over some simmering water, or use a double boiler to get it all melty.