
 Pin
Pin
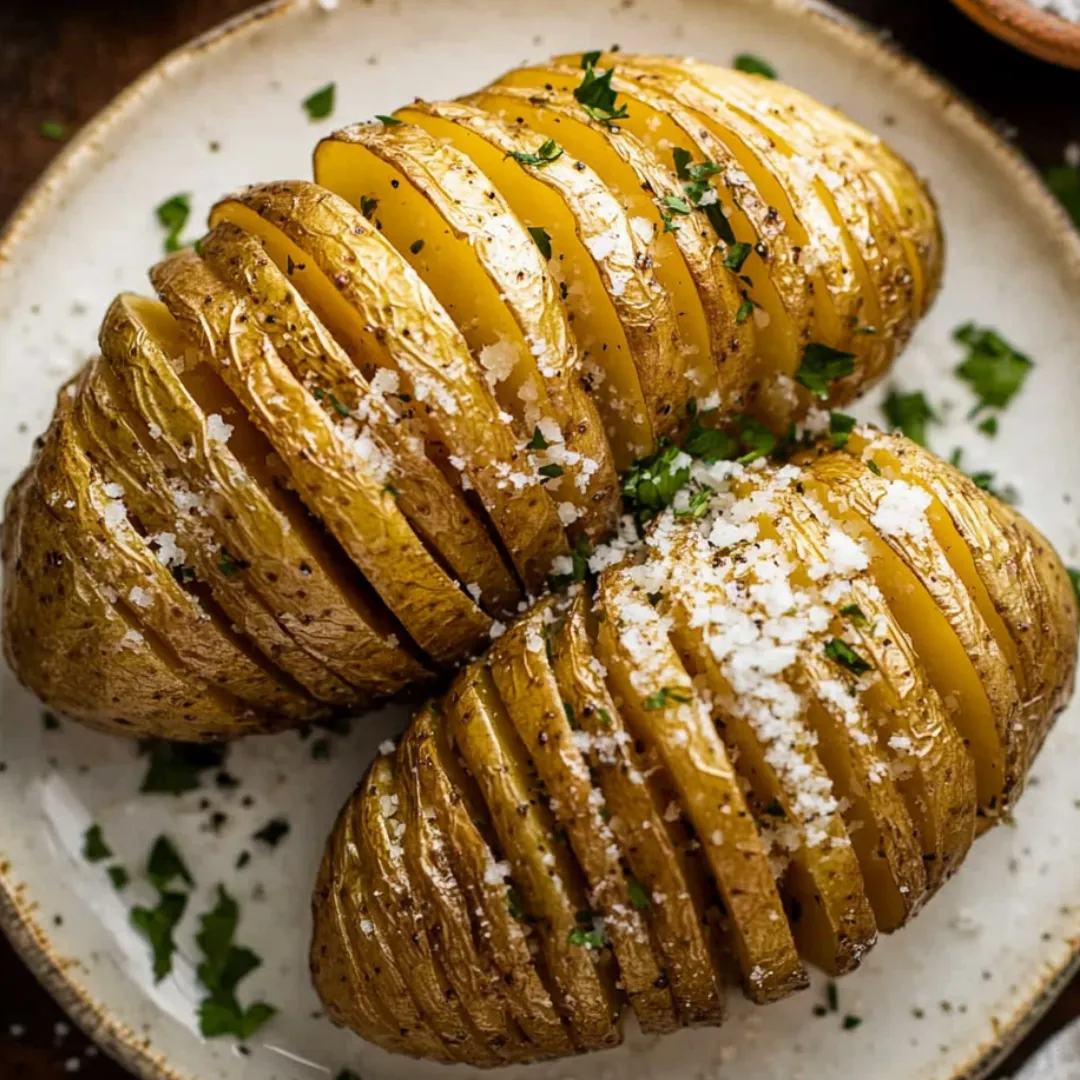
These filled-to-the-brim Hasselback spuds turn basic potatoes into eye-catching, crunchy-edged stunners with a soft, moist center. The cool fan shape doesn't just look fancy – it makes more spots for those tasty crispy bits everyone fights over.
I made these for friends once and they couldn't believe I'd done them myself. Now everyone asks for them at family get-togethers, especially around Christmas when I need a reliable side that wows people and tastes amazing too.
What You'll Need
- Medium oval spuds: Go for starchy types like Yukon Gold, russet, Sebago, or Maris Piper for the right texture
- Extra virgin olive oil: Don't skimp here as it adds lots of flavor
- Kosher salt: The bigger grains work better when you're basting and make the edges extra crispy
- Fresh garlic cloves: Keep the skin on so they don't burn but still make the oil taste good
- Fresh rosemary sprigs: Gives a lovely aroma that goes great with potatoes
How To Make Them
- Set up your potatoes:
- Cut a small piece from the bottom of each potato so they sit flat. Put the potato between two wooden spatulas or chopsticks and make super thin cuts (about 2mm) across, letting the spatulas stop you from cutting all the way through.
- First flavor layer:
- Splash a bit of oil on each potato and add some salt. This first bit of seasoning gets the cooking started right.
- First oven round:
- Bake at 200°C/400°F for 30 minutes so the potatoes start cooking and the slices begin to open up.
- Add more flavor:
- Pour the rest of your olive oil over the potatoes, sprinkle more salt, and toss in garlic and rosemary. The oil will slowly slip between the slices as they cook.
- Keep them moist:
- Bake another 40 minutes, but stop every 10 minutes to brush oil all over them. Push gently with your brush to help the slices open up and let oil get between them.
- Get them crispy:
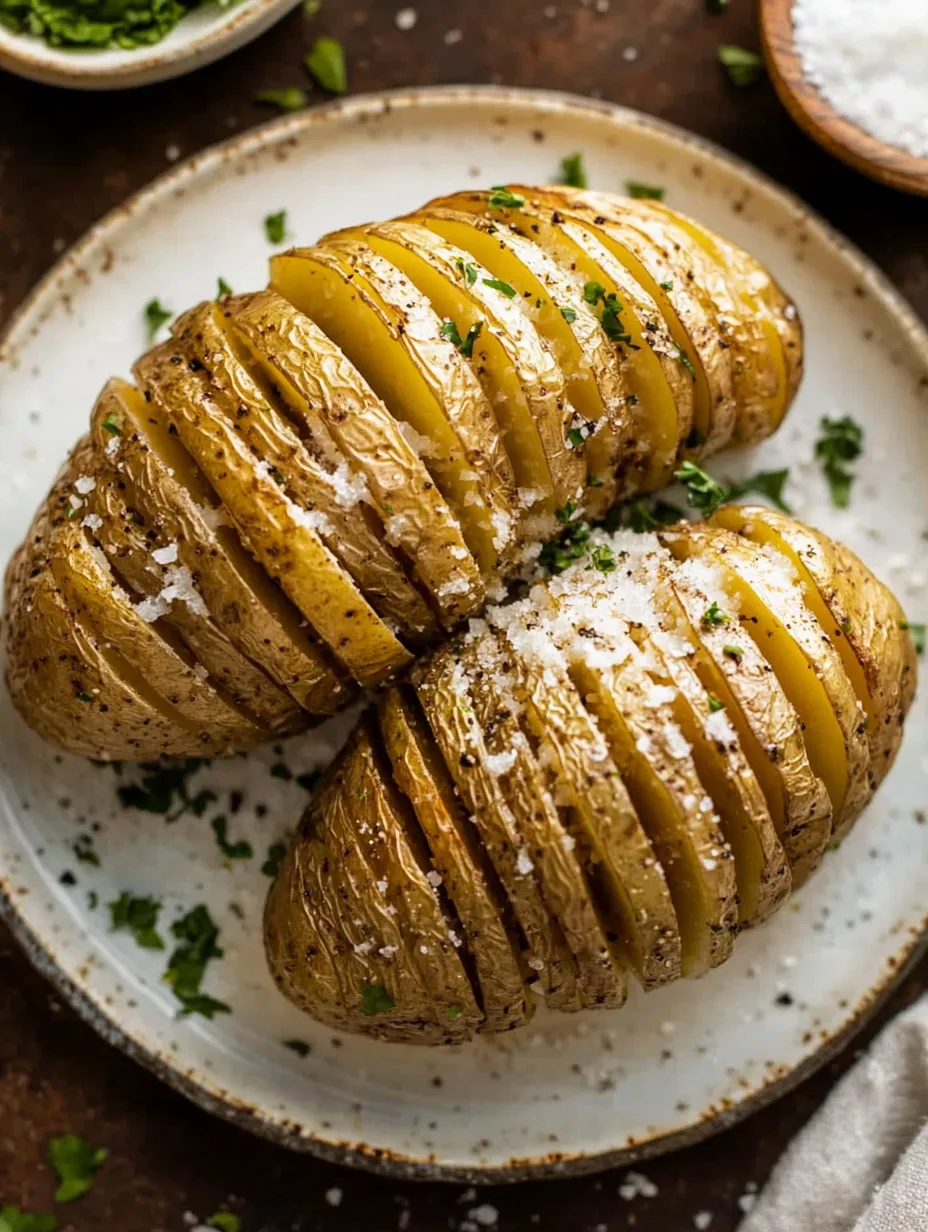
- Turn up the heat to 220°C/425°F and cook 10 to 15 more minutes until the edges turn golden and crisp. Don't chicken out here—those darker bits taste amazing.
 Pin
Pin
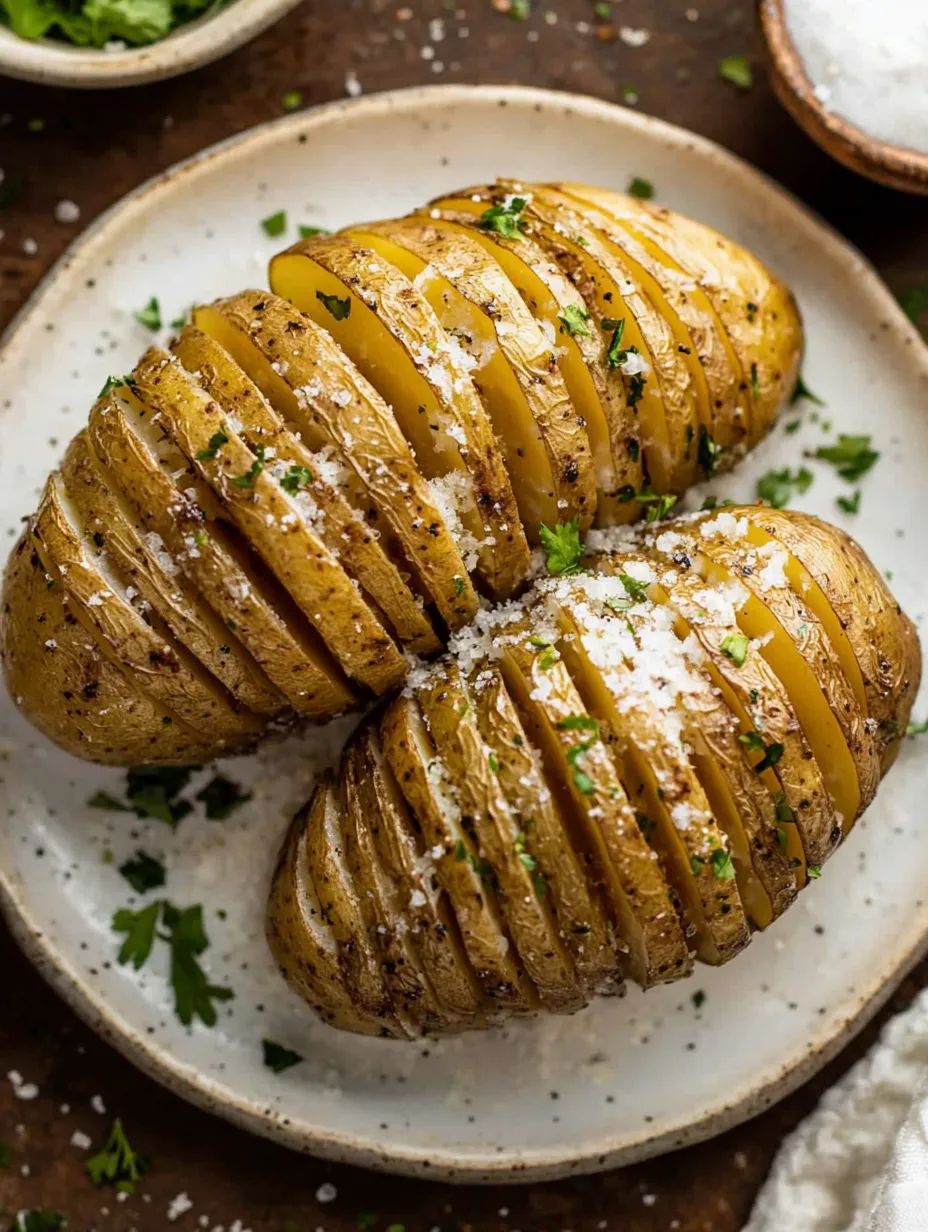
I found out oval potatoes fan better than round ones just by trying both kinds. My family now rates how good these are by counting how many crispy bits they can snatch and eat before the potatoes even reach the dinner table.
Keeping Leftovers
While you can keep extras in the fridge for up to 3 days, these potatoes really shine when they're fresh out of the oven. The crispy parts will get softer in storage, but they'll still taste good.
To warm them up, put them in a 375°F oven for about 15 minutes. Skip the microwave or they'll turn mushy. A little brush of olive oil before warming can bring back some of the crunch.
Fixing Problems
If your potatoes aren't opening up enough during cooking, use a butter knife to carefully separate the slices after the first 30 minutes. Once oil gets between the cuts, they'll start to open more naturally.
Scared you'll cut through the potato? The wooden spatula trick works great, but if you do slice all the way through, just keep the potato together during the first baking time and it'll still taste fantastic.
Where They Come From
Hasselback potatoes were born in Sweden, at the Hasselbacken restaurant in Stockholm where folks first ate them in the 1940s. They show off Swedish cleverness – making something basic amazing through technique rather than costly add-ons. Now they're loved worldwide because they look great and have awesome texture.
 Pin
Pin
What To Serve With Them
These potatoes go really well with roasted meats, especially beef or lamb. Their crunchy outsides stand up nicely to rich sauces and gravies.
For an even more decadent version, throw some freshly grated Parmesan on top during the last 5 minutes of baking, or add a spoonful of sour cream and chives when you serve them.
FAQs About the Recipe
- → How do you achieve the perfect Hasselback Potato cut?
Grab two wooden chopsticks or skewers and rest the potato between them as cutting guides. Make thin cuts about 1/8-inch apart, letting the guides stop your knife from cutting all the way through.
- → What type of potatoes work best for Hasselback Potatoes?
Go with Russets every time. They're firm enough to hold their shape and will get those wonderful crispy edges when baked.
- → How do you ensure crispy edges?
The secret's in the butter - make sure you get it between all those slices. Then bake them hot enough so the edges turn golden and crunchy.
- → Can I use other seasonings besides salt and pepper?
You bet! Try some fresh rosemary, a sprinkle of garlic powder, or a dash of paprika to switch things up.
- → What can I serve Hasselback Potatoes with?
They're great buddies with any meat dish, a plate of grilled veggies, or even just a nice sauce for dipping.