
 Pin
Pin
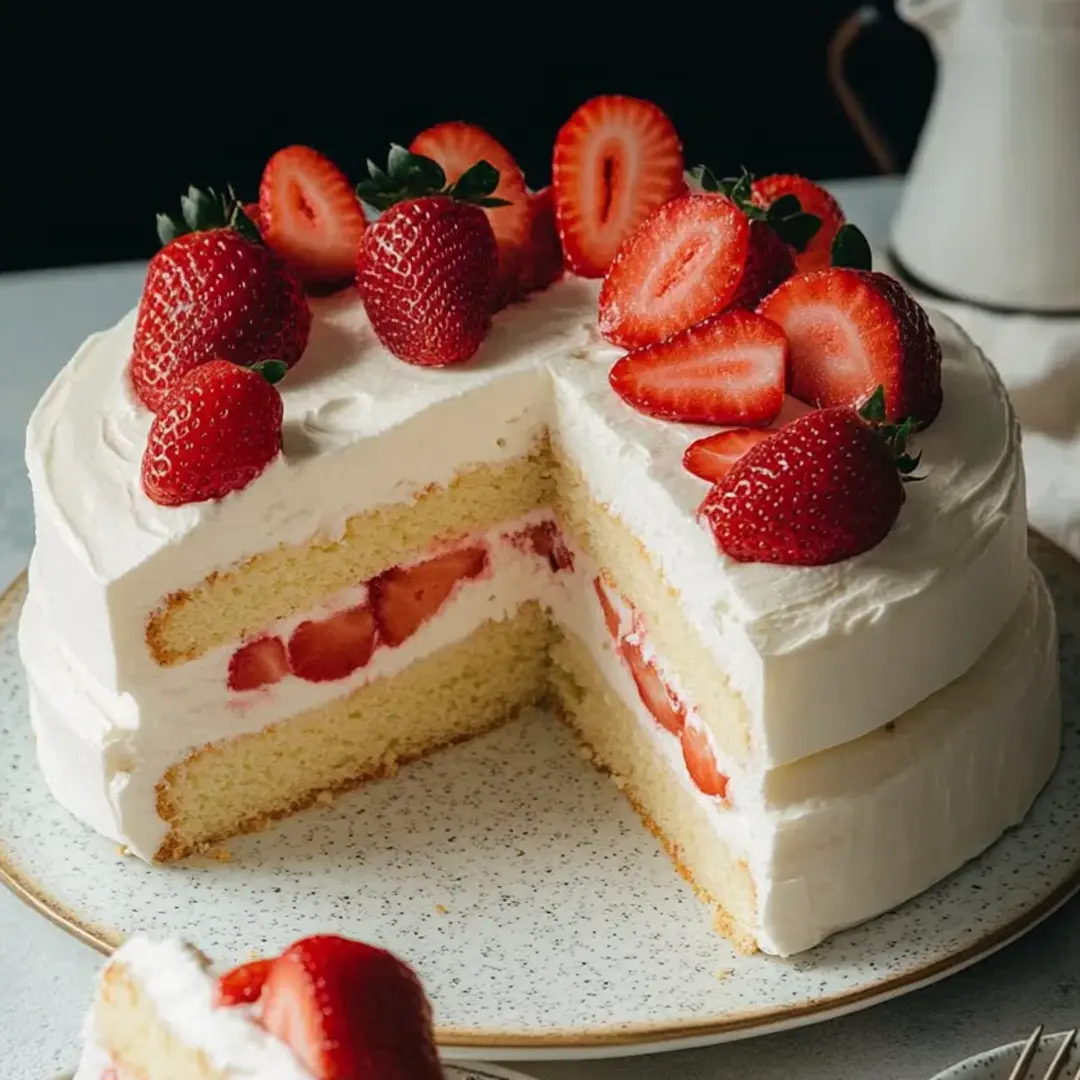
Nothing caps off a celebration quite like biting into fluffy Japanese strawberry shortcake—pillowy whipped cream, layers as light as air, and juicy sweet berries hidden with every forkful. This icon from Japanese bakeries is tender, not overly sweet, and honestly isn’t hard to pull off at home. It’s just right for spring fun, birthdays, or whenever you’re craving something that looks as happy as it tastes.
The first time I put this together was for my buddy's birthday. I’ll never forget how joyous everyone looked after their first taste. Every party since, it’s my special move—and both kids and grown-ups always eat it up.
Jaw-Dropping Ingredients
- Strawberries: Grab the juiciest, sweetest-smelling ones you can find—these make all the difference
- Cake flour: This is what turns the crumb so fluffy and soft—don’t skip sifting if you want it cloud-light
- Egg yolks and whites: You’ll separate these to help the sponge stay airy but solid—bring them to room temp so they whip up quickly
- Whole milk: Keeps things moist with a delicate, tender texture—skip the low-fat if you want the best bite
- Unsalted butter: Rich buttery flavor that doesn’t cover up the soft cake notes—European-style is great if you have it
- Heavy whipping cream: This makes the fluffiest frosting—look for at least 36 percent fat for staying power
- Confectioners sugar: Fine, powdery sweetener that keeps the cream smooth and gives structure—always sift it first
- Sugar: Adds sweetness but keeps things light—baker’s (caster) sugar melts in best if you have it
- Gelatin (optional): Thickens whipped cream for extra sturdy icing, but it’s totally okay to leave out
- Sugar and hot water for cake syrup: This combo brings a touch more moistness and subtle sweetness to every layer
How to Pick Stand-Out Ingredients
Make sure berries are super red and blemish-free, use room-temp eggs, and sift that cake flour—those little things are the secret to the softest bite.
Step-by-Step Directions
- Get Your Pan Ready:
- Line your cake pan with parchment and preheat to 325 F. This stops sticking and helps everything come out smooth.
- Set Up a Water Bath:
- Grab a deep roasting pan, fit your cake pan inside, and boil water to fill up to 1 inch. This gentle baking soaks in the tenderness and stops ugly cracks or too much browning.
- Warm Milk and Melt Butter:
- Nuke the milk and butter until just melted, stir well, and let it cool a touch—it should mix together easily with your dry stuff later.
- Work in Cake Flour and Yolks:
- Sift that flour in to banish lumps, then fold in until it’s all blended. Add in your yolks last and keep mixing for even color and smoothness.
- Beat Egg Whites:
- In a squeaky-clean bowl, whip your whites until foamy, dribble in the sugar, and keep going until you’ve got soft shiny peaks—not stiff, but it should hold some shape.
- Fold Egg Whites In:
- Toss one scoop of whipped whites into your yolk mix to lighten things up, then fold everything together gently—if you mix too much, the batter will go flat.
- Fill the Pan & Prep:
- Pour everything into your lined pan, then tap it twice on the counter to pop out big air bubbles for a nice even texture.
- Bake:
- Nest everything together in the water bath, fill with an inch of hot water, and bake for 1 hour 30 minutes. Don’t open the oven or it might flop.
- Cool and Take Out:
- Once finished, the cake peels back from the sides. Slip a knife around, flip it upside down on a rack, and let it cool so it doesn’t shrink down.
- Get Strawberries Ready:
- Slice and toss the berries with sugar, let them chill for up to 2 hours so they get syrupy and extra sweet. Save the juice for syrup.
- Mix the Syrup:
- Stir sugar into hot water until dissolved, then add your saved berry juice if you want to dial up the fruitiness.
- Whip the Cream:
- If using gelatin, bloom it in water, melt, then whip it with a spoonful of cream before adding to the rest and mix till soft peaks. If just using cream, whip with confectioners sugar until you get medium peaks—billowy, but not droopy.
- Build and Layer:
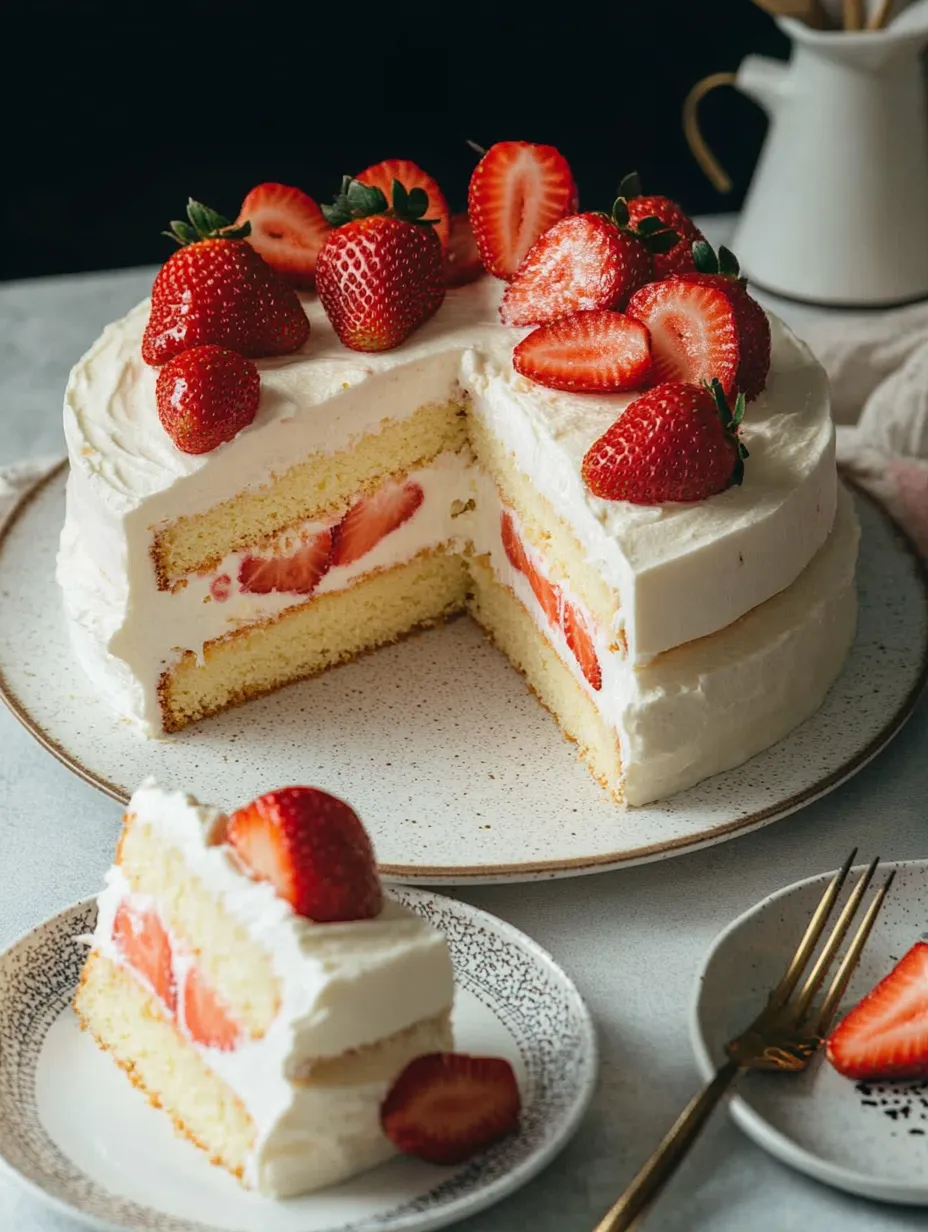
- Chop the cooled cake in half. Set the bottom layer down, brush with syrup, slather on cream, heap on strawberries. Stack the top, repeat, and finish with lots of cream and more berries.
- Finish and Chill:
- Swipe a thin layer of cream over everything as a base, then a thicker layer on the top and sides. Pipe or blob extra cream on however you like, decorate with the last berries, and pop it in the fridge for half an hour to firm up if you used gelatin—or serve right away if not.
Pin
I love using those strawberries that are so ripe, they fill the whole kitchen with their smell—reminds me of picking berries with Grandma early every summer. There’s nothing like fresh fruit for making this treat pop compared to anything from a store bakery.
Easy Storage How-To
Keep the cake in your fridge, loosely covered so the cream doesn’t pick up any weird smells. Eat it within a day for the yummiest results. Wrapped, un-iced layers can chill in your freezer till you’re ready to use.
Swap It Out
No cake flour? Use regular and mix in a tablespoon of cornstarch per cup. Skim milk will do in a pinch, but you’ll miss out on a bit of that tenderness. Vegan friends? Go for coconut whip (ditch the gelatin for them).
How to Serve Up
Add more berries on the side, drizzle extra syrup if you want, and toss on fresh mint for color. Pair it with green tea or bubbly for a real Japanese café vibe.
 Pin
Pin
Culture Notes
Japanese strawberry shortcake is what most folks get for birthdays and big holidays in Japan. It’s based on European-style sponge but tweaked for local tastes with airy layers, whipped cream (never buttercream), and just a hint of sweetness. It’s bright, festive, and welcomes spring in the sweetest way.
FAQs About the Recipe
- → Why’s the cake so light and squishy?
If you fold in fluffy egg whites and cook it gently with steam, your cake gets cloud-soft every time.
- → Do I really need stabilized whipped cream or does plain whipped cream work?
If you eat it soon, just use regular whipped cream. If you need it to last, gelatin in the cream will help keep things firm and pretty.
- → How do I stop my cake from caving in or shrinking?
Don’t go wild mixing! Try not to open the oven at first, and run a knife around the edges after baking to loosen it so it pops out right.
- → Will the strawberries be okay without sugar?
Adding sugar brings out juice and more sweetness, but you can totally go fresh and leave out the sugar if you like them a bit tart.
- → How can I slice it without wrecking the layers?
Stick it in the fridge to chill, then use a long serrated knife. That’ll make your slices way neater and easier to handle.
- → Can you prep this ahead of time?
Yep, go ahead and bake the sponge the day before. Just stack with cream and strawberries right before eating so it stays super fresh.