
 Pin
Pin
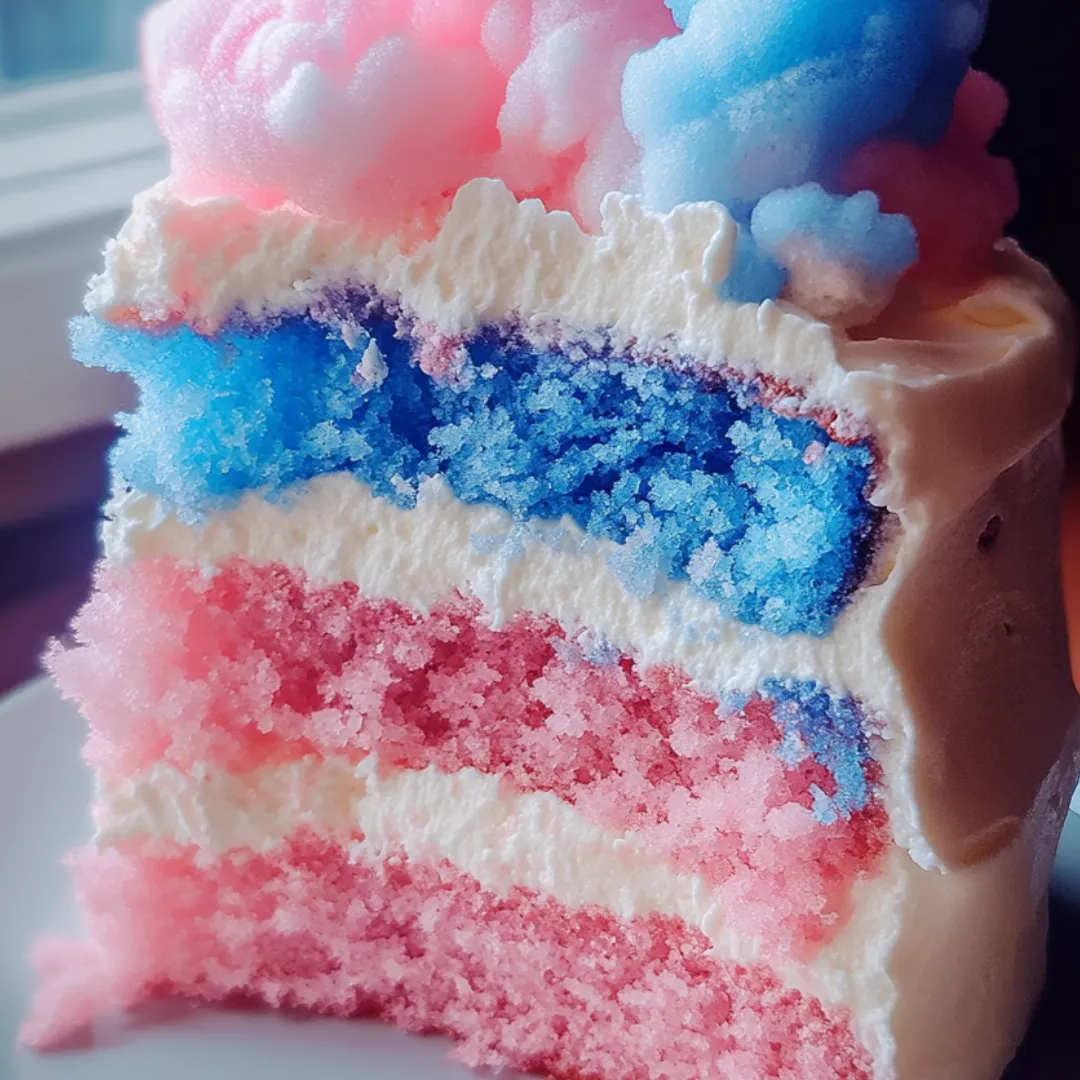
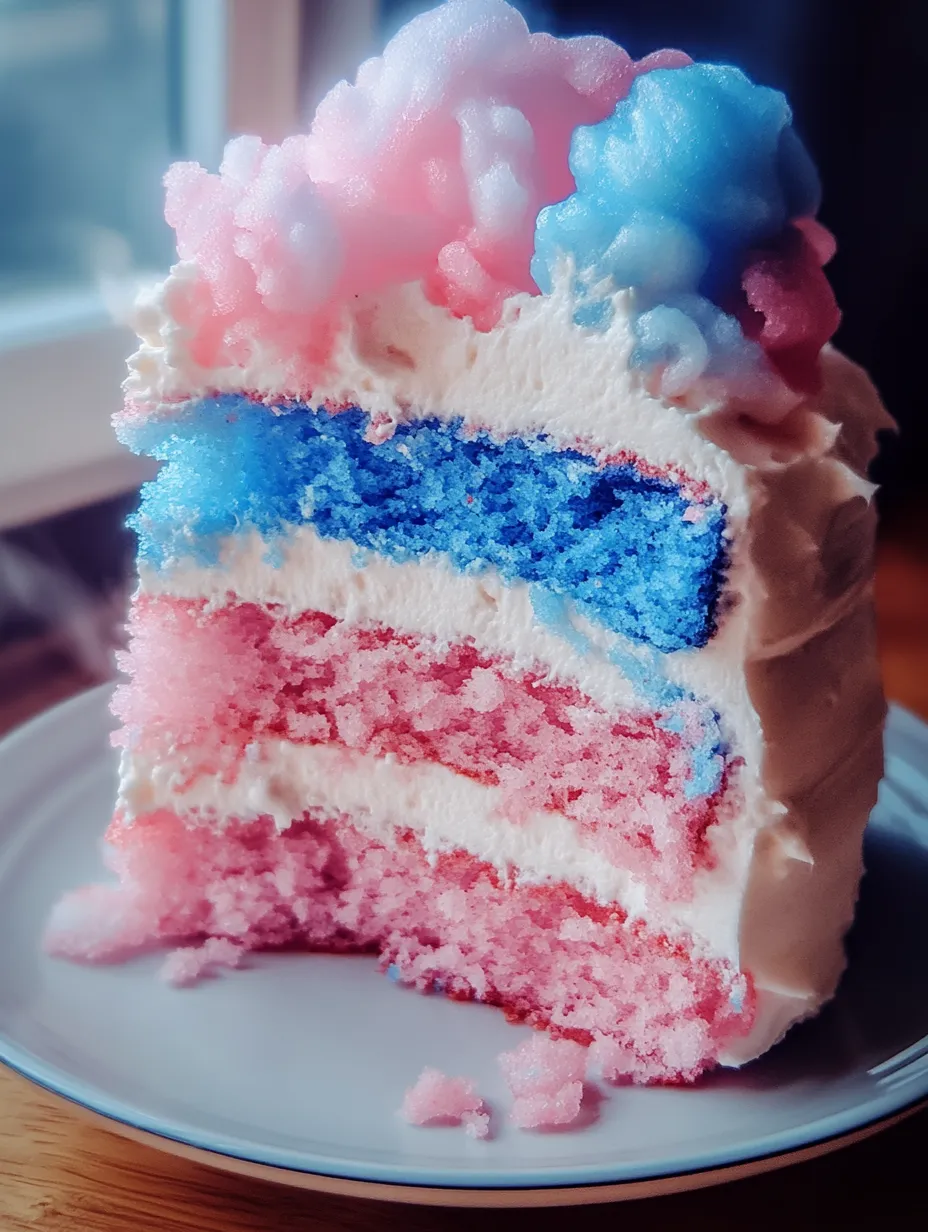
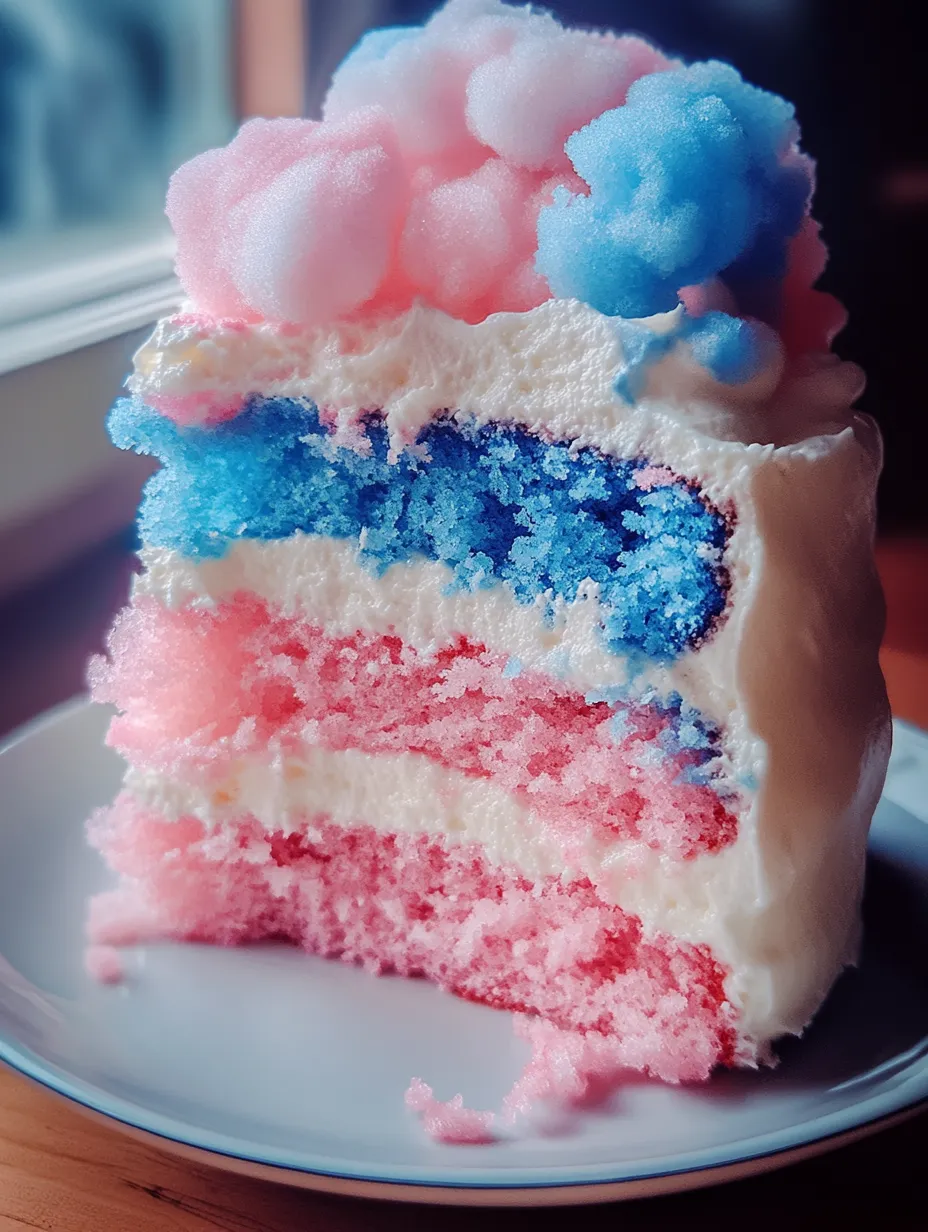
Nothing brings smiles quicker than Cotton Candy Cake. Stacked with pastel colors and topped with fluffy, sweet-as-a-cloud frosting, this dessert always kicks off a celebration. Kids and grownups alike love digging in. This one lives on our birthday table every year and always wows.
The first time I baked this for my niece, she danced around the kitchen and couldn't wait for a bite. Now somebody requests it at nearly every family gathering. It's become a regular tradition for our crew.
Vibrant Ingredients
- Sprinkles: want extra sparkle? Toss these on for more fun, totally optional
- Decorative cotton candy: brings the finishing touch, just pile it up at the end so it stays fluffy
- Heavy cream or milk: swirls into your frosting, heavy cream really makes it rich
- Powdered sugar: the main part of your frosting, sift it so you skip the lumps
- Food coloring: go wild with your shades, pinks and blues are classics, gel is best for bright colors
- Whole milk: makes every bite soft and rich, always pick the full fat kind if you can
- Cotton candy extract: the secret to that unmistakable flavor, snag a high quality one for pure taste
- Vanilla extract: boosts candy vibes, nothing beats real vanilla
- Large eggs: these help hold the layers together and add extra richness
- Granulated sugar: keeps the bake moist and sweet, make sure it’s very fine so it blends well
- Unsalted butter: key for soft texture and rich taste, something fancy like Plugra or KerryGold is perfect
- Salt: a pinch helps all the flavors stand out
- Baking powder: your cake gets its lift and light crumb from this, make sure it's still good
- All-purpose flour: builds sturdy but fluffy layers, I swear by King Arthur for this
Simple Steps
- Decorate:
- Pile fluffy cotton candy on the cake, then let sprinkles rain down. Wait to add the topping until just before serving — it melts fast.
- Stack Your Layers:
- Put the first cake layer on a plate, frost it well. Keep stacking the rest with frosting between, then spread frosting all over the outside.
- Color Your Batter:
- Split the batter into as many bowls as you want, then gently swirl in food coloring till you're happy. Try not to overmix.
- Bake the Layers:
- Pour each color into a separate pan and smooth out the tops. Bake at 350°F until a toothpick pokes out clean — that's around 25-30 minutes.
- Mix in the Dry and Wet:
- Alternate adding dry mix and milk into the wet batter. Always start and end with dry. Don't over-mix for the fluffiest cake.
- Cream It Up:
- Use an electric mixer to beat butter and sugar together until they look pale, super light, and airy. About three minutes will do it.
- Add Flavors and Eggs:
- Crack in eggs one at a time, blending fully as you go. Pour in the vanilla and cotton candy flavors and stir it just until mixed in.
- Blend Dry Ingredients:
- Use a whisk to mix up the flour, baking powder, and salt in a bowl. This way your cake rises evenly.
- Get Pans Ready:
- Coat three 8-inch pans with butter and line the bottoms with parchment. This keeps your cake edges soft and makes getting them out so easy.
- Cool Down:
- Let the cakes rest for 10 minutes in the pans, then turn them out onto a rack. Wait till totally cool before adding frosting.
- Whip Up Frosting:
- Beat up butter till smooth, then add powdered sugar a cup at a time, splashing in cream as needed. Whip until it's super light and fluffy, then stir in both extracts. Swirl in food coloring for a pop of color if you want.
 Pin
Pin
Good to Remember
- Makes ahead beautifully — keeps well overnight
- Easily fits anything from unicorn to mermaid parties with color swaps
- No shame in grabbing pre-made cotton candy for decorating fast
The smell of cotton candy extract always gives me a warm, happy feeling. I get such a kick out of making this cake with my niece, letting her go wild with the food colors and sprinkles. Every single one ends up different, and we always end up laughing about it.
Keep It Fresh
Once the cake’s frosted, pop it in a cake box or airtight carrier at room temp for up to two days. Longer than that? Tightly wrap and freeze the unfrosted cakes for as long as three months. Only top with cotton candy right before you’re ready to show it off — it shrivels fast with any moisture.
 Pin
Pin
Swaps You Can Make
Can’t find cotton candy extract? Mix in a drop of raspberry or almond with the vanilla for a fun twist. Or, try food-grade rose water for something lighter. Two percent milk works if you have to, but whole milk gives you the silkiest crumb. Gel coloring pops best, but the liquid stuff will do in a pinch.
Fun Ways to Serve
Make it extra fancy by plopping a swirl of whipped cream or extra frosting alongside every slice. For birthdays, load the plate up with big sprinkles and pop in a tall candle. Sips of icy milk or pink lemonade turn any party into a total blast.
Fun Origins
The first spin of cotton candy — or fairy floss, as it was called — was at the 1904 World’s Fair in St Louis. This cake mixes that classic carnival fun with the best kind of tender American layer cake. Swirling in colors is a throwback too. It reminds me of all those magical birthday cakes from growing up.
FAQs About the Recipe
- → Can I bake different flavors if I’m out of cotton candy extract?
You sure can. Try things like almond, raspberry, or plain old vanilla for a fresh spin if you can’t find cotton candy flavor.
- → How do I get a cool marbled look?
After you color both batters, swirl them around in the pan before putting it in the oven for awesome marble patterns.
- → What’s an easy way to keep cotton candy from disappearing on top?
Don’t place cotton candy until serving time, so it doesn’t vanish from air or steam.
- → How should I store my finished cake?
Leave the cake in an airtight box on your counter for up to two days. Pop on the cotton candy right before sharing.
- → How do I make my cake colors bold?
Pick up gel food coloring for nice punchy shades. Color your batter before baking for best results.
- → Is it okay to prep this cake ahead?
Bake and frost it earlier if you want. Wait until the big day to dress it up with cotton candy on top.