
 Pin
Pin
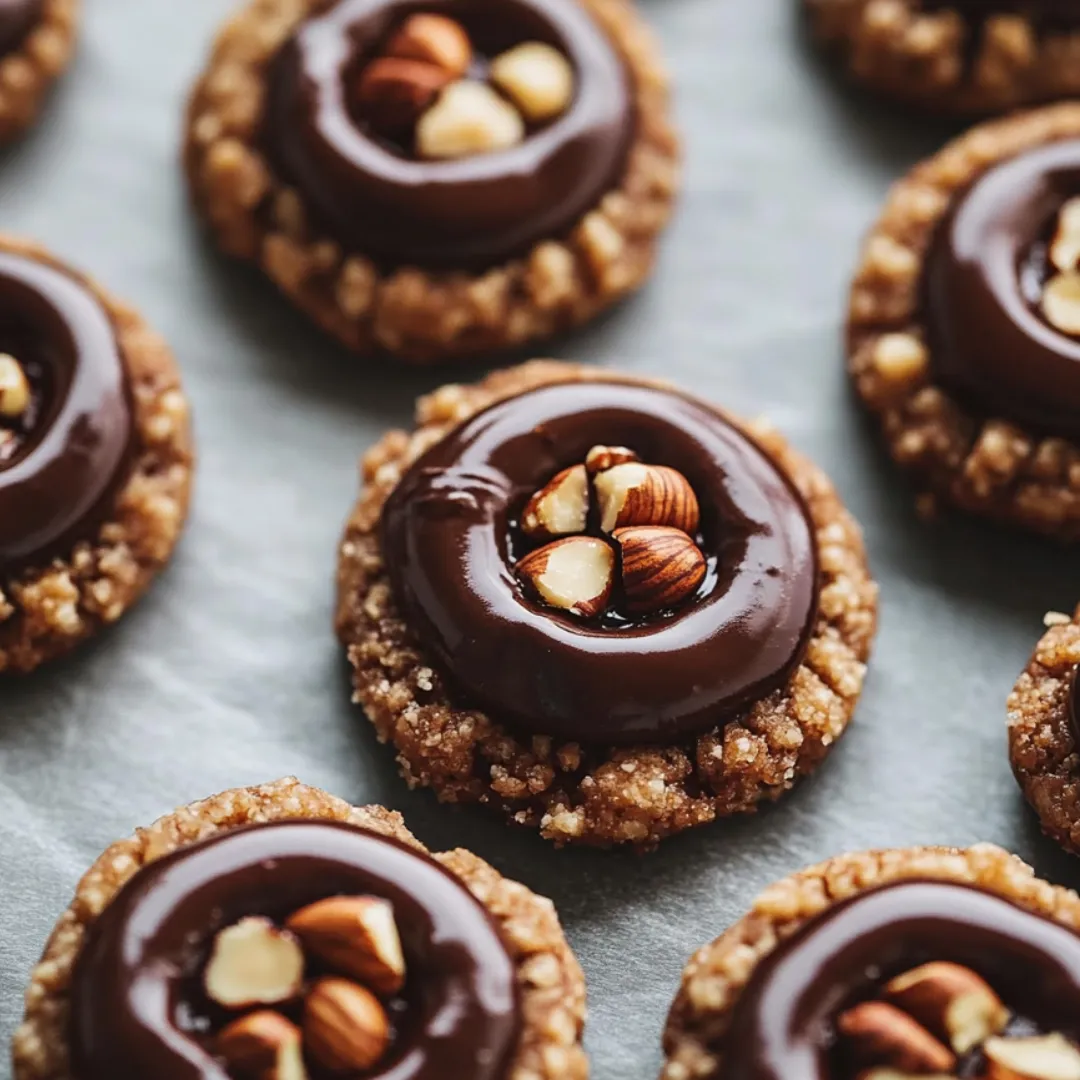
You get these chocolate hazelnut thumbprints with deep chocolate, melty buttery goodness, and that awesome nut crunch at the end. When I first shared a batch at a party, they were gone before dinner even hit the table. Now, whenever there's something to celebrate or I want a chill weekend snack, these are my hands down favorite.
The first time I baked these with my kid, messing around with the thumbprint part totally made it our thing. Now, come winter, making these together is just what we do.
Tasty Ingredients
- Chocolate hazelnut spread: goes inside each cookie for that rich creamy pocket Nutella rocks but use whatever you've got
- Whole hazelnuts for topping: makes them look and taste special especially for fancy feasts
- All purpose flour: gives the cookie its shape scoop and even off your cup to measure right
- Salt: cuts the sweetness and brings out the chocolate you can dust flakes on top too if you feel fancy
- Cocoa powder: brings that major chocolate punch Dutch cocoa makes color and flavor pop
- Vanilla extract: brings comfy warmth go for real stuff for max smell and taste
- Hazelnuts: coat the cookie balls with crunch toast these first to make your kitchen smell amazing
- Granulated sugar: makes things sweet and gets the cookies to brown up use fine sugar for the best finish
- Unsalted butter: main flavor builder for a soft cookie richer butter means yummier cookies
Simple Steps
- Cool and Serve:
- Let them sit on the baking trays for five minutes, then pop onto racks. Make sure they’re all the way cool before you stack or stash so that tasty filling stays right in the middle.
- Add Chocolate Filling:
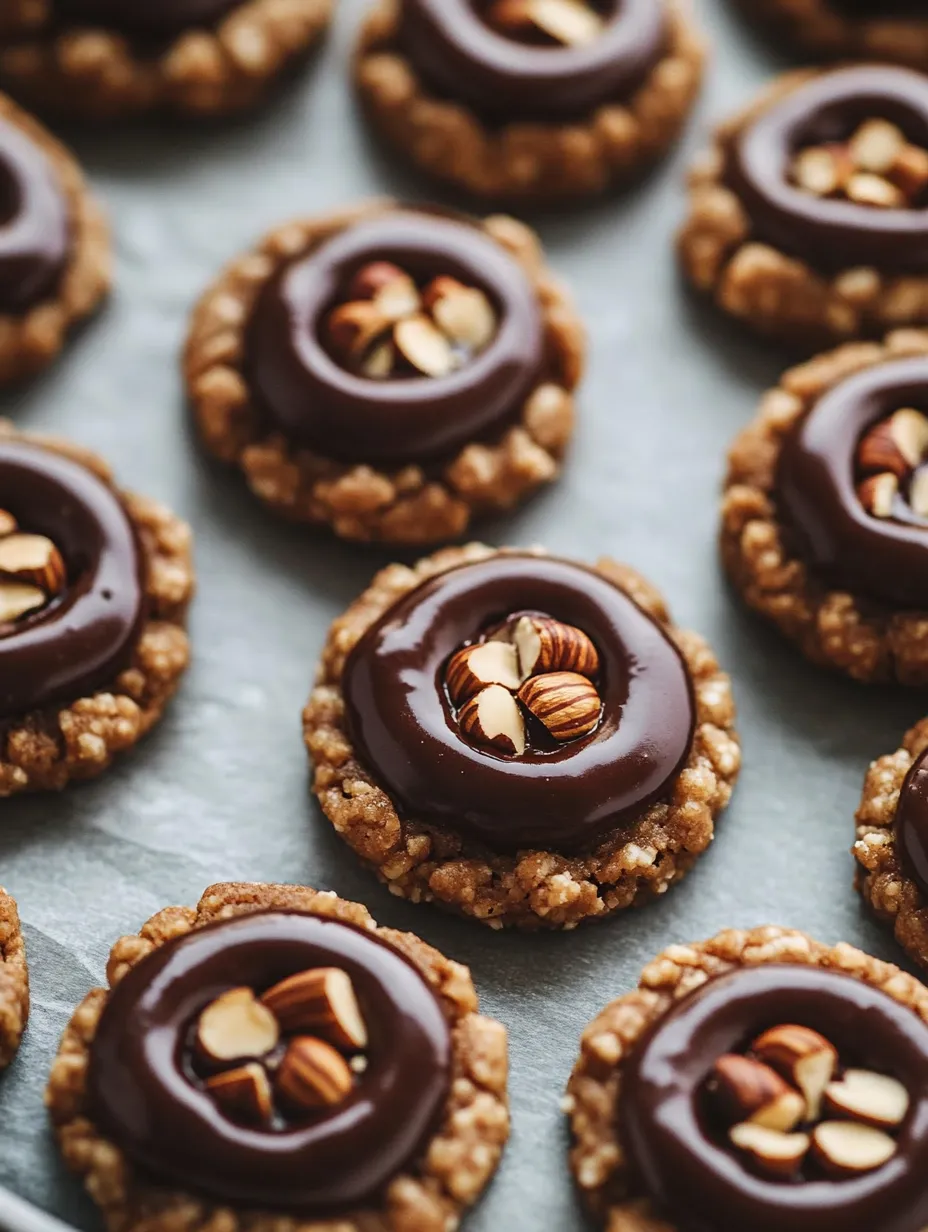
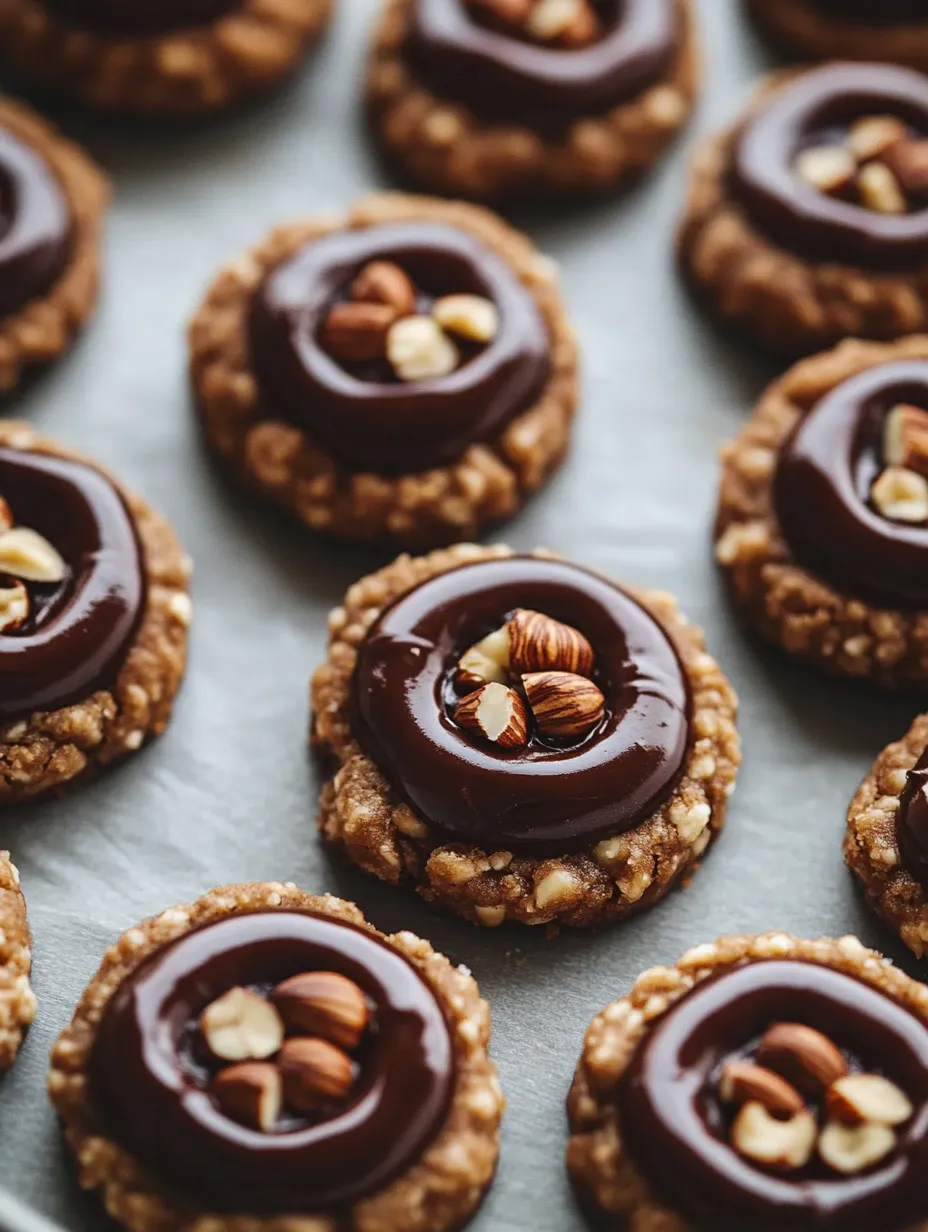
- When they’re still a bit warm, poke the middles again if they've puffed up. Drop a small scoop of chocolate spread right in the dip. Top with a whole hazelnut if you want each one looking fancy and crunchy.
- Bake the Cookies:
- Bake your trays in the hot oven about twelve to fourteen minutes. They’ll puff and lose their shine but still be soft to touch.
- Create Indentations:
- Go in with your thumb or a spoon and push a hole in each ball. Don’t smash them flat, just make a little nest for the filling.
- Shape the Cookies:
- Grab hunks of dough and roll balls about an inch across. Roll each in chopped toasted hazelnuts till coated, pressing a little so they stick. Lay them out on your prepared pans with some space.
- Mix Dry Ingredients into Butter Mixture:
- Slowly add the dry stuff into your creamy bowl. Mix gently, just till it looks smooth and holds together. You want dough you can roll, not sticky at all.
- Combine the Dry Ingredients:
- Blend flour, cocoa, and salt in another bowl so you don’t have random lumps. Give it a whisk for a smooth mix.
- Cream the Butter and Sugar:
- Blend softened butter and sugar in a big bowl — let it get super light and fluffy (about three to five minutes with a mixer). Add vanilla and stir till smooth.
- Preheat Oven and Prep Pans:
- Set your oven to warm up to 350°F (175°C). Lay out parchment on two trays to keep cookies from sticking and make cleanup easy.
 Pin
Pin
Toasting the hazelnuts covers my kitchen with the best toasty smell reminds me of baking with Mom in the winter waiting for our treats to be done
Stashing Tips
Just put these in a sealed box at room temp for up to five days. Put parchment between stacks to keep everything neat. If you’re freezing, pop baked cookies in one layer, then freeze more layers with parchment in a freezer box. Let them sit out to thaw so the middles go creamy again before eating.
Swapping Ingredients
Need nut free? Swap the hazelnuts for chopped pumpkin seeds and grab a chocolate spread with no nuts. For gluten free, grab a one for one flour mix. Almond extract instead of vanilla gives a new twist.
Ways to Serve
Grab a mug of coffee or cocoa and dunk one of these for the best treat. They look awesome in a platter with other cookies for the holidays — add shortbreads, spiced biscotti, and sugar cookies. Bundle a few up in parchment and tie with string for a cute homemade gift.
 Pin
Pin
Fun History Facts
Thumbprints show up all over Europe, usually packed with jam or a chocolaty filling. Hazelnut with chocolate? That’s a classic in Italian cookies too just like everyone’s favorite jarred spread. Putting the two together means you get a celebration-worthy treat in every bite.
FAQs About the Recipe
- → What helps get that super soft texture?
Mixing the butter and sugar well fluffs up the dough and gives you a cookie that’s nice and tender.
- → What's a great way to make sure the hazelnuts stick all over?
Roll each ball of dough in chopped hazelnuts and give them a gentle press, so the nuts grab on tight and make a nice coating.
- → Could I swap the filling or nuts?
Definitely! Switch in pecans or almonds for hazelnuts, or fill them with any creamy chocolate or nut butter you like.
- → How do you keep the centers from rising up too much?
Once they’re baked, push the indents back down with a spoon while the cookies are still hot to keep that perfect thumbprint spot.
- → Should I eat these after they’ve cooled or while they’re a bit warm?
If you want the middle to set up, let them cool. They’re awesome warm, too, if you can’t wait!