
 Pin
Pin
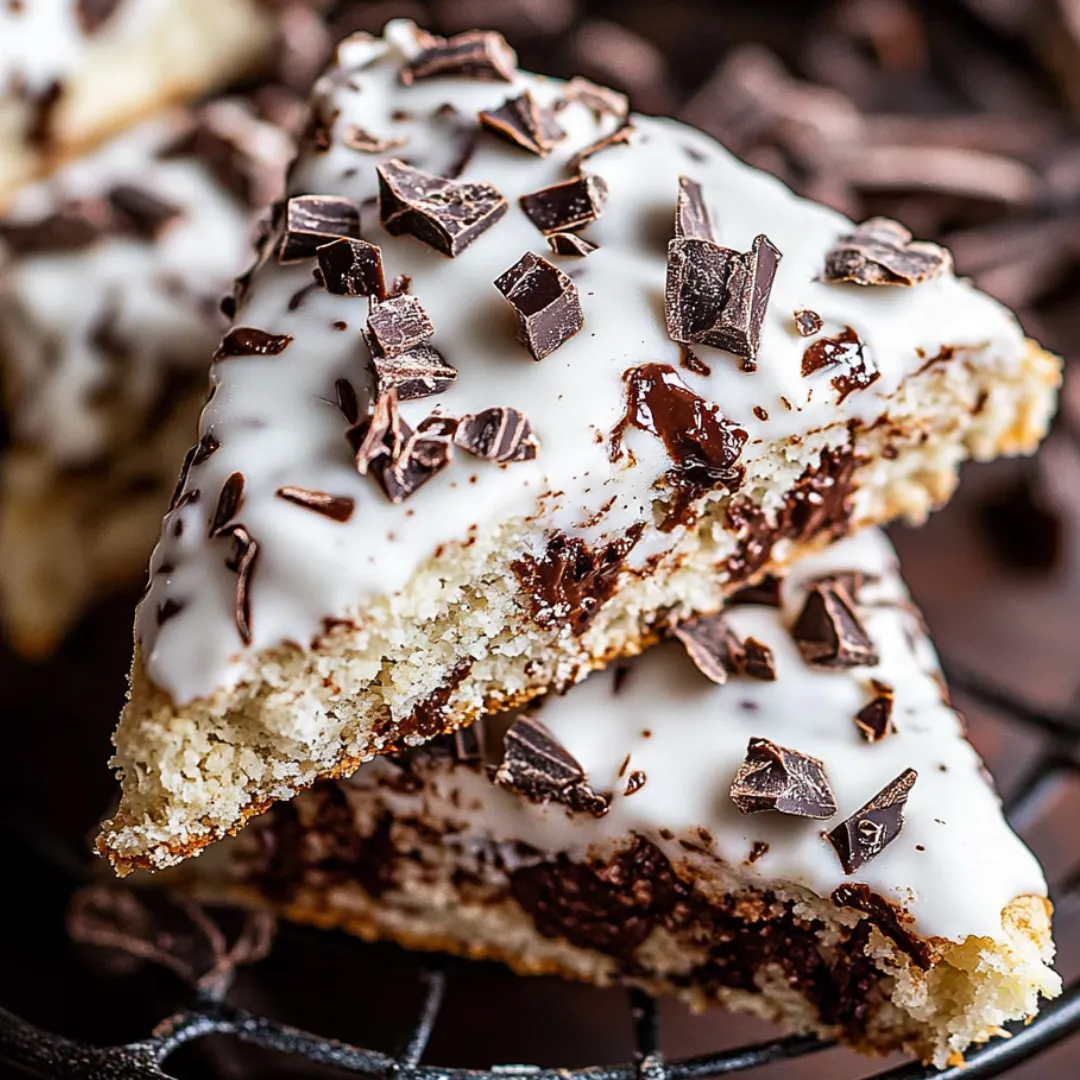
These chocolate coconut scones turn basic pantry staples into a mouthwatering treat that'll make you feel like you're sitting in your favorite coffee shop. The deep flavor of dark chocolate bits perfectly melts into the coconut-packed dough, making an amazing combo that's rich but still totally comforting.
I whipped these scones up for my daughter's birthday morning feast and they vanished quicker than anything else we served. They've now become our go-to Sunday morning treat when we want breakfast that feels a bit fancier than our everyday options.
Ingredients
- All purpose flour: Gives these tender scones their perfect foundation
- Sweetened coconut flakes: Add wonderful chew and boost that tropical taste
- Dark chocolate: Creates yummy pockets of melted goodness in every bite
- Coconut cream: Keeps everything moist while pumping up the coconut flavor
- Coconut extract: Boosts the tropical taste without going overboard
- Vanilla extract: Brings a cozy background note that balances the coconut
- Cold butter: The secret to getting those flaky layers we all want
- Powdered sugar: Makes a lovely topping that hardens just right
Step-by-Step Instructions
- Get Everything Ready:
- Heat your oven to 400°F and line your baking sheet with parchment. This temp will give you that golden outside while keeping the inside soft. Setting up before mixing makes everything go smoother.
- Make Coconut Flour Mix:
- Toss most of your coconut flakes into a food processor and pulse until they're tiny and sand-like. This spreads coconut flavor through every corner of your scones.
- Combine Dry Stuff:
- Mix your coconut mixture with regular flour, sugar, baking powder, and salt. This builds your scone base. Make sure you stir it all really well so everything's evenly mixed.
- Get Chocolate Ready:
- Cut your chocolate into different sized pieces from big chunks to tiny bits. Having different sizes means some chocolate will melt completely while other pieces stay chunky for a fun texture surprise.
- Add The Butter:
- Mix your cold butter cubes into the dry ingredients until it looks like rough sand. Don't rush this part if you want flaky scones. Work fast so the butter stays cold, which creates steam pockets during baking.
- Mix Your Dough:
- Add wet ingredients and mix just enough to bring everything together. The dough should seem a bit dry but stick together when squeezed. Don't overdo it or your scones will turn tough.
- Cut Into Portions:
- Flatten the dough into an 8inch circle about 1inch thick and slice into eight wedges. Getting the thickness right matters a lot. Too flat and they'll burn, too thick and the middle won't cook.
- Bake Them Up:
- Put them on your parchment-lined baking sheet and bake until the edges turn golden. They're done when the outside feels set but they still give a little when you gently press the middle.
 Pin
Pin
I really love using fancy dark chocolate with at least 70% cacao in these scones. My grandma always told me that when chocolate is the main attraction, buy the best you can. The first time I tried making these with premium chocolate, my hubby said they beat anything from our neighborhood bakery.
Make Ahead Options
You can get these scones ready the evening before and keep them in the fridge unbaked. Just make everything through the cutting step, put the shaped scones on a baking sheet, wrap them in plastic, and stick them in the fridge overnight. When morning comes, just heat up your oven and bake them fresh, adding a few extra minutes to the cooking time. The butter staying cold in the fridge actually makes your scones even flakier.
The Secret to Perfect Scones
Getting that amazing scone texture comes down to how you work with the dough. Cold stuff and minimal mixing make all the difference. I always toss my butter in the freezer for about 15 minutes before cutting it up. Work fast with your fingers when mixing in the butter so you don't warm it up too much. Those tiny cold butter bits create steam while baking which gives you those awesome flaky layers that make scones so good.
 Pin
Pin
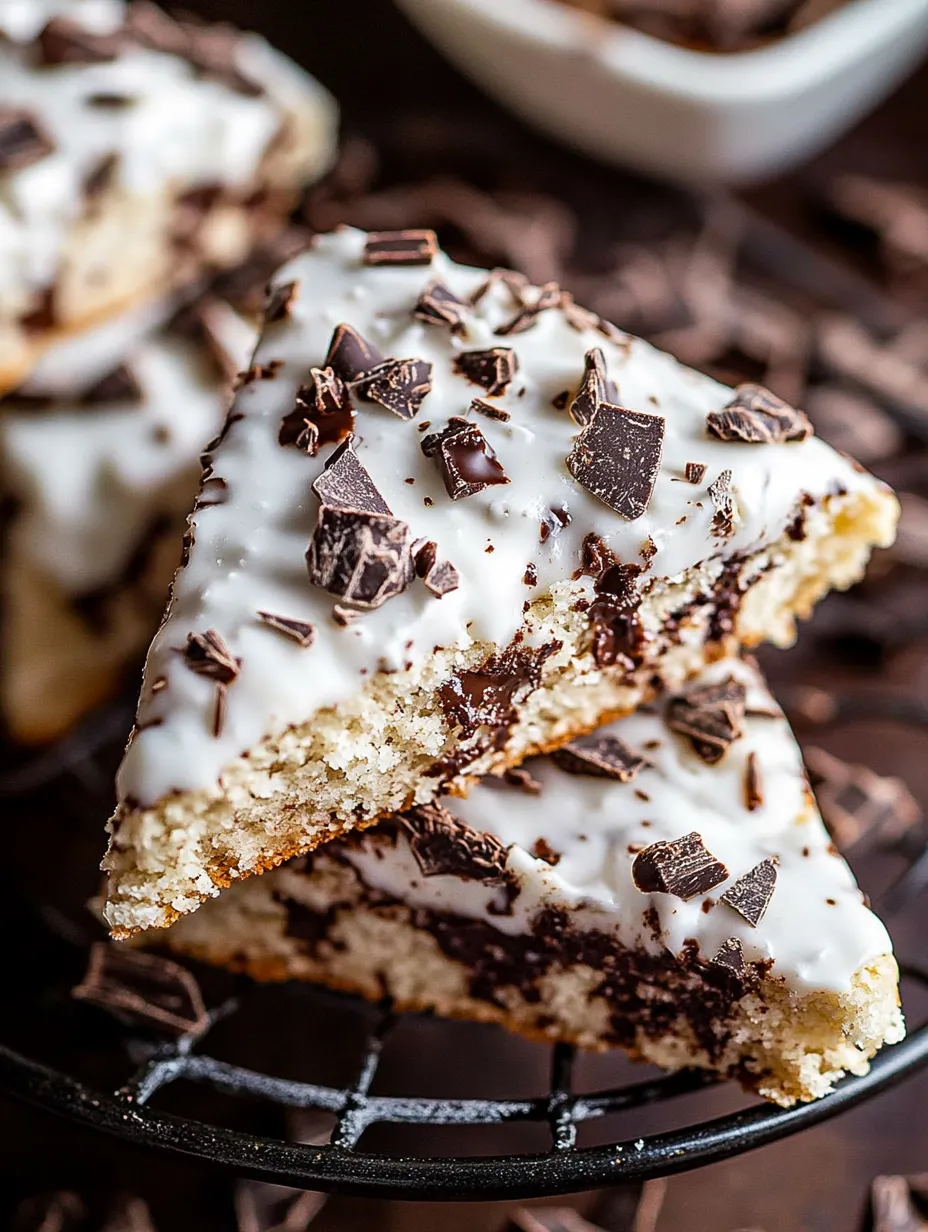
Serving Suggestions
These scones taste amazing just as they are, but you can make them even better with some tasty pairings. Try them with a hot cup of coffee with a splash of coconut cream to match the tropical flavors. For a bigger breakfast spread, serve them with fresh fruit and a spoonful of lightly sweetened coconut whipped cream. During Christmas time, I like to put these on a fancy tiered plate with other small treats for a nice afternoon tea that wows everyone without keeping me in the kitchen all day.
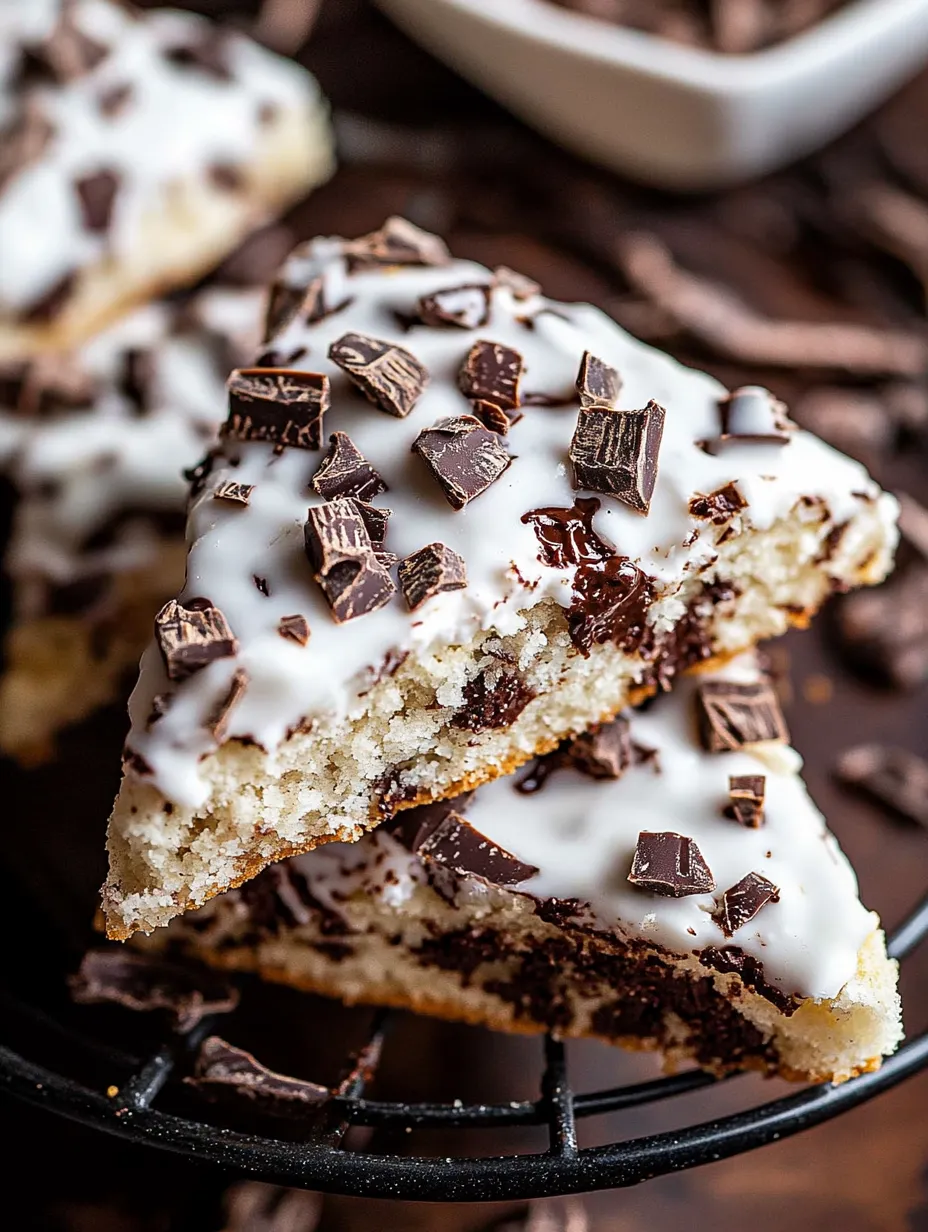
Coconut Selection Tips
The coconut products you pick really change how these scones turn out. Go for coconut cream that has coconut listed first with few other ingredients. For the coconut flakes, I usually go with the sweetened kind since they get a bit caramelized during baking, but unsweetened works too if you want less sweetness. Try toasting some of your coconut flakes for the top to add extra flavor and a pretty golden color next to the white icing.
FAQs About the Recipe
- → How do I make sure my scones turn out soft?
Keep your butter cold and don't mix the dough too much - this will give you that soft, flaky texture you want.
- → Can I use a different chocolate instead of dark chocolate?
Sure, milk or white chocolate will work, but dark chocolate really goes best with the sweet coconut flavor.
- → How should I keep these scones fresh?
Pop them in an airtight container at room temperature for up to 2 days or stick them in the freezer for up to 3 months.
- → Can I make these without dairy?
Absolutely, just swap the butter for a plant-based option and make sure your chocolate doesn't have milk in it.
- → Is it okay to make these less sweet?
Definitely, you can cut back on sugar in the batter if you want them less sweet.
- → What kind of coconut cream should I use?
Go for the full-fat coconut cream to get the best taste and texture in both your dough and icing.