
 Pin
Pin
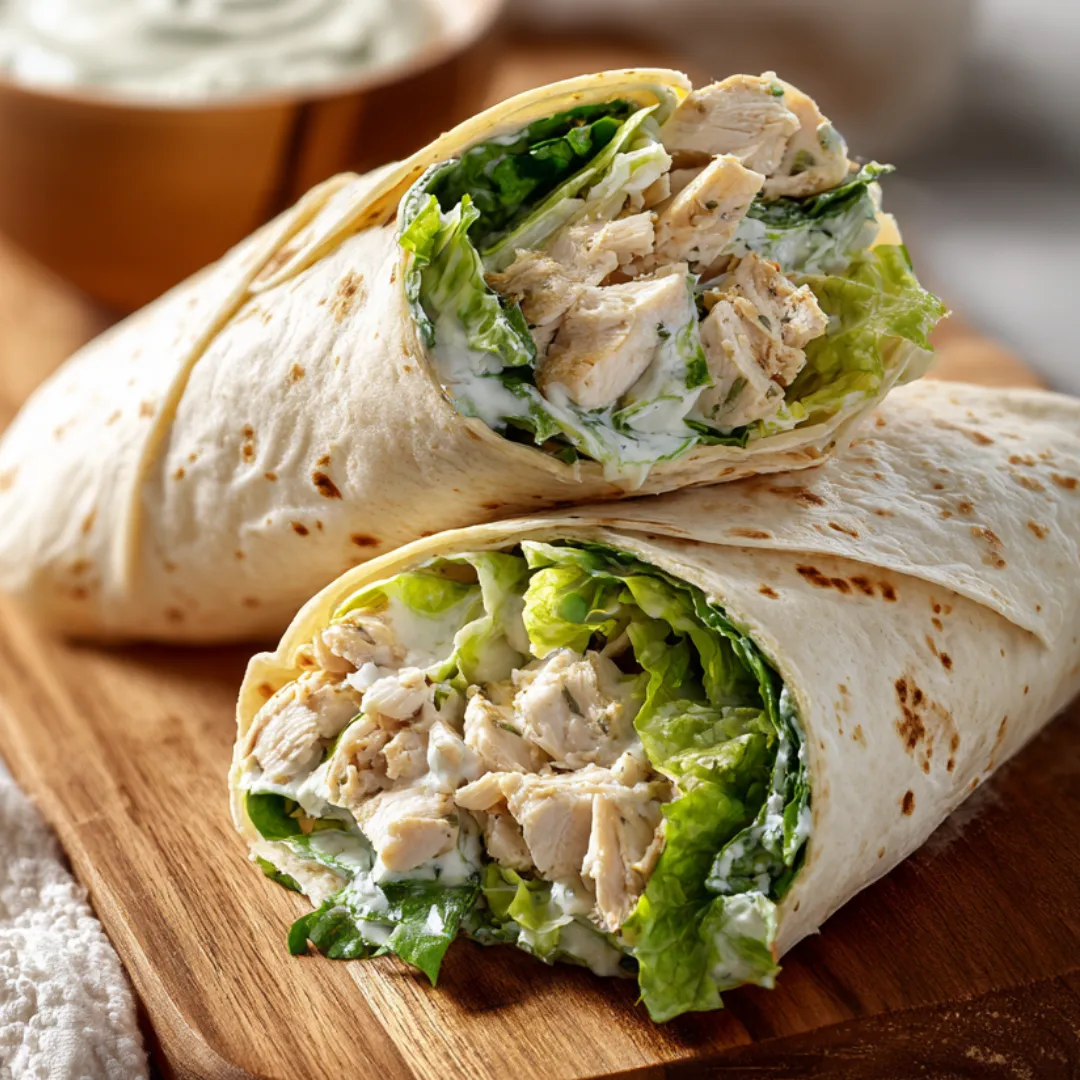
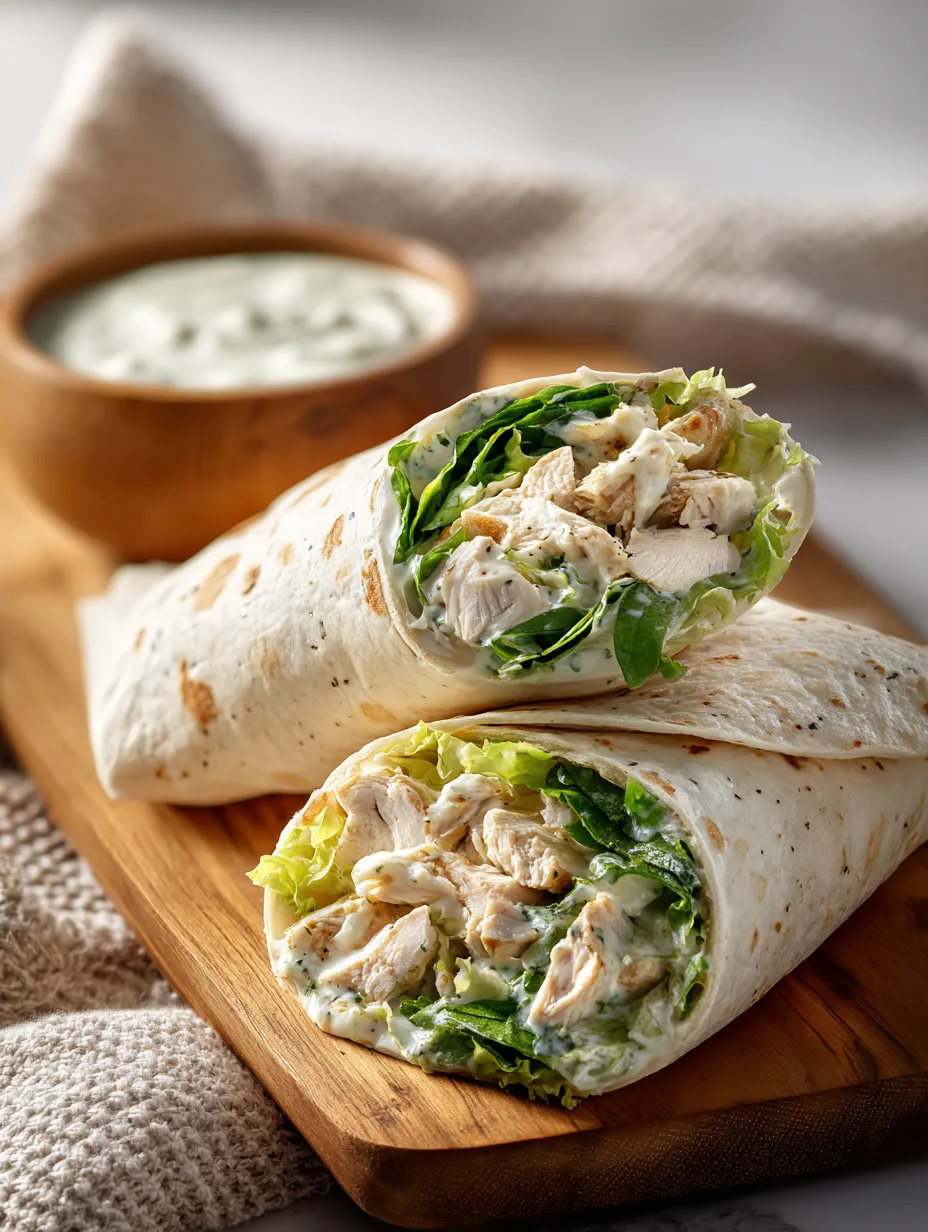
All the flavors of Caesar salad tucked into a tortilla make these Chicken Caesar Wraps a go-to lunch that is both tasty and portable. For busy workdays or casual picnics, these wraps always come through with a comforting balance of crunch and creamy dressing that satisfies every craving without any fuss.
When I first started making these wraps for school lunches they became an instant hit with my whole family. Now they are a dependable dish for hectic mornings when everyone is in a hurry.
Ingredients
- Cooked chicken breast: gives a hearty bite and protein boost Shred it for the best texture and use freshly cooked or high quality rotisserie chicken for maximum flavor
- Caesar dressing: delivers a creamy tangy base Buy your favorite brand or make your own to dial up the flavors to your liking
- Parmesan cheese: imparts a salty rich depth of flavor Shred it fresh for bold taste and the right texture
- Romaine lettuce: offers a refreshing crisp crunch Opt for fresh crisp heads and wash thoroughly for extra crunch
- Large tortillas: are soft and flexible so your wraps hold together easily Use sturdy flour tortillas for best results
Step-by-Step Instructions
- Prep the Chicken:
- Shred your cooked chicken breast into fine strips This allows every bite to soak up the Caesar dressing and ensures the wrap holds together
- Mix the Filling:
- In a large mixing bowl toss together the shredded chicken Caesar dressing freshly grated Parmesan and chopped romaine lettuce Keep tossing until everything is evenly coated so every wrap has balanced flavor
- Assemble the Wraps:
- Lay a tortilla flat on your work surface Spoon the chicken Caesar mixture down the center in a narrow line leaving space at the edges for folding
- Wrap and Serve:
- Fold the sides of the tortilla inward over the filling then roll tightly from the bottom up Slice each wrap in half on the diagonal if you want a restaurant style look
Pin
I always reach for extra Parmesan because I absolutely love its nutty bite against the creamy dressing. It reminds me of summer road trips and the picnics my family would enjoy with these wraps as our main treat.
Storage Tips
You can store prepared wraps in the fridge for up to one day tightly wrapped in plastic or foil. This keeps the lettuce crisp and prevents the tortillas from drying out. If you want longer storage keep the filling and tortillas separate and assemble when ready to eat.
Ingredient Substitutions
Try grilled chicken thighs for more juiciness or use a tangy Greek dressing for a bold twist. Whole wheat or spinach tortillas add color and extra flavor. For a vegetarian option swap the chicken for chickpeas or roasted tofu.
 Pin
Pin
Serving Suggestions
Pair these wraps with fresh fruit or a cup of tomato soup for a rounded lunch. They travel easily and are ideal for school work or picnics. For party platters cut the wraps into bite sized pinwheels and secure with toothpicks.
Cultural Context
Caesar salad originated in Mexico and quickly became a classic on American menus. Turning it into a wrap came from my need to prepare school lunches everyone would enjoy. Now this version is just as loved as the original in my home.
FAQs About the Recipe
- → Which chicken should I pick?
Shredded, cooked chicken breast makes it super easy, but leftover grilled or even rotisserie chicken work great too.
- → What if I want to swap the cheese?
Parmesan nails the classic taste, though Pecorino Romano or even mozzarella will do in a hurry.
- → What kind of Caesar dressing is best?
Use a good quality dressing—store stuff or homemade both do the trick for big flavor.
- → How can I stop the wraps from getting wet?
If you don’t want soggy wraps, put ‘em together right before eating or put lettuce down first so the tortilla stays dry.
- → Do these wraps work for prepping ahead?
Yep! Keep the fillings and tortillas apart until you’re ready, then roll them up tight so they stay fresh and yummy.
- → Is it okay to toss in more veggies?
Absolutely! Try slipping in slices of tomato, cucumber, or even some avocado if you’re feeling it for extra texture.