
 Pin
Pin
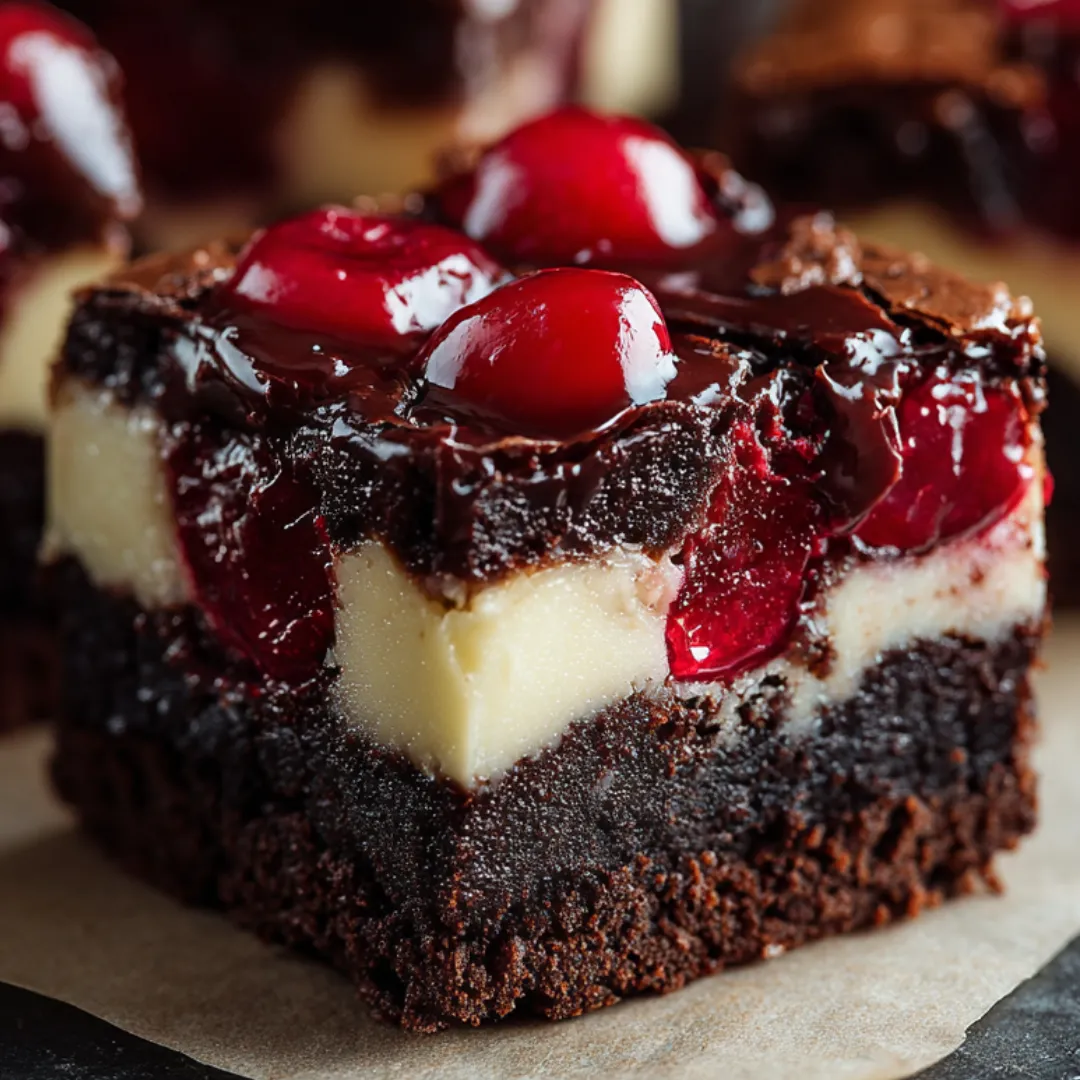
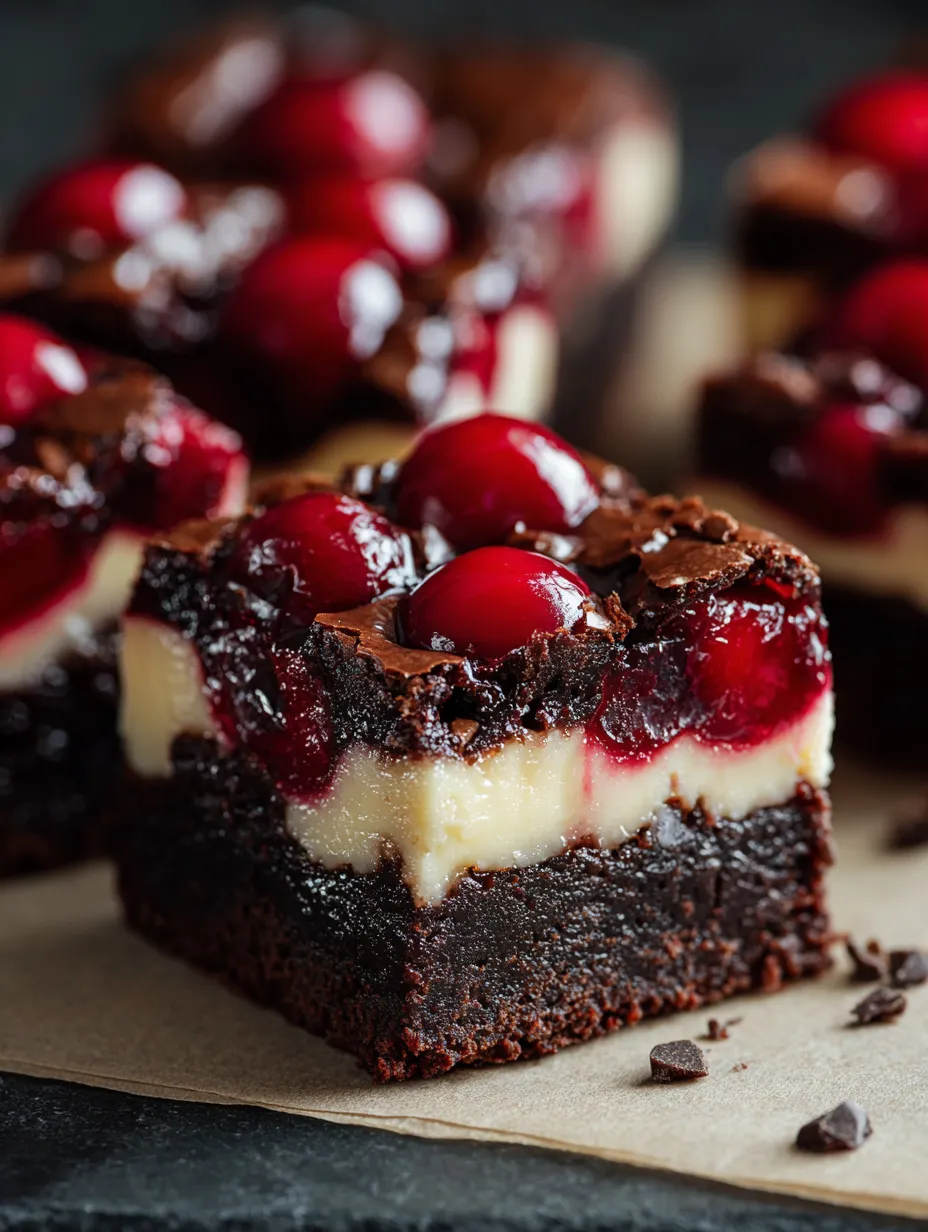
You get the best of everything in one pan with these Cherry Cheesecake Brownies. They start with a deep, fudgy chocolate base, topped with a smooth cheesecake middle, then get swirled with tart cherries right on top. They’re super easy to whip up using things you probably already have. They make weeknight baking a breeze and are always a smash hit. Around here, my kids ask for them at every birthday. They disappear fast at potlucks too!
When I wanted to pick between brownies or cheesecake, I decided not to pick at all. That’s how this mashup came to be. In my house, all the different layers and tastes keep everyone happy—no more arguments!
Dreamy Cherry Cheesecake Brownies Ingredients
- Cherry pie filling: brings bright tartness up top, spoon off extra juice so it stays sturdy, look for ones packed with whole cherries
- Vanilla extract: adds sweet aroma and warmth, you want the real stuff if you can
- Granulated sugar: sweetens both base and creamy center, go for a fine sugar so it blends smooth
- Baking powder: gives you lift so things don’t get too dense, double-check it’s fresh
- Salt: sharpens all the tastes, only need a little
- Large eggs: make everything hold together and stay fudgy, freshest eggs blend best
- Egg: just one for the cheesecake, helps it firm up and gives that silky bite
- All-purpose flour: brings structure to the brownies, sift it so the base is tender
- Cream cheese: the secret to that rich tangy middle, needs to be soft so it’ll mix in creamy and smooth
- Unsalted butter: gives rich, moist flavor in the brownie, fresh is always best
- Unsweetened cocoa powder: for a dark, chocolate taste, Dutch or natural both work well
- Vanilla extract: used again to make the cheesecake layer round and sweet
Simple Step Guide
- Chill and Slice:
- Once fully baked and cool, pop in the fridge for two hours. Slicing is way easier once it’s cold and the layers have set.
- Oven Time:
- Put the pan in the oven’s center rack. Bake for about thirty-five to forty minutes—it’s ready when the sides look settled and a toothpick poked in the center shows a couple soft crumbs.
- Cherry Swirl Fun:
- Drop your strained cherry filling all over the cheesecake topping. Take a knife or skewer and swirl them through—you want a cool marble look, not fully mixed.
- Add Cheesecake Cream:
- Spoon the cheesecake batter across the brownie base, smoothing it with a spatula. You want the whole brownie covered but without blending the layers together.
- Cheesecake Magic:
- In a bowl, beat that soft cream cheese till fluffy, add sugar, egg, and vanilla. Beat until super creamy—make sure there are no lumps left.
- Brownie Layer First:
- Pour brownie mix into the pan, spread so it reaches all the corners. This will be the fudgy bottom.
- Brownie Batter Basics:
- In a big bowl, whisk melted butter and sugar together till it looks pale and shiny. Add in eggs and vanilla. Blend in cocoa, flour, salt, and baking powder just until it comes together—don’t overdo it so the brownies stay soft.
- Prep Time:
- Line your baking tin with parchment or grease it well. Set the oven to three hundred fifty degrees Fahrenheit. This prevents the brownies from sticking and they’ll pop right out.
 Pin
Pin
What’s Handy to Know
- You get punchy flavors and textures all at once—soft chocolate, creamy cheesecake, and tart cherry
- Super easy to cut after a good chill so it looks neat when serving
- Awesome for gifting or for your next celebration
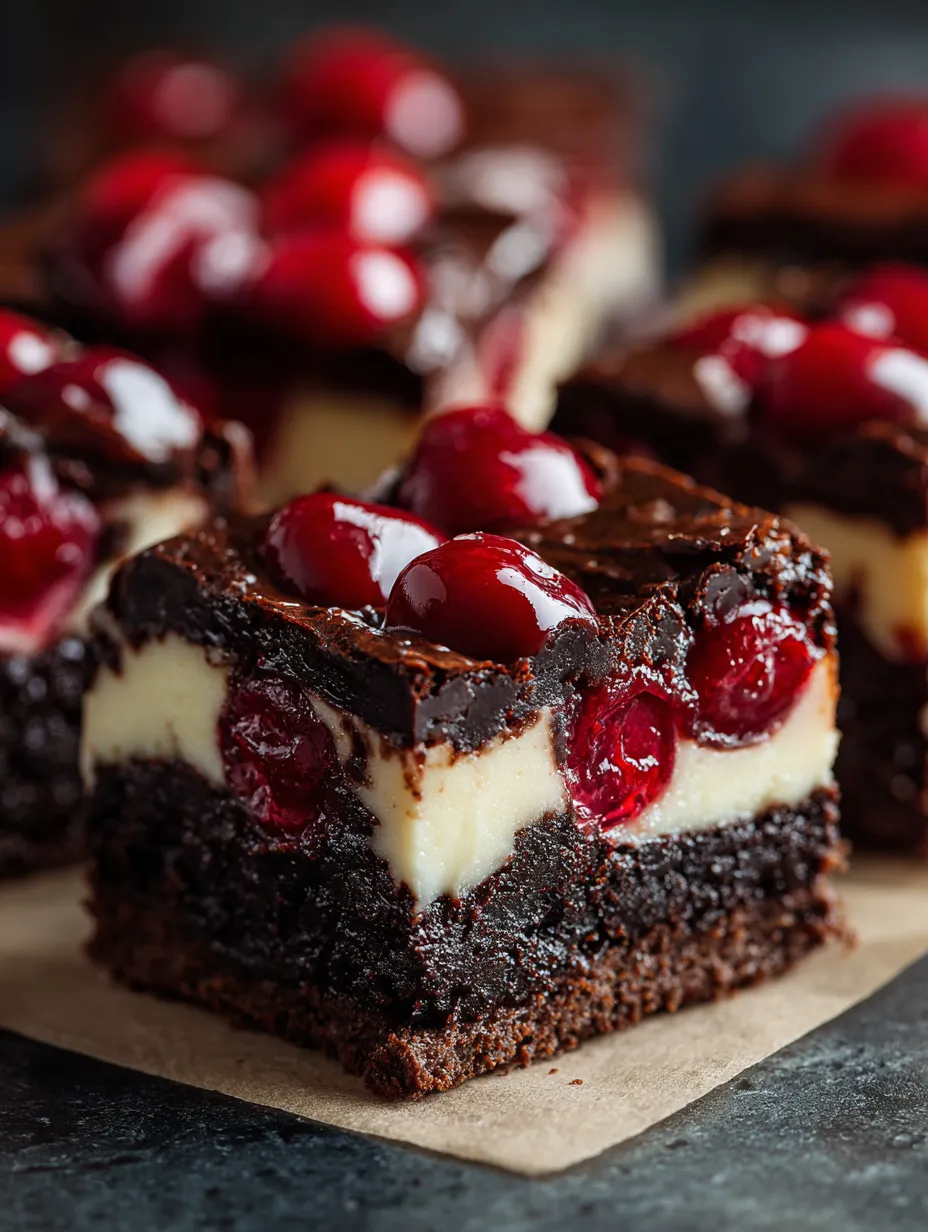
Honestly, the bright cherry pie filling is what makes this special for me. Every time I make these, I remember picking cherries in the sunshine with my kids. They remind us of fun days in the kitchen—usually fighting over that one last piece!
Keeping Them Fresh
After they’ve cooled and are sliced up, stash them in a sealed container in your fridge. They’re even tastier after a night as the flavors settle. If you stack them, slip some parchment in between so they don’t stick together.
Swap Suggestions
No cherry pie filling? Try using blueberry or raspberry pie filling instead. Berry and cheesecake are always friends. Need gluten-free? Just swap in a gluten-free flour blend and check that your baking powder is gluten-friendly too.
 Pin
Pin
Serving It Up
They’re awesome chilled straight out of the fridge. Dust with powdered sugar or top with whipped cream if you feel fancy. Try adding a scoop of ice cream and a few more cherries for a sundae that can’t be beat.
FAQs About the Recipe
- → Can I use fresh cherries instead of pie filling?
Yep, just cook fresh cherries with a bit of sugar and cornstarch until they get thick before swirling onto your cheesecake layer.
- → Why should I strain the cherry pie filling?
Draining out extra syrup stops your brownies from going mushy and helps those pretty swirls stand out.
- → How do I know when the brownies are done?
Brownies are done once the edges pull away from the pan and poking a toothpick in the center leaves only a few sticky crumbs on it.
- → What’s the best way to achieve clean cuts?
Wait for the brownies to cool, chill them for a couple hours, then grab a sharp knife to make tidy slices.
- → Can these brownies be made ahead of time?
Totally. Store them chilled for up to 5 days and they taste even better later.