
 Pin
Pin
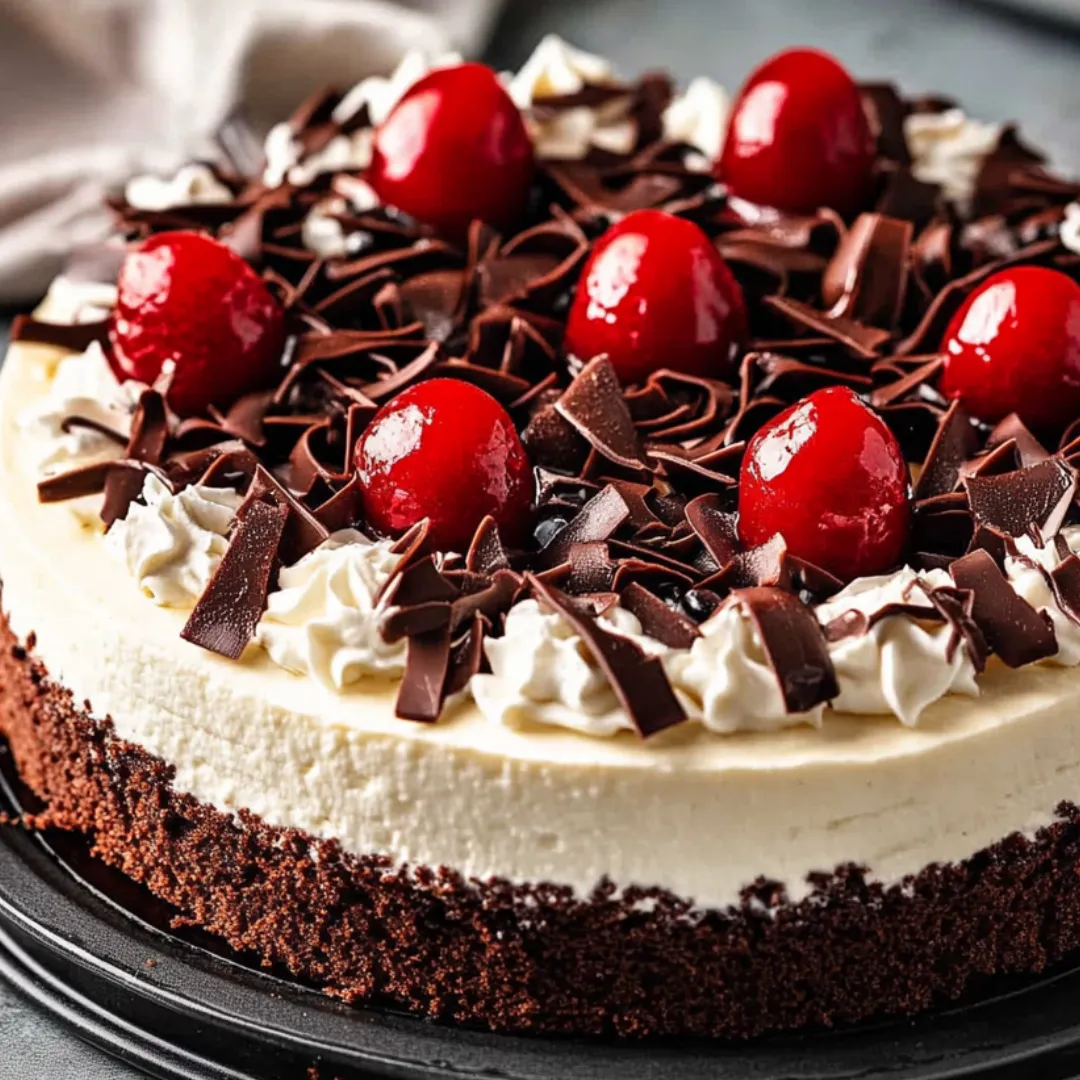
This divine Black Forest Cheesecake blends nostalgic Black Forest cake flavors with creamy cheesecake goodness for a show-stopping treat that always wows guests at my dinner gatherings.
I whipped up this cheesecake during a blizzard for my husband's birthday years ago. The magic mix of dark chocolate with cherries captivated us so much that we've made it our go-to celebration dessert for ten years running.
Ingredients
- Crushed Oreos: Create a crispy chocolate foundation that wonderfully contrasts with the smooth filling above
- Bittersweet chocolate: Adds rich complexity and cuts sweetness; grab quality chocolate that's at least 60% cacao
- Cream cheese: Delivers that tangy, velvety base; stick with full fat for the best results
- Cherry pie filling: Brings the signature Black Forest taste; go for a good brand with whole fruit pieces
- Heavy cream: Whipped up soft makes a light, fluffy topping that balances the dense cheesecake
- Chocolate curls: Give a fancy finishing touch; use slightly warm chocolate to make the best curls
Step-by-Step Instructions
- Prepare the Crust:
- Mix Oreo crumbs with melted butter and sugar until it looks like damp sand. Push it firmly into your springform pan, paying close attention to the edges. A quick five-minute bake will set your crust without burning the chocolate cookies.
- Create the Chocolate Base:
- Slowly melt chocolate with milk in short microwave bursts, stirring between each to avoid burning. This makes the smooth chocolate foundation that flavors your entire cheesecake. Make sure it's glossy and completely smooth before moving on.
- Mix the Cheesecake Filling:
- Whip room temperature cream cheese with sugar, cocoa and vanilla until it's totally smooth without any bumps. Cold cream cheese will stay lumpy no matter how long you mix, so be patient here. Don't forget to scrape your bowl often.
- Add Eggs and Chocolate:
- Mix in eggs one by one on low speed just until they blend in. Too much mixing now will trap air bubbles that cause cracks later. Gently fold in your cooled chocolate mixture, keeping that silky smooth texture throughout.
- Bake with Care:
- Pour everything over your cooled crust and bake until the middle wobbles slightly but the edges look set. Cooling slowly with the oven door cracked stops the quick temperature drop that makes cheesecakes crack.
- Chill Thoroughly:
- Let your cheesecake cool all the way at room temp before putting it in the fridge for at least six hours. This slow cooling and setting gives you perfect texture and lets all the flavors come together.
- Decorate Elegantly:
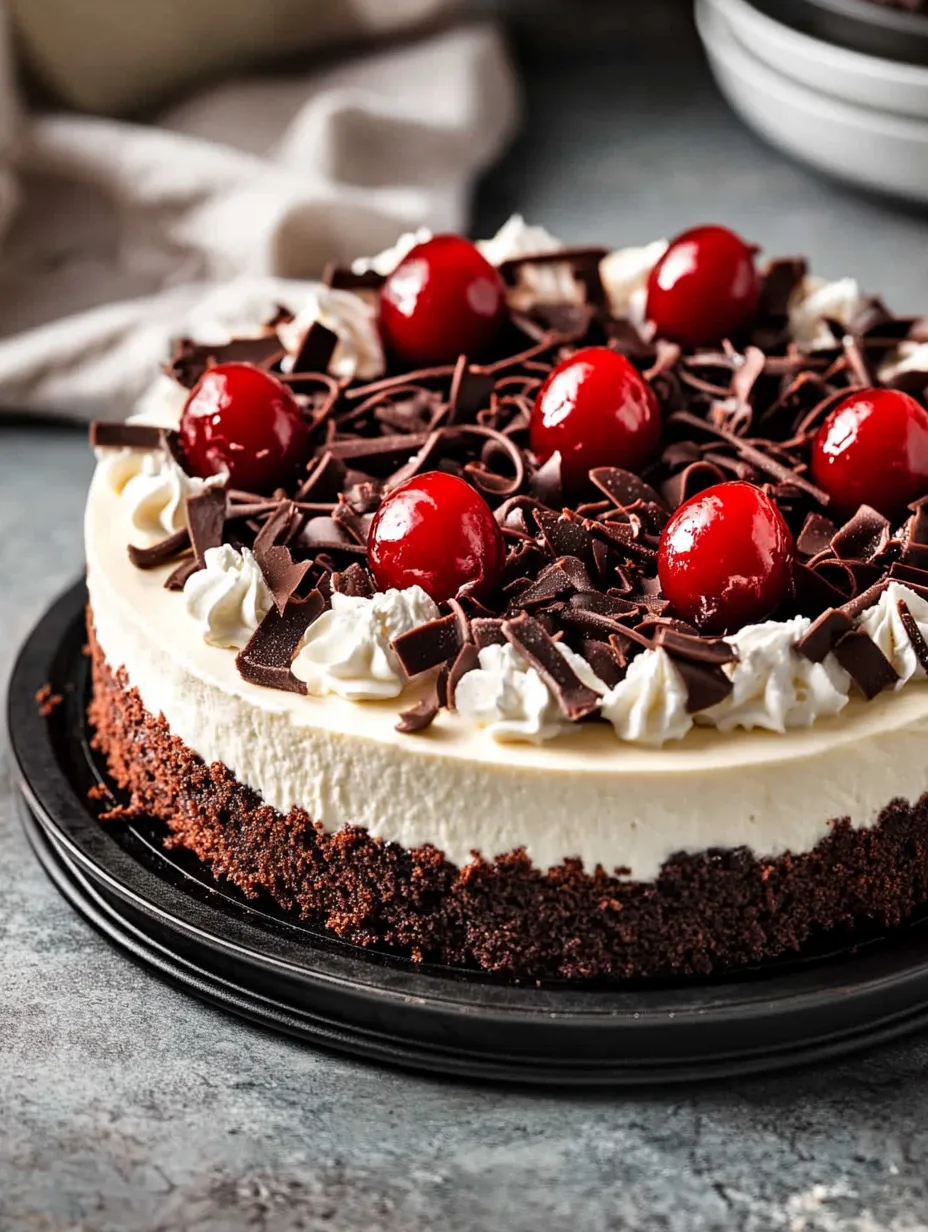
- Top your cold cheesecake with cherry pie filling piled high in the middle. Add soft whipped cream around the edges and sprinkle chocolate curls on top for a fancy-looking dessert that tastes even better than it looks.
 Pin
Pin
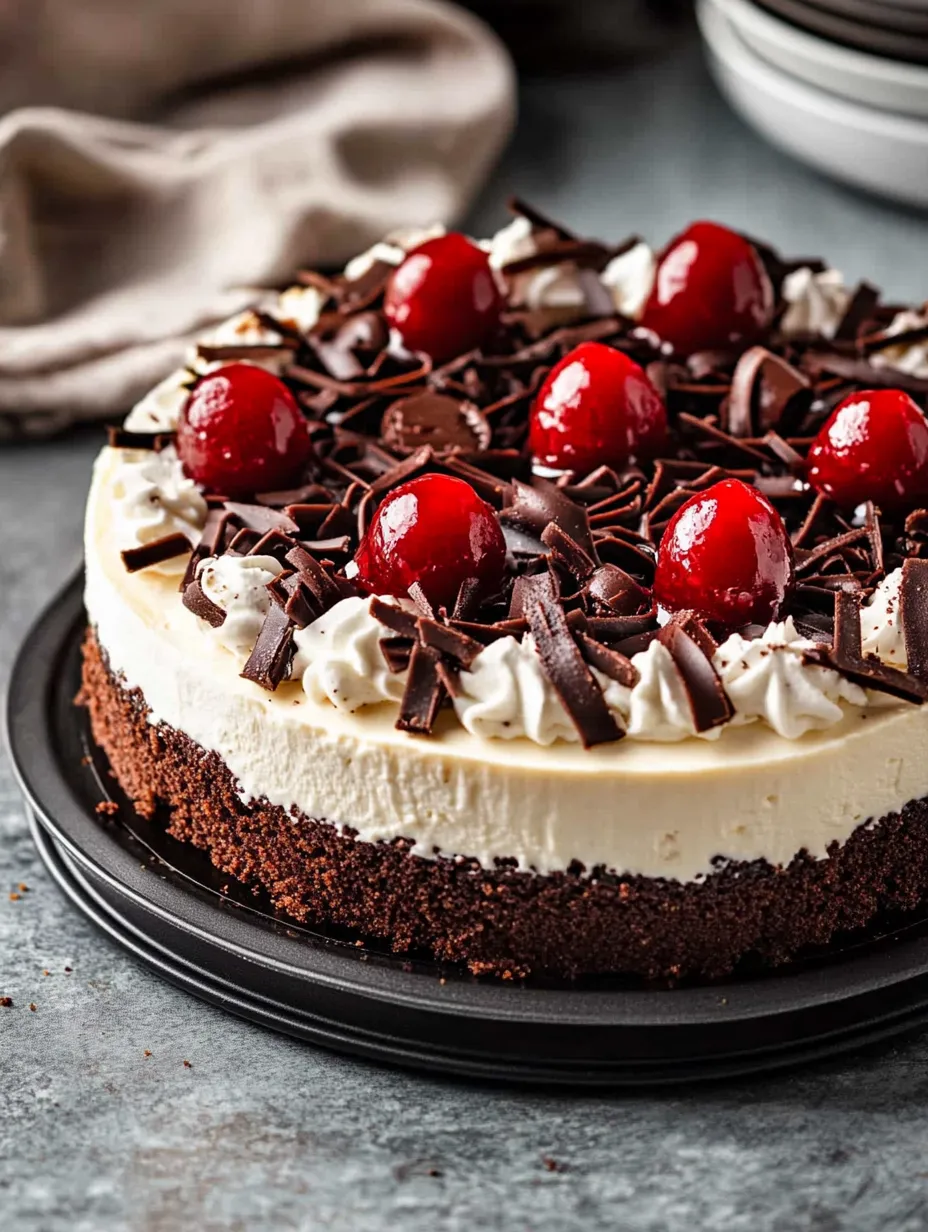
The mix of chocolate and cherries in this dessert takes me back to the Black Forest cakes my grandma baked for family parties. I love watching guests take their first bite and see their eyes light up when they taste the rich chocolate and bright cherry flavor together.
Perfect Crust Technique
Getting that just-right crust needs some care. I found that grinding the whole Oreos with their filling makes a sturdier base that doesn't fall apart when you cut it. Press it down firmly with a measuring cup bottom to make an even layer without weak spots. A short time in the oven sets it up without making it too hard to cut later.
Cherry Topping Variations
While canned cherry pie filling works great and saves time, you can jazz up this cheesecake depending on the season. In summer, I often cook fresh dark cherries with a bit of kirsch for that real Black Forest kick. For a fancier version, try soaking fresh cherries in cherry liqueur overnight, then drain and boil down the liquid into a shiny sauce before pouring over the cake.
 Pin
Pin
Serving Ideas
This cheesecake tastes best when it sits out for about 30 minutes before you dig in. The texture gets smoother and the chocolate flavor really comes alive. I like giving adults a tiny glass of kirsch or cherry liqueur to sip with their slice or drizzle on top. For an easier presentation, just dust some cocoa powder instead of making chocolate curls and it'll still look amazing without much work.
FAQs About the Recipe
- → How do I make the crust for Black Forest Cheesecake?
Combine smashed Oreos with melted butter and sugar. Push the mixture into your springform pan then pop it in the oven for five minutes to firm up.
- → Can I use milk chocolate instead of bittersweet for the filling?
Sure, milk chocolate works too, but remember your cheesecake will taste sweeter and won't have that deep chocolate kick.
- → How do I know when the cheesecake is baked correctly?
The middle should wobble a bit while the sides look firm. Don't cook it too long or it might crack, so keep an eye on it.
- → What is the best way to decorate the cheesecake?
Spread cherry pie filling on top, add some pretty whipped cream dollops, and sprinkle chocolate curls over everything for a wow-worthy look.
- → How should I store and serve the cheesecake?
Keep it in the fridge in a sealed container for up to three days. Enjoy it cold or let it sit out for 20-30 minutes before serving.
- → Can I make this cheesecake ahead of time?
Definitely, you can make it one or two days before you need it, stick it in the fridge, and add the fancy toppings right before you serve it.