
 Pin
Pin
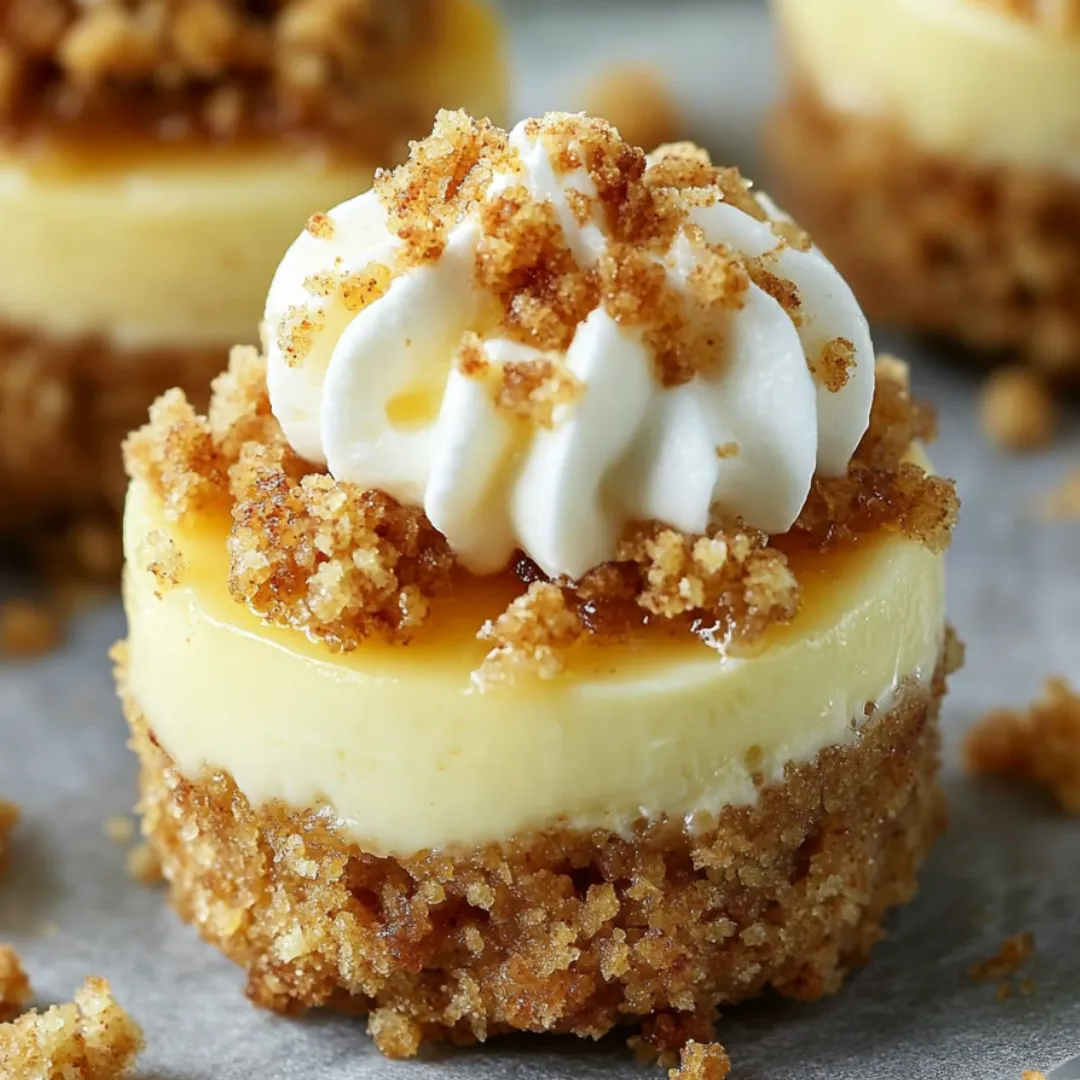
These bite-sized apple crisp cheesecakes blend two beloved sweets into one mouthwatering delight. The crumbly graham base holds up a smooth cheesecake middle topped with seasoned apples and a crispy oat topping. They're just right for autumn get-togethers when you want to impress folks without baking a whole cheesecake.
I whipped these up for a fall gathering when I couldn't pick between apple crisp or cheesecake. Everyone loved them so much that now I make them every year as soon as the trees start showing their colors.
Ingredients
- Graham cracker crumbs: They make a tasty foundation that works well with the creamy middle; buy them ready-made or smash your own in a blender
- Cream cheese: Creates the silky center layer; grab full-fat cream cheese and let it sit out till it's soft for the creamiest results
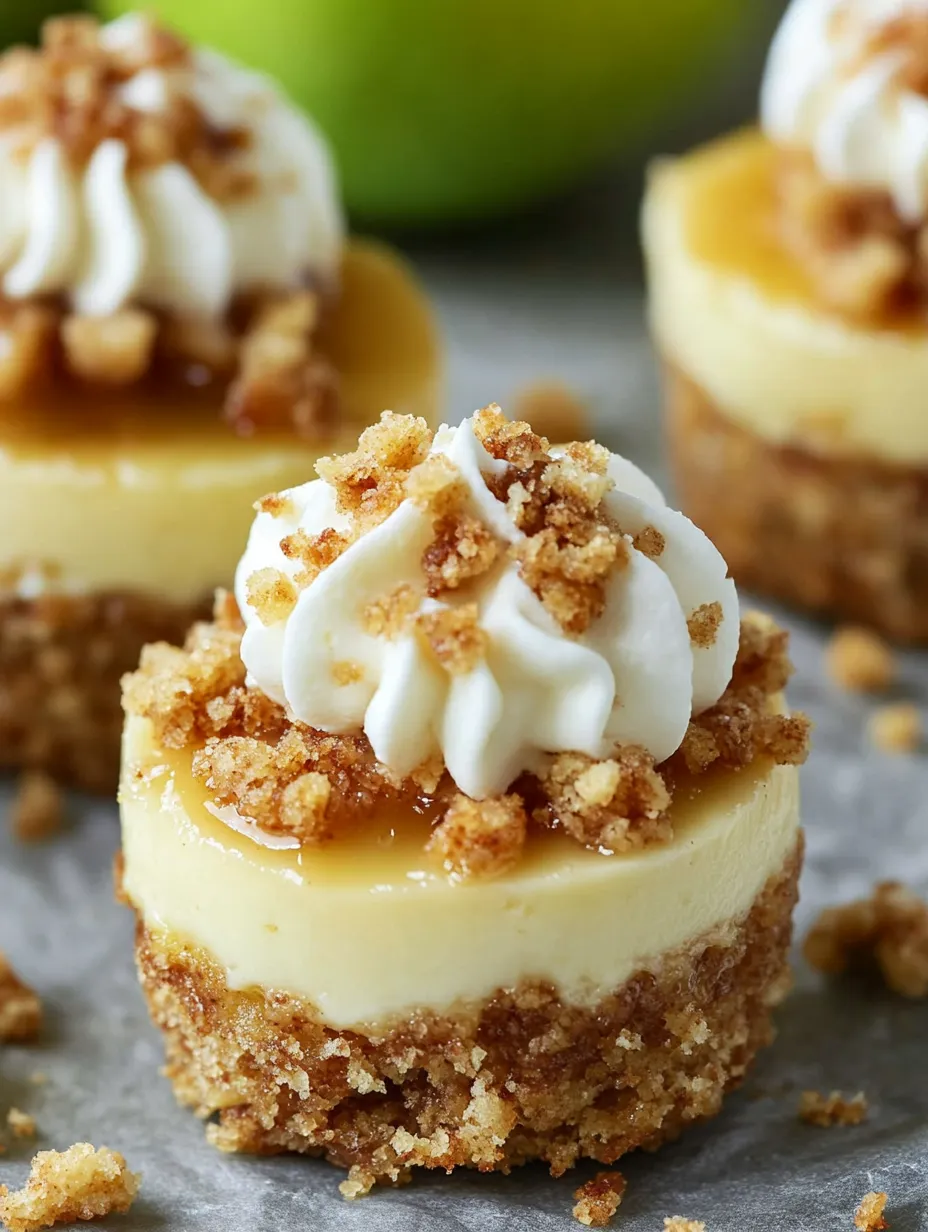
- Fresh apples: Add natural sweetness and bite; try Granny Smith or Honeycrisp for best flavor
- Warm spices: Cinnamon and nutmeg bring that cozy fall feeling to every part of this treat
- Quick cooking oats: They form that irresistible crunchy topping; standard oats can work too but quick ones crisp up better
- Caramel sauce: Gives that final touch of luxury; make your own or just grab a bottle from the store
Step-by-Step Instructions
- Fix The Bottom Layer:
- Stir graham crumbs with sugar, cinnamon, and melted butter until it looks like damp sand. Push it down firmly into paper liners to make an even base. A measuring spoon works great for this job. Pop them in the fridge while you work on the rest so they'll set up nicely.
- Whip Up The Topping:
- Start by mixing dry stuff first, then pour melted butter in and stir until you get chunky crumbs that stick when you squeeze them. Don't mix too much – you want little clumps, not one big mix. Chill it to harden the butter which will help make those crunchy bits everyone loves.
- Get Apples Ready:
- Mix peeled and finely chopped apples with lemon juice so they won't turn brown, then add spices, brown sugar, and cornstarch. The cornstarch is key – it'll thicken the apple juices while baking so your cheesecake stays firm. Cut apples into tiny, same-sized chunks so they cook evenly.
- Create Cheesecake Filling:
- Beat soft cream cheese till it's totally smooth before adding sugar, vanilla, and flour. The flour helps the filling stay stable and crack-free. Mix in the egg last and just till it's combined – beating too much puts in air bubbles that cause cracks and weird texture.
- Stack Everything Up:
- Drop spoonfuls of cheesecake mix onto cold crusts, then add the apple mix on top. Press apples down slightly to make them level, then pile on the crumb topping, making sure to cover everything. This layering trick makes sure you taste all the flavors in each bite.
- Bake Them Right:
- Cook at a gentle 325°F for around 30 minutes or until edges seem set but centers still wobble slightly. The lower heat keeps the cheesecake from puffing up and cracking. When the topping turns golden brown, you'll know they're done.
 Pin
Pin
You Must Know
- You can freeze these little treats for up to 3 months; just let them thaw in your fridge overnight
- No special pan needed, which makes them way easier than regular cheesecake
- You can make them a day early; they're perfect when you've got company coming
I always add cornstarch to my apple mix and it works wonders. My grandma taught me this trick with her apple pies. It turns the filling thick and jammy instead of watery, which would ruin the cheesecake. Whenever I bake these, I can almost smell her kitchen with those wonderful apple and cinnamon scents floating around.
Storage Tips
These mini treats will keep well in a sealed container in your fridge for about 5 days. They actually taste better the next day as all the spices blend together. If you want to save them longer, wrap each cool cheesecake in plastic then put them in a freezer bag. When you're ready to eat them, let them thaw in the fridge overnight, then sit out for about 30 minutes before serving to get the best flavor and feel.
Make Ahead Options
You can fix different parts ahead to save time on baking day. The graham cracker base and crumbly topping can be made up to 3 days early and kept in the fridge. You can cook the apple mixture a day before though it might turn a bit brown; don't worry, it won't change how it tastes. Put everything together and bake them the day before your party, then chill them overnight which makes them taste better and easier to serve.
 Pin
Pin
Serving Suggestions
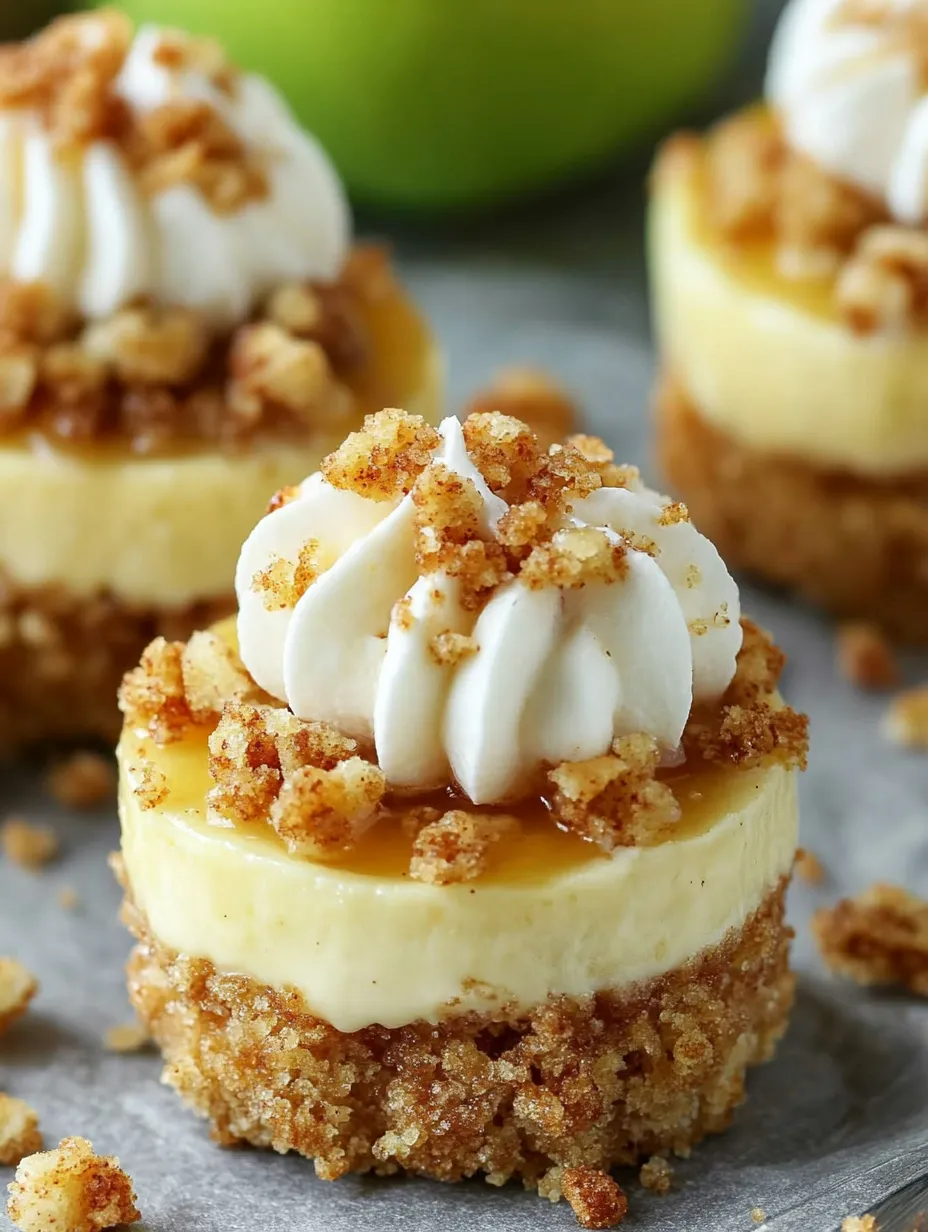
These cheesecakes taste great by themselves, but they turn amazing with a few simple extras. Pour warm caramel sauce over the top right before serving or set up a topping bar with whipped cream, toffee bits, or toasted pecans. For a fancy look, set each mini cheesecake on a small plate with a mint leaf and thin apple slice laid next to it. Serve them slightly cool but not cold straight from the fridge for the tastiest experience.
FAQs About the Recipe
- → Can I switch up the crust ingredients?
Absolutely. Try crushed digestive cookies, spicy gingersnaps, or even a thin ready-made pie crust instead of graham crackers.
- → What's the best way to keep these fresh?
Pop your cooled treats in a sealed container and stick them in the fridge for up to 4 days. Just add the caramel right before you eat them.
- → Can I make these ahead and freeze them?
Definitely. Wrap each one separately and tuck them into an airtight container. They'll stay good frozen for about 3 months. Let them thaw in your fridge overnight when you're ready to enjoy them.
- → Which apples should I pick for this recipe?
Tart Granny Smiths work great, but you can go with Honeycrisp or Fuji if you want something a bit sweeter.
- → Do I have to use caramel sauce on top?
Not at all. It's just an extra touch of sweetness that goes really well with the spiced apples, but they're still yummy without it.
- → Can I make these without gluten?
Sure thing. Just grab some gluten-free graham crackers and oats for both the bottom crust and crumbly topping.